Bunny Cupcakes
Discover the Magic of Bunny Cupcakes 🐰
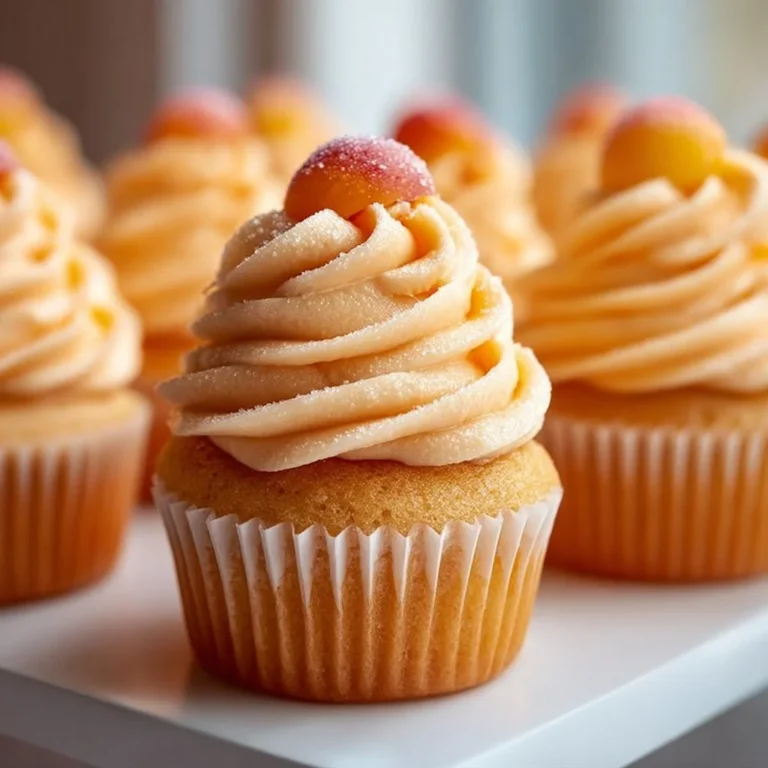
Have you ever wanted to delight your friends and family with treats that look as good as they taste? Bunny Cupcakes are your answer! These adorable creations are not just a feast for your eyes; they’re also incredibly delicious and super easy to make. Whether you’re celebrating Easter or just want to bring some whimsy to your baking, these cupcakes will steal the show!
Why Make This Recipe
Why should you whip up a batch of these Bunny Cupcakes? Here are a few reasons that will make you hop to it:
- Easy to Make: If you can mix, pour, and frost, you can make these cupcakes. No culinary degree required!
- Family-Friendly Fun: Kids love decorating them, which means you can turn baking into a fun family activity. Bonus points for sneaking in some quality bonding time!
- Instagram Worthy: Who doesn’t want their dessert to be the star of their feed? These cupcakes are cute enough to make your followers double-tap!
Ingredients
You don’t need fancy stuff — just these basics! Here’s what you’ll need:
- 1 ½ cups all-purpose flour
- 1 ½ tsp baking powder
- ½ tsp salt
- ½ cup unsalted butter, softened
- 1 cup granulated sugar
- 2 large eggs
- 1 tsp vanilla extract
- ½ cup milk
- Pastel-colored frosting
- Mini chocolate chips or candy eyes
- Marshmallows or fondant for bunny ears
Directions
Ready to bake some bunnies? Follow these simple steps:
- Preheat your oven to 350°F (175°C) and line a cupcake pan with liners.
- In a bowl, whisk together flour, baking powder, and salt.
- In another bowl, cream the butter and sugar until light and fluffy.
- Beat in the eggs and vanilla extract until well combined.
- Gradually add the dry ingredients to the wet mixture, alternating with milk, mixing until smooth.
- Pour the batter into cupcake liners, filling them about 2/3 full.
- Bake for 15-20 minutes or until a toothpick comes out clean.
- Allow cupcakes to cool completely.
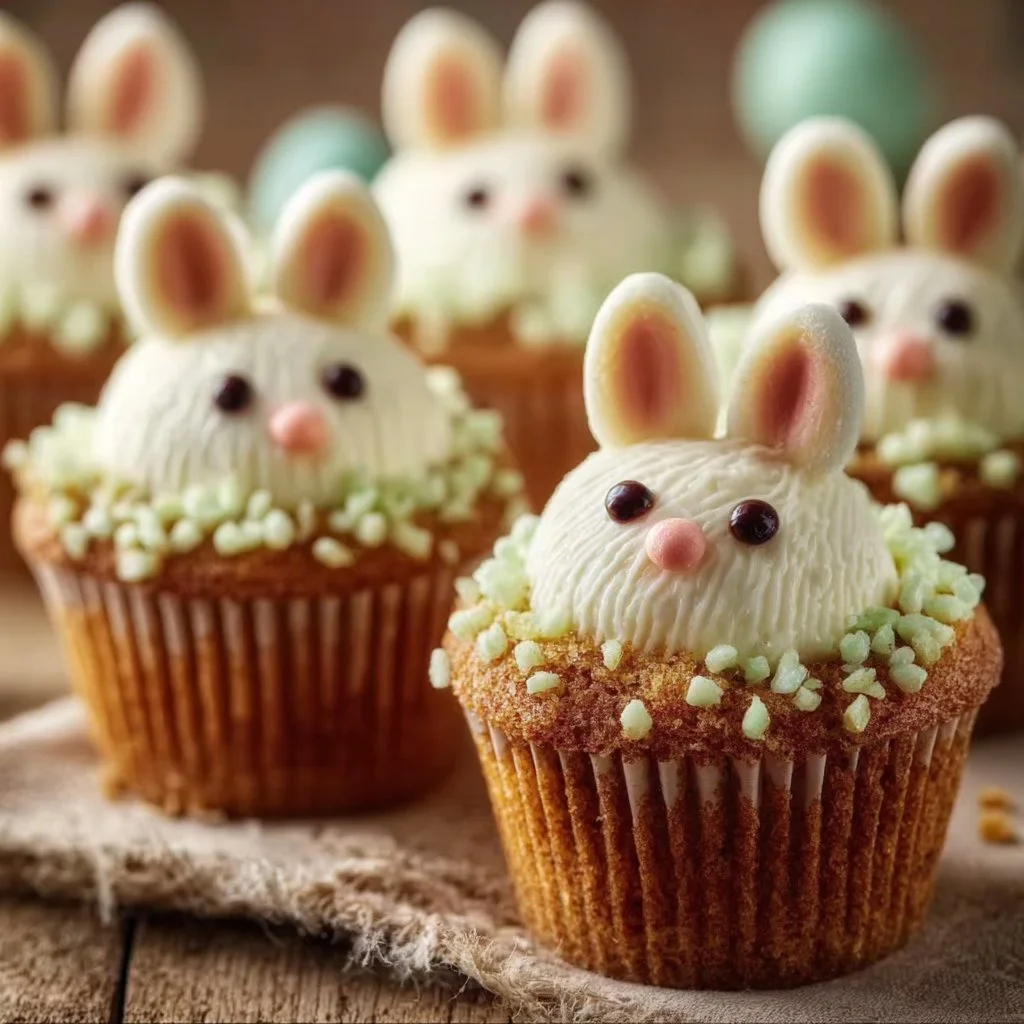
- Frost with pastel-colored frosting and decorate with chocolate chips for eyes and marshmallows or fondant for bunny ears.
How to Make Bunny Cupcakes (Overview)
It’s as simple as 1-2-3! Start by preheating your oven and mixing up your dry ingredients. Then, cream the butter and sugar before adding eggs and vanilla for that sweet flavor we all crave. Combine wet and dry, pour into liners, and let your oven work its magic. Cool, frost, and decorate! Pro tip: Let the cupcakes cool completely before frosting, or you’ll end up with a melty mess!
How to Serve Bunny Cupcakes
Presentation is everything! Arrange these Bunny Cupcakes on a colorful platter adorned with spring flowers or decorative grass-like filler. As you serve them, get ready for a burst of pastel colors and that sweet, buttery aroma wafting through the air. You can even set up a DIY decoration station for guests to add their own bunny ears and eyes, turning each cupcake into an edible masterpiece!
How to Store Bunny Cupcakes
Got leftovers? No problem! These Bunny Cupcakes will keep well in the fridge for about 3-5 days. Just make sure to store them in an airtight container. If you want to enjoy them later without the fuss, they freeze beautifully for up to a month. Just thaw at room temperature and frost when ready to eat!
Tips to Make Bunny Cupcakes
Here are a few insider tricks to ensure your Bunny Cupcakes are a hit:
- Egg Temperature: Use room temperature eggs to help create a smoother batter.
- Milk Options: Swap the milk for a nut milk if you’re looking for a dairy-free option.
- Frosting Fun: For a fluffier frosting, consider whipping your frosting before applying it. It adds a nice lightness!
Variation
Want to switch things up? Try adding a splash of lemon zest to your batter for a citrus twist. You can also make them vegan by using alternatives like flax eggs and dairy-free butter. The possibilities are endless!
FAQs
Q: Can I make the batter ahead of time?
A: Absolutely! Prepare the batter and store it in the fridge for up to 24 hours before baking.
Q: What can I use instead of marshmallows for bunny ears?
A: Fondant works great, or you can even cut sliced almonds into an ear shape.
Q: How do I enhance the flavor?
A: Try adding a bit of almond extract or a pinch of cinnamon for an unexpected twist!
📌 Pin this recipe for your next cozy dinner night!
Bunny Cupcakes
Ingredients
Method
- Preheat your oven to 350°F (175°C) and line a cupcake pan with liners.
- In a bowl, whisk together flour, baking powder, and salt.
- In another bowl, cream the butter and sugar until light and fluffy.
- Beat in the eggs and vanilla extract until well combined.
- Gradually add the dry ingredients to the wet mixture, alternating with milk, mixing until smooth.
- Pour the batter into cupcake liners, filling them about 2/3 full.
- Bake for 15-20 minutes or until a toothpick comes out clean.
- Allow cupcakes to cool completely.
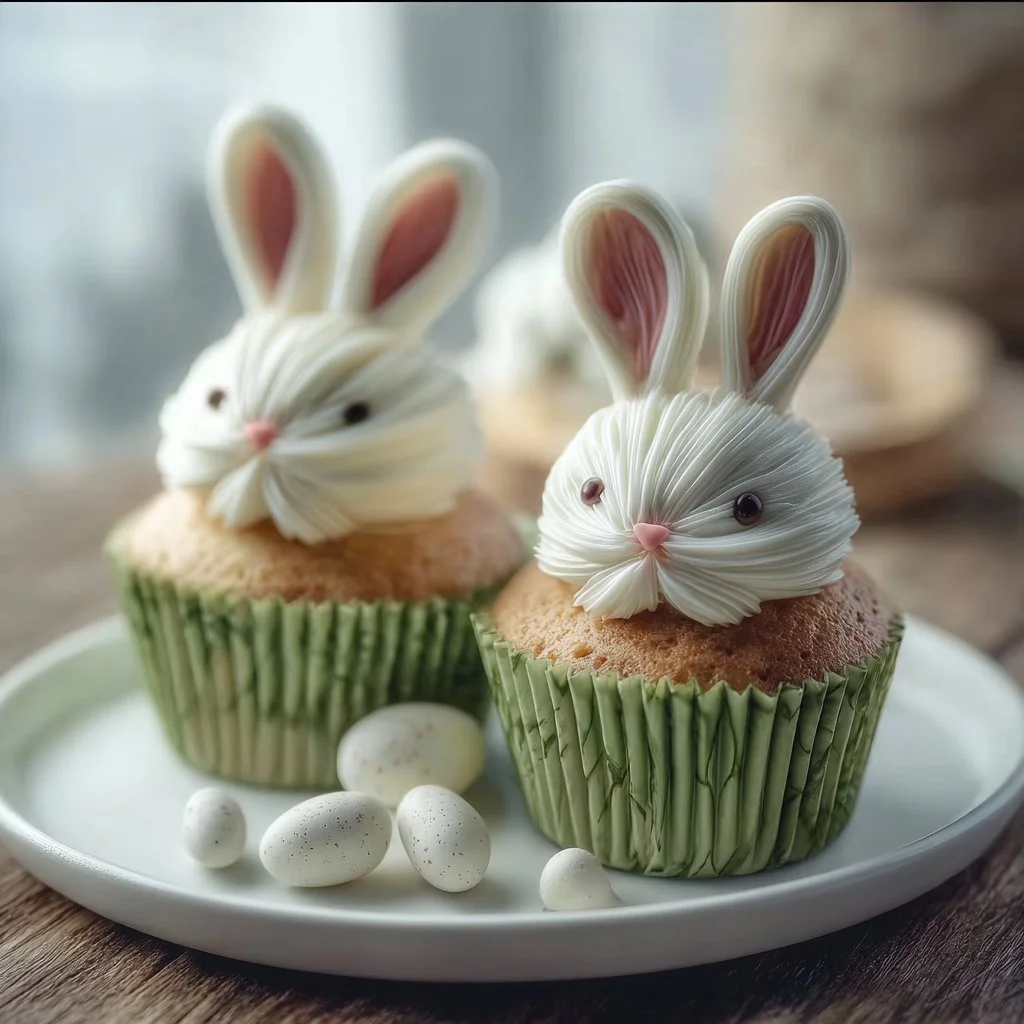
- Frost with pastel-colored frosting and decorate with chocolate chips for eyes and marshmallows or fondant for bunny ears.
Notes
Printable Recipe Card
Want just the essential recipe details without scrolling through the article? Get our printable recipe card with just the ingredients and instructions.