No-Bake Cookie Butter Cheesecake Cups
Sweeten Your Day with No-Bake Cookie Butter Cheesecake Cups
Imagine sinking your spoon into a velvety cream cheese filling, with hints of luscious cookie butter dancing on your palate. Sounds dreamy, right? These No-Bake Cookie Butter Cheesecake Cups come together in a flash and require zero baking—perfect for anyone who loves dessert but dreads the oven. Whip them up before a gathering or treat yourself on a cozy evening; these creamy cups are as indulgent as they are easy!
Why Make This Recipe
You’re going to love these cheesecake cups for so many reasons! First off, easy cleanup means you can focus on enjoying rather than scrubbing pots and pans. Plus, they’re budget-friendly, so you won’t need to break the bank to indulge your sweet tooth. And let’s be honest, who doesn’t love a dessert that’s both delicious and impressive without any fuss?
Ingredients:
You don’t need fancy stuff — just these basics!
- 1 1/2 cups graham cracker crumbs
- 1/4 cup melted butter
- 2 tbsp granulated sugar
- 8 oz cream cheese, softened
- 1/2 cup cookie butter
- 1/2 cup powdered sugar
- 1 tsp vanilla extract
- 1 cup whipped topping
- Extra cookie butter drizzle
- Whipped cream (for topping)
- Crushed graham crackers (for garnish)
Directions:
- In a bowl, mix the graham cracker crumbs, melted butter, and granulated sugar until well combined. Press about 1 tablespoon of the mixture into the bottom of each cupcake liner to form the base. Chill in the fridge while you prepare the filling.
- In a large bowl, beat the softened cream cheese until smooth. Add the cookie butter, powdered sugar, and vanilla extract. Mix until fully combined and creamy.
- Gently fold in the whipped topping until the filling is light and fluffy. Be careful not to overmix.
- Spoon or pipe the filling into the prepared cupcake liners, filling each one to the top. Smooth the tops with a spatula or the back of a spoon.
- Chill the cheesecake cups in the fridge for at least 2 hours, or until set.
- Once chilled, garnish with a drizzle of extra cookie butter, whipped cream, or crushed graham crackers if desired.

How to Make No-Bake Cookie Butter Cheesecake Cups (Overview)
Making these cheesecake cups is a breeze! Start by creating the graham cracker base—a quick mix and a bit of chill time do the trick. Then, whip up that dreamy filling—just be sure to blend until creamy but avoid over-mixing. After assembly, pop them into the fridge and let them set. Pro tip: prepare these the night before for an even more pronounced flavor the next day. Trust me, your future self will thank you! 😊
How to Serve No-Bake Cookie Butter Cheesecake Cups
Serve these delightful cups with a gorgeous drizzle of cookie butter on top for a stunning presentation! Pair them with fresh berries or a scoop of vanilla ice cream on the side to add color and contrast. The vibrant flavors and rich textures create a dessert experience that’s not just delicious but visually appealing too. Your guests will be swooning with every creamy bite!
How to Store No-Bake Cookie Butter Cheesecake Cups
These cheesecake cups love to chill! Keep them in the fridge for up to 5 days in an airtight container. If you want to make them ahead, feel free to prepare them up to two days in advance—just remember to add your toppings right before serving. Need a sweet fix later? These can last in the freezer for a month, but good luck keeping them around that long!
Tips to Make No-Bake Cookie Butter Cheesecake Cups
- Soften Your Cream Cheese: This will give you a lump-free filling, making for a velvety texture.
- Use a Piping Bag: It makes filling the cups much easier and adds a professional touch.
- Play With Add-Ins: Want to elevate your cups even more? Try adding in some crushed cookies or a sprinkle of cinnamon for a warm twist.
Variation
Feeling experimental? Swap out the cookie butter for a chocolate spread for a different flavor explosion. Want to make it vegan? Use vegan cream cheese and coconut whipped topping, and your friends won’t even know the difference!
FAQs
Can I make these cheesecake cups ahead of time?
Absolutely! They’re perfect to make a day or two in advance. Just wait to add your toppings until you’re ready to serve.
Can I freeze no-bake cheesecake cups?
Yes! Freeze for up to a month. Let them thaw in the fridge overnight when you’re ready for a treat.
What can I use instead of cookie butter?
Feel free to try any nut butter or even a chocolate spread for a unique flavor. The sky’s the limit!
📌 Pin this recipe for your next cozy dinner night!
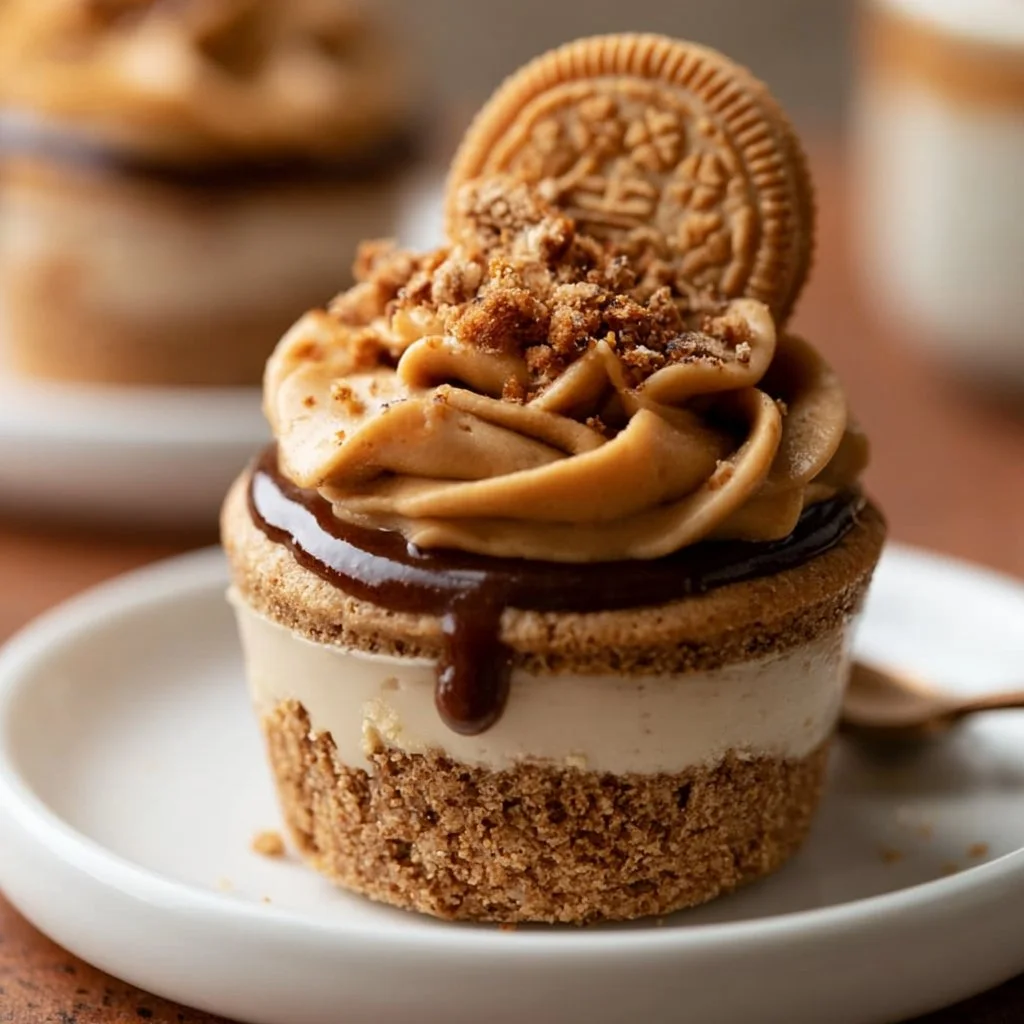
No-Bake Cookie Butter Cheesecake Cups
Ingredients
Method
- In a bowl, mix the graham cracker crumbs, melted butter, and granulated sugar until well combined.
- Press about 1 tablespoon of the mixture into the bottom of each cupcake liner to form the base.
- Chill in the fridge while you prepare the filling.
- In a large bowl, beat the softened cream cheese until smooth.
- Add the cookie butter, powdered sugar, and vanilla extract, and mix until fully combined and creamy.
- Gently fold in the whipped topping until the filling is light and fluffy, being careful not to overmix.
- Spoon or pipe the filling into the prepared cupcake liners, filling each one to the top.
- Smooth the tops with a spatula or the back of a spoon.
- Chill the cheesecake cups in the fridge for at least 2 hours or until set.
- Once chilled, garnish with a drizzle of extra cookie butter, whipped cream, or crushed graham crackers if desired.
Notes
Printable Recipe Card
Want just the essential recipe details without scrolling through the article? Get our printable recipe card with just the ingredients and instructions.