Kataifi
A Sweet Flaky Surprise Awaits!
Ever bitten into a dessert that makes you feel like you’re in a fairy tale? That’s the magic of Kataifi! With its golden, crispy pastry layered with sweet, nutty goodness and drenched in syrup, it’s the kind of treat that makes your taste buds dance. And the best part? It’s surprisingly easy to whip up at home!
Why Make This Recipe
Why not indulge in a little sweet magic? Here’s why Kataifi should have a top spot on your dessert table:
- Effortless to Make: Seriously, it’s easier than you think. You’ll look like a pro without breaking a sweat!
- Perfect for Sharing: Got a gathering? This flaky delight shines at parties, so you’ll be the charming host with the most.
- Budget-Friendly: We all love a delicious dessert that doesn’t break the bank. Plus, it impresses without being high-maintenance.
Ingredients
You don’t need fancy stuff — just these basics!
- 1 lb kataifi pastry
- 1 cup unsalted butter, melted
- 1 cup walnuts or pistachios, chopped
- 1 cup sugar
- 1 cup water
- 1 tsp vanilla extract
- 1/2 tsp cinnamon
- 1 cup honey
Directions
Ready to dive in? Follow these easy steps for your yummy dish:
- Preheat your oven to 350°F (175°C).
- In a large bowl, mix the chopped nuts with cinnamon and set aside.
- Take the shredded kataifi pastry and separate it gently (like untangling a necklace, but less frustrating!).
- Drizzle the melted butter over the pastry and mix until it’s well coated.
- In a greased baking dish, layer some of the pastry on the bottom, then add a layer of the nut mixture.
- Top with more kataifi, repeating the layers until all ingredients are used.
- Bake for 30-40 minutes or until golden brown.
- Meanwhile, prepare the syrup by boiling water, sugar, honey, and vanilla extract in a saucepan for about 10 minutes.
- Once the kataifi is done baking, remove it from the oven and immediately pour the syrup over the hot pastry.
- Let it cool before serving.
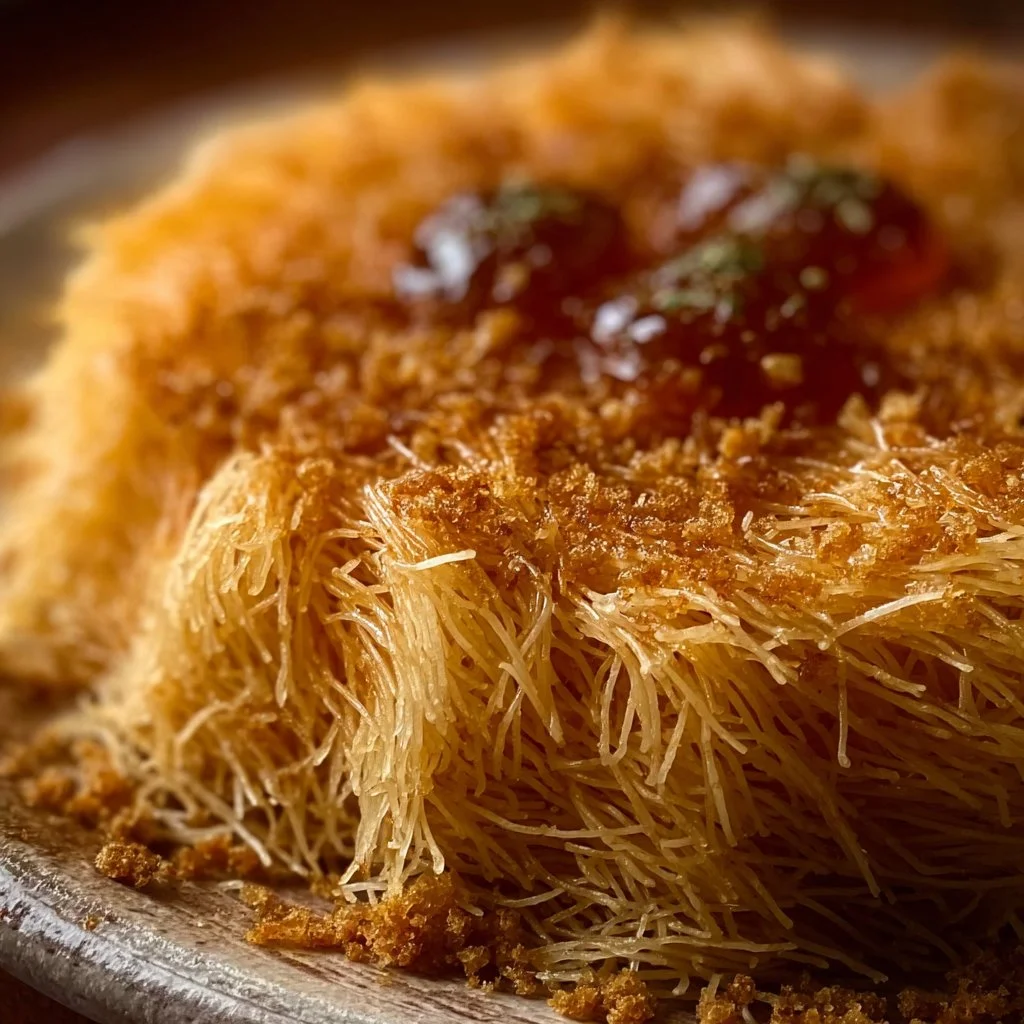
How to Make Kataifi (Overview)
Making Kataifi is like building a cozy pastry fortress. Here’s a relaxed rundown of the process:
- Start by prepping the nuts; they bring the crunch!
- Separate the kataifi pastry delicately—it’s all about that flaky texture.
- Coat it in butter—yes, please, because butter = flavor.
- Layer it like a delicious pastry lasagna, then pop it in the oven until golden.
Pro Tip: Don’t skip that syrup step! Soaking the kataifi while it’s hot makes it irresistibly sweet and juicy.
How to Serve Kataifi
Imagine cutting into this golden dessert, with its delicate layers and the aroma wafting through the air. Here are some fun serving ideas:
- Serve Warm: Pair it with a scoop of vanilla ice cream for a heavenly contrast.
- Dust with Powdered Sugar: A little sweet snow never hurt anyone!
- Garnish with Fresh Fruit: Berries or pomegranate add a pop of color and freshness.
Your guests will be swooning over not just the taste, but the gorgeous presentation too! 🍊
How to Store Kataifi
If you happen to have leftovers (which is rare, let’s be honest!), store them in an airtight container in the fridge for up to 3 days.
Make-Ahead Tips: You can prepare the layers a day in advance and bake them when you’re ready. Just make sure to add the syrup right after baking for the best texture.
Tips to Make Kataifi
- Timing is Everything: Bake the pastry until golden—don’t rush this step.
- Nut Choices: Swap walnuts for pistachios if you fancy a change—both are delicious!
- Syrup Cooling: Let your syrup cool slightly before pouring; it makes a smoother soak.
Variation
Feeling adventurous? Try adding a hint of orange blossom water for an exotic twist, or use maple syrup instead of honey for a different flavor profile. Who says you can’t experiment? 😉
FAQs
1. Can I use frozen kataifi?
Absolutely! Just let it thaw and then follow the recipe as usual.
2. How do I make it vegan?
Swap butter for coconut oil and replace honey with agave syrup—easy peasy!
3. Can I freeze Kataifi?
Yup! It freezes well. Just make sure to wrap it tightly and enjoy it within a month.
📌 Pin this recipe for your next cozy dinner night!
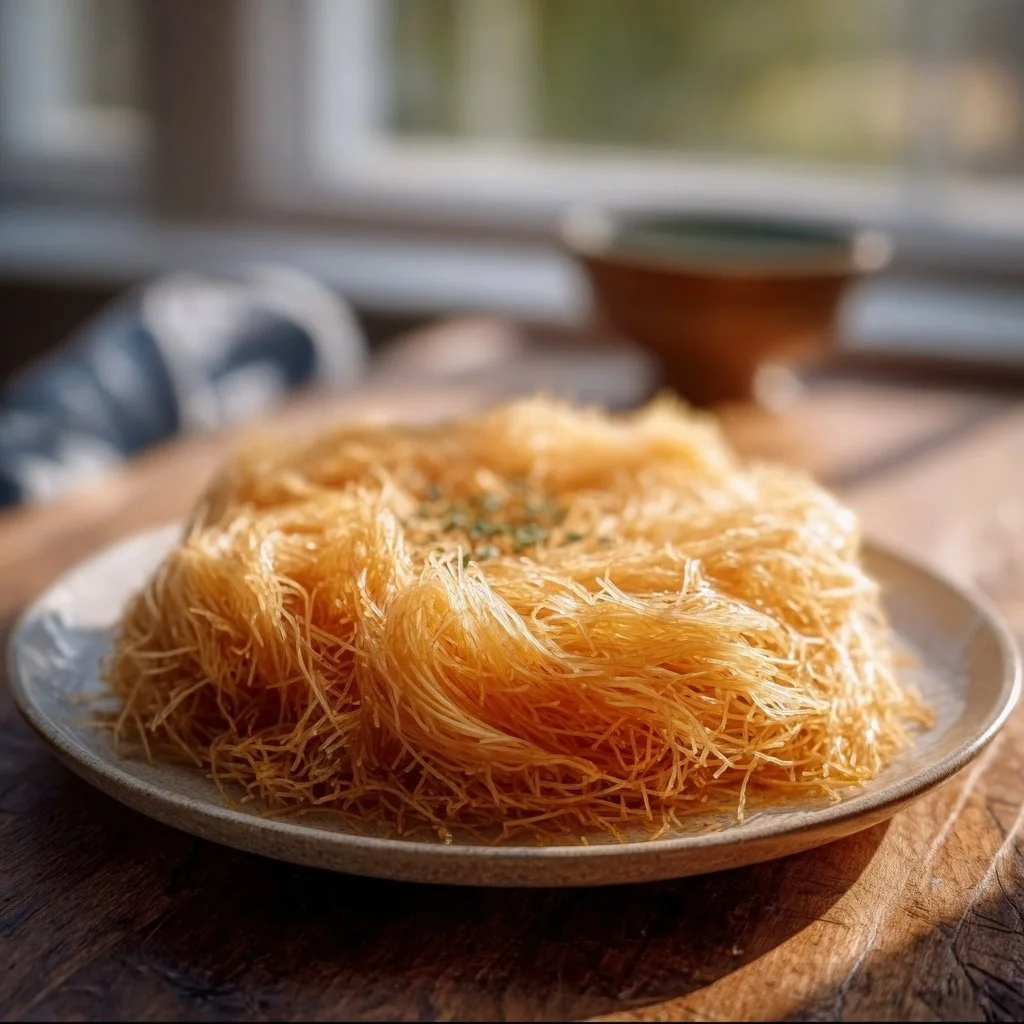
Kataifi
Ingredients
Method
- Preheat your oven to 350°F (175°C).
- In a large bowl, mix the chopped nuts with cinnamon and set aside.
- Take the shredded kataifi pastry and separate it gently.
- Drizzle the melted butter over the pastry and mix until it’s well coated.
- In a greased baking dish, layer some of the pastry on the bottom, then add a layer of the nut mixture.
- Top with more kataifi, repeating the layers until all ingredients are used.
- Bake for 30-40 minutes or until golden brown.
- Meanwhile, prepare the syrup by boiling water, sugar, honey, and vanilla extract in a saucepan for about 10 minutes.
- Once the kataifi is done baking, remove it from the oven and immediately pour the syrup over the hot pastry.
- Let it cool before serving.
Notes
Printable Recipe Card
Want just the essential recipe details without scrolling through the article? Get our printable recipe card with just the ingredients and instructions.