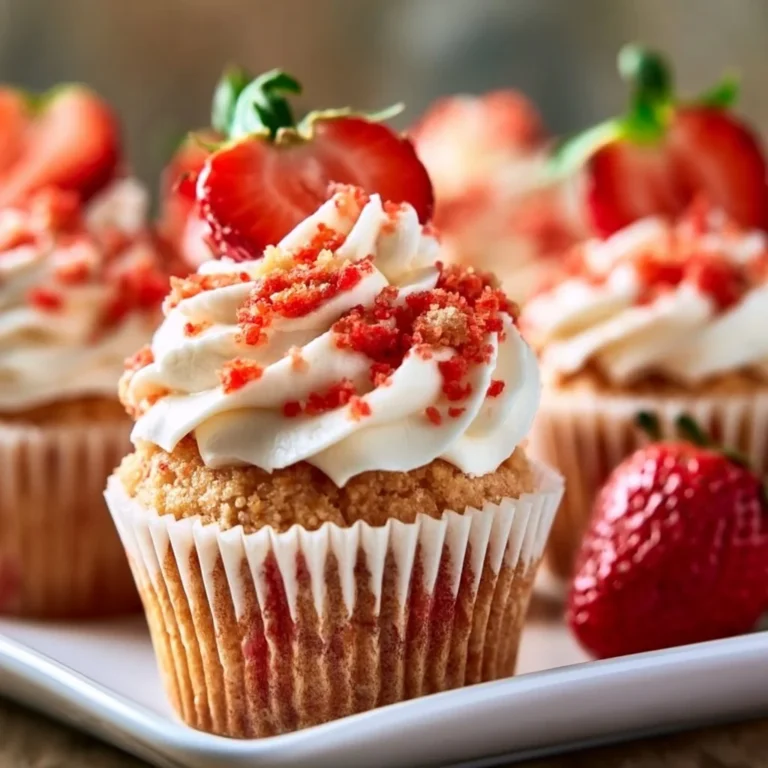
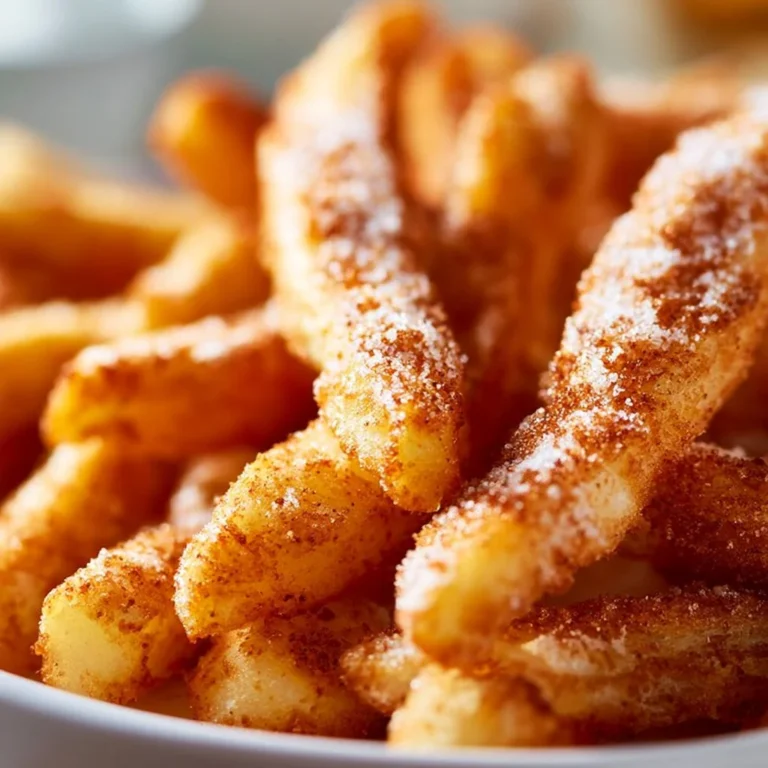
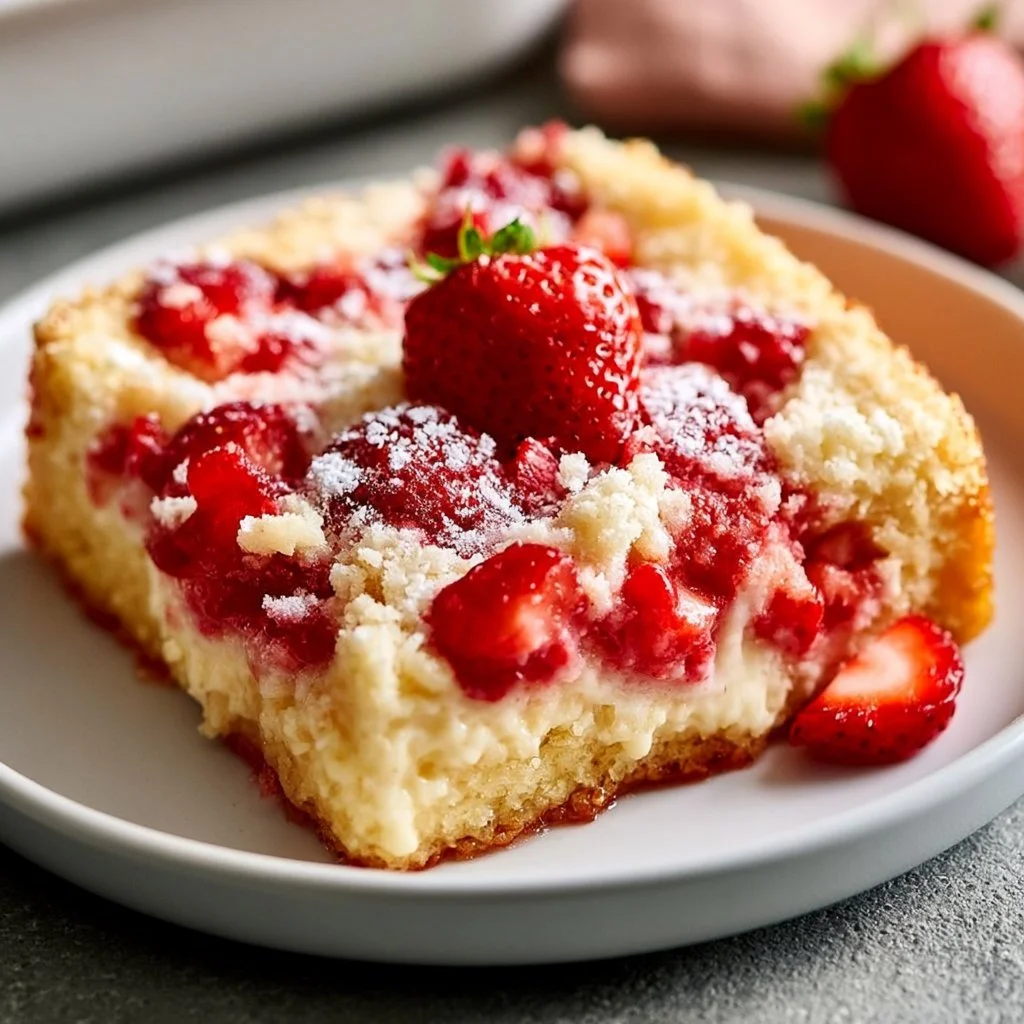
Strawberry Cheesecake Dump Cake Recipe
Ever had a dessert that feels like a warm hug?
Imagine biting into a creamy and fruity slice of strawberry cheesecake, but with none of the fuss. Sounds dreamy, right? This Strawberry Cheesecake Dump Cake brings all the taste and none of the trouble. It’s all done in one pan, so cleanup is a breeze, making it perfect for those laid-back evenings or surprise gatherings when you need something sweet and quick.
Why Make This Recipe
Here’s why you’re going to love this dessert:
- Zero hassle: Just dump the ingredients, bake, and you’re good to go. Who has time for complicated?
- Family-approved: Kids and adults alike will devour it! It’s a guaranteed crowd-pleaser to keep everyone smiling.
- Budget-friendly: With basic ingredients, you won’t break the bank to make something fabulous.
Ingredients:
You don’t need fancy stuff — just these basics!
- 2 cups fresh strawberries (sliced; you can substitute with frozen strawberries)
- 1 (8 oz) package cream cheese (softened; low-fat cream cheese works well too)
- 1 cup granulated sugar (or coconut sugar for a healthier option)
- 1 teaspoon vanilla extract
- 1 box yellow cake mix (or gluten-free cake mix)
- 1/2 cup unsalted butter (melted; coconut oil can be used as a dairy-free alternative)
- 1 cup milk (almond milk or oat milk for dairy-free)
- 1/2 teaspoon salt
- Powdered sugar (for dusting, optional)
Directions:
-
Preheat the Oven
Preheat your oven to 350°F (175°C). This ensures that your cake bakes evenly and rises beautifully. -
Prepare the Strawberries
In a medium bowl, combine the sliced strawberries with 1/4 cup of granulated sugar. Let them sit for about 10 minutes to release their juices, which will enhance the flavor of your cake. -
Mix the Cream Cheese Filling
In another bowl, beat the softened cream cheese with the remaining 3/4 cup of sugar and vanilla extract until smooth and creamy. This mixture will be the luscious cheesecake layer of your dump cake. -
Combine Cake Ingredients
In a large mixing bowl, combine the yellow cake mix, melted butter, milk, and salt. Stir until just combined. Be careful not to overmix; a few lumps are perfectly fine! -
Layer the Ingredients
In a greased 9×13-inch baking dish, pour half of the cake batter at the bottom. Spread the cream cheese mixture over the batter, followed by the marinated strawberries. Finally, pour the remaining cake batter on top, ensuring it covers the strawberries and cream cheese evenly.
-
Bake the Cake
Place the baking dish in the preheated oven and bake for 45-50 minutes, or until the top is golden brown and a toothpick inserted in the center comes out clean. -
Cool and Serve
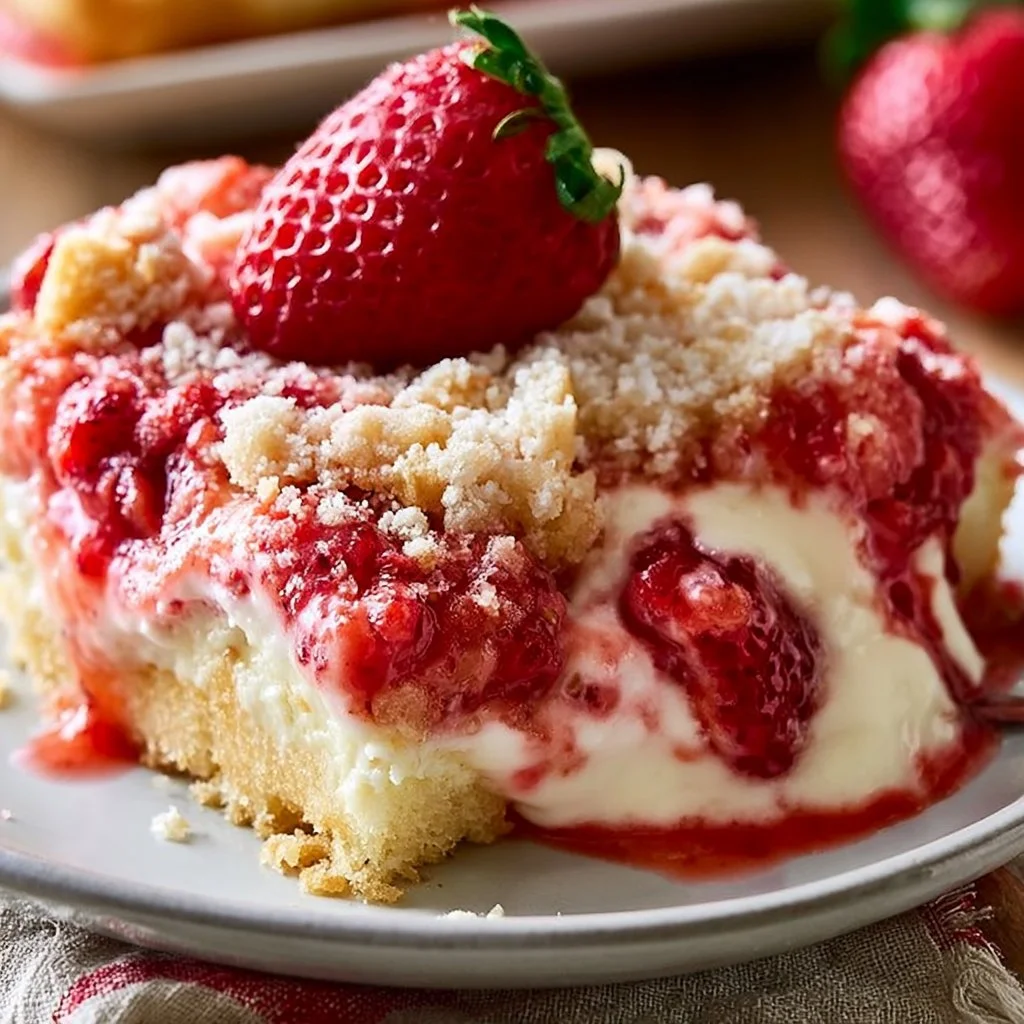
Once baked, remove your Strawberry Cheesecake Dump Cake from the oven and let it cool for about 10-15 minutes. Dust with powdered sugar before serving for an extra touch of sweetness!
{image_2}
How to Make Strawberry Cheesecake Dump Cake Recipe (Overview)
Making this delightful cake is as simple as it sounds. First, you’ll want to prepare your strawberries for that extra burst of flavor. While they’re soaking up the sugar, beat your cream cheese into creamy perfection. Mix the cake ingredients, layer everything in the pan, and let the oven work its magic. Pro tip: Don’t skip letting the strawberries marinate; it adds a lovely depth of flavor!
How to Serve Strawberry Cheesecake Dump Cake Recipe
This cake is all about indulgence! Serve it warm with a dusting of powdered sugar for that Instagram-worthy aesthetic. You can also dress it up with a dollop of whipped cream or a scoop of vanilla ice cream on the side. Just imagine the tantalizing aroma wafting through your kitchen as it bakes and the yum factor skyrocketing with every bite!
How to Store Strawberry Cheesecake Dump Cake Recipe
This delicious treat can hang out in the fridge for about 3-4 days if it lasts that long. For longer storage, you can freeze it – it’ll keep for about 2-3 months. Just be sure to wrap it well! When you’re ready to enjoy it again, just pop it in the oven to warm it up or microwave a slice for a quick fix.
Tips to Make Strawberry Cheesecake Dump Cake Recipe
- Let the cream cheese soften: This makes mixing super easy and prevents lumps.
- Use fresh strawberries whenever possible for the best flavor, but frozen works too if they’re out of season.
- Don’t overmix the batter: A few lumps won’t hurt—keep it light and airy!
Variation
Feeling adventurous? Swap out strawberries for any berry you like! Blueberries or raspberries work wonderfully too. You could even throw in some chocolate chips for an added twist. Need it vegan? Use plant-based cream cheese and a dairy-free milk option. Easy peasy!
FAQs
Can I use frozen strawberries?
Absolutely! Just thaw and drain them before using to avoid excess moisture.
How can I make this cake ahead of time?
You can prepare the cake and refrigerate it before baking. Just be sure to add a few extra minutes to the baking time!
How do I know when the cake is done baking?
The top should be golden brown, and a toothpick inserted in the center should come out clean.
📌 Pin this recipe for your next cozy dinner night!

Strawberry Cheesecake Dump Cake
Ingredients
Method
- Preheat your oven to 350°F (175°C).
- In a medium bowl, combine the sliced strawberries with 1/4 cup of granulated sugar. Let them sit for about 10 minutes.
- In another bowl, beat the softened cream cheese with the remaining 3/4 cup of sugar and vanilla extract until smooth.
- In a large mixing bowl, combine the yellow cake mix, melted butter, milk, and salt. Stir until just combined.
- In a greased 9×13-inch baking dish, pour half of the cake batter at the bottom.
- Spread the cream cheese mixture over the batter, followed by the marinated strawberries.
- Pour the remaining cake batter on top, covering the strawberries and cream cheese.
- Place the baking dish in the preheated oven and bake for 45-50 minutes.
- Once baked, remove from the oven and let cool for 10-15 minutes.
- Dust with powdered sugar before serving.
Notes
Printable Recipe Card
Want just the essential recipe details without scrolling through the article? Get our printable recipe card with just the ingredients and instructions.