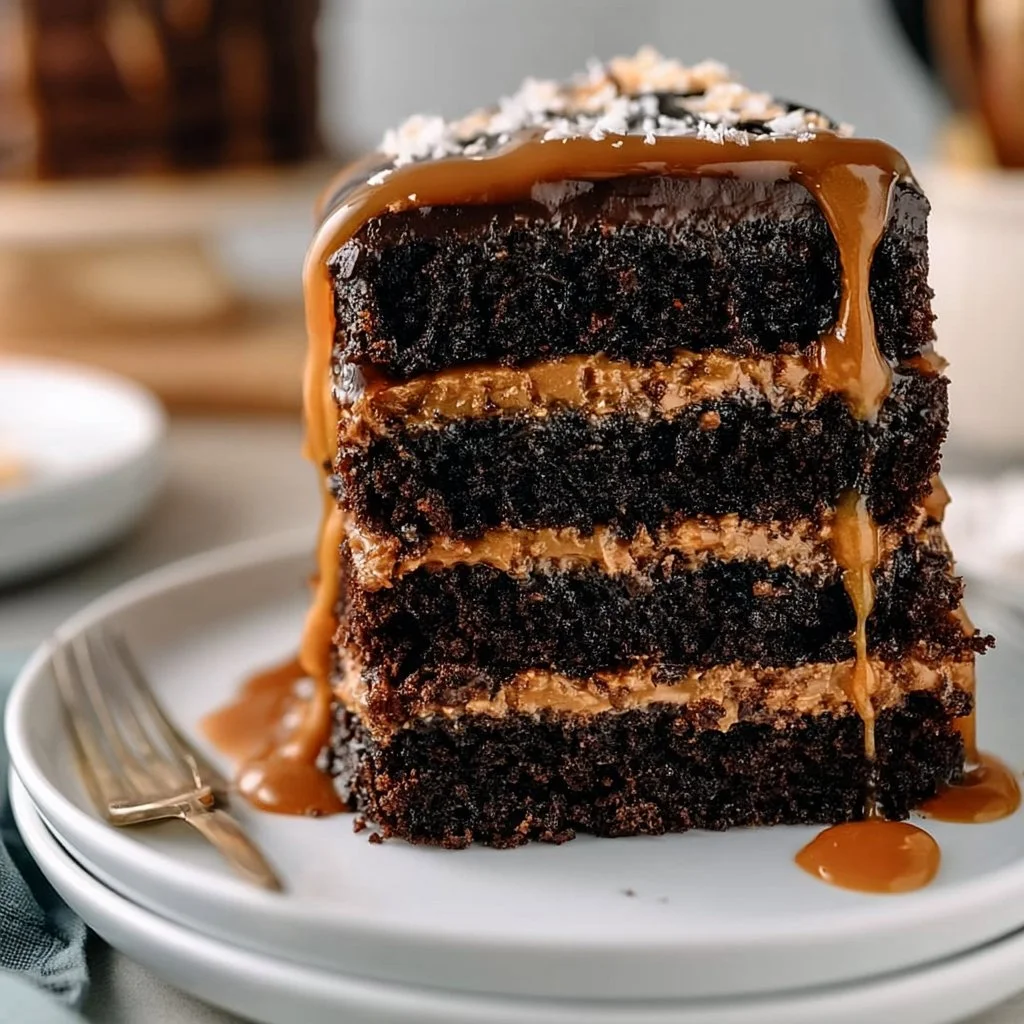
Salted Caramel Chocolate Layer Cake
The Sweetest Delight You’ll Ever Make
Ever dreamt of biting into a slice of pure heaven? Picture this: rich chocolate layers, drizzled in velvety salted caramel, and topped with a sprinkle of sea salt. It’s like a warm hug wrapped in dessert form. This Salted Caramel Chocolate Layer Cake isn’t just a treat; it’s an experience that will have your taste buds dancing!
What makes this cake special? It’s quick to whip up, pairs beautifully with a cup of coffee, and is sure to impress at any gathering. Plus, who can resist a multi-layered cake that screams celebration?
Why Make This Recipe
Why should you get on this cake bandwagon? Let me count the ways:
- Crowd-pleaser: Seriously, this cake has the power to bring smiles at any occasion. Birthdays, holidays, or just because—everyone will be reaching for seconds!
- Simple Cleanup: No one wants to spend an entire evening scrubbing dishes. With this recipe, you’re primarily using just two bowls and a whisk. Easy peasy!
- Affordable Ingredients: You don’t need to break the bank to make something fabulous. Most of these ingredients are staples in your pantry—yay for budget-friendly baking!
Ingredients
You don’t need fancy stuff — just these basics!
- 2 cups all-purpose flour
- 2 cups granulated sugar
- 3/4 cup unsweetened cocoa powder
- 1 1/2 teaspoons baking powder
- 1 1/2 teaspoons baking soda
- 1 teaspoon salt
- 2 large eggs
- 1 cup whole milk
- 1/2 cup vegetable oil
- 2 teaspoons vanilla extract
- 1 cup boiling water
- 1 cup caramel sauce
- 1 teaspoon sea salt
Directions
Time to bake this beauty! Follow these easy steps:
- Preheat your oven to 350°F (175°C). Grease and flour two 9-inch round cake pans.
- In a large bowl, combine flour, sugar, cocoa powder, baking powder, baking soda, and salt.
- Add eggs, milk, oil, and vanilla to the dry ingredients. Mix until well combined.
- Stir in boiling water (don’t worry, the batter will be thin!).
- Divide the batter between the prepared pans.
- Bake for 30-35 minutes or until a toothpick comes out clean.
- Let the cakes cool in the pans for 10 minutes, then turn out onto wire racks to cool completely.
- Once cooled, place one cake layer on a serving plate, spread a layer of caramel sauce, and sprinkle with sea salt.
- Place the second cake layer on top and frost with remaining caramel sauce and toppings of your choice.
- Serve and enjoy!

How to Make Salted Caramel Chocolate Layer Cake (Overview)
Making this cake is almost as fun as eating it! Here’s how it goes down:
- Start by mixing the dry ingredients; it’s like setting the foundation for a chocolate castle!
- Then, whisk in the wet ingredients and that boiling water. Yes, it’s supposed to be thin; don’t question it!
- Bake until the aroma of chocolate fills your kitchen—trust me, that’s the best part.
- Once cooled, layer it up with caramel and sprinkle on that sea salt for the ultimate flavor punch. Pro tip: Don’t skimp on the sea salt; it takes the caramel to another level!
How to Serve Salted Caramel Chocolate Layer Cake
Let’s get fancy! This cake can stand alone, but here are some scrumptious ways to serve it:
- Perfect Pairings: It pairs wonderfully with a scoop of vanilla ice cream or a dollop of whipped cream, creating a luscious contrast.
- Garnish It Up: Drizzle with extra caramel sauce or sprinkle with chocolate shavings for that Instagrammable look.
- Aromatic Extras: Serve it with a side of freshly brewed coffee or a warm cup of tea. The aroma alone will elevate your dessert game!
How to Store Salted Caramel Chocolate Layer Cake
Want to save leftovers (if there are any!)? No problem!
- Room Temp: This cake keeps well in an airtight container at room temperature for 2-3 days.
- Refrigerate: If you need it to last longer, pop it in the fridge for a week.
- Freezing: You can even freeze it for up to 3 months! Just wrap tightly in plastic wrap and foil.
- Reheat: Let it thaw in the fridge before enjoying, and if you’re eager, a quick zap in the microwave does the trick. Just don’t microwave it for too long, or we might have a chocolate explosion!
Tips to Make Salted Caramel Chocolate Layer Cake
Ready to become a cake wizard? Here are some insider tips:
- Room Temperature Eggs: Using eggs at room temp helps them incorporate better. A little insider secret!
- Cocoa Quality: The better the cocoa, the richer your cake. Go for high-quality unsweetened cocoa powder. You got this!
- Don’t Overmix: Once you combine wet and dry ingredients, mix just until everything comes together. Too much mixing can lead to a dense cake—nobody wants that!
- Let It Cool Completely: Allow both layers to cool fully before frosting. This keeps your caramel from melting into a gooey mess.
Variation
Feel like mixing it up? Here are some fun twists you can try:
- Make It Vegan: Swap dairy milk for almond milk and use flax eggs instead of regular eggs. An easy switch!
- Add Flavor: Toss in a teaspoon of espresso powder for a mocha twist or some orange zest for a refreshing citrus touch.
- Different Frosting: Swap out caramel for a rich chocolate ganache for a decadent finish.
FAQs
Can I use cake flour instead of all-purpose flour?
Absolutely! Just reduce the amount slightly, about 1/4 cup less should do the trick.
How do I prevent my cake from sinking in the middle?
Make sure you don’t open the oven door too soon! Let it bake fully before testing with a toothpick.
Can I make this cake ahead of time?
Yep! You can bake the layers a day in advance and store them wrapped in the fridge. Just frost before serving for ultimate freshness.
📌 Pin this recipe for your next cozy dinner night!
Salted Caramel Chocolate Layer Cake
Ingredients
Method
- Preheat your oven to 350°F (175°C). Grease and flour two 9-inch round cake pans.
- In a large bowl, combine flour, sugar, cocoa powder, baking powder, baking soda, and salt.
- Add eggs, milk, oil, and vanilla to the dry ingredients. Mix until well combined.
- Stir in boiling water (the batter will be thin).
- Divide the batter between the prepared pans.
- Bake for 30-35 minutes or until a toothpick comes out clean.
- Let the cakes cool in the pans for 10 minutes, then turn out onto wire racks to cool completely.
- Once cooled, place one cake layer on a serving plate, spread a layer of caramel sauce, and sprinkle with sea salt.
- Place the second cake layer on top and frost with remaining caramel sauce.
- Serve and enjoy!
Notes
Printable Recipe Card
Want just the essential recipe details without scrolling through the article? Get our printable recipe card with just the ingredients and instructions.