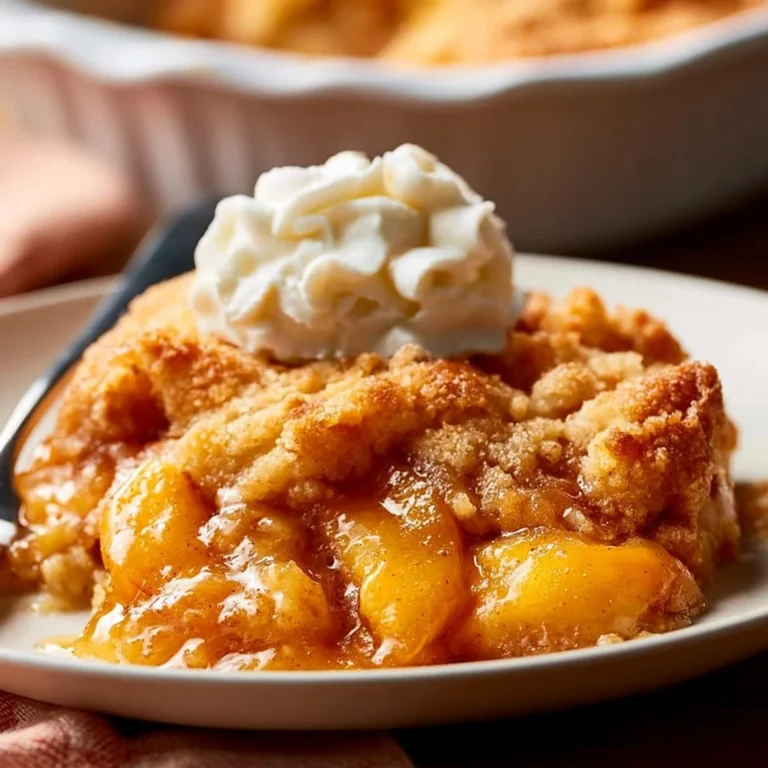
Oreo Cheesecake Brownies
Who knew brownies could get even better?
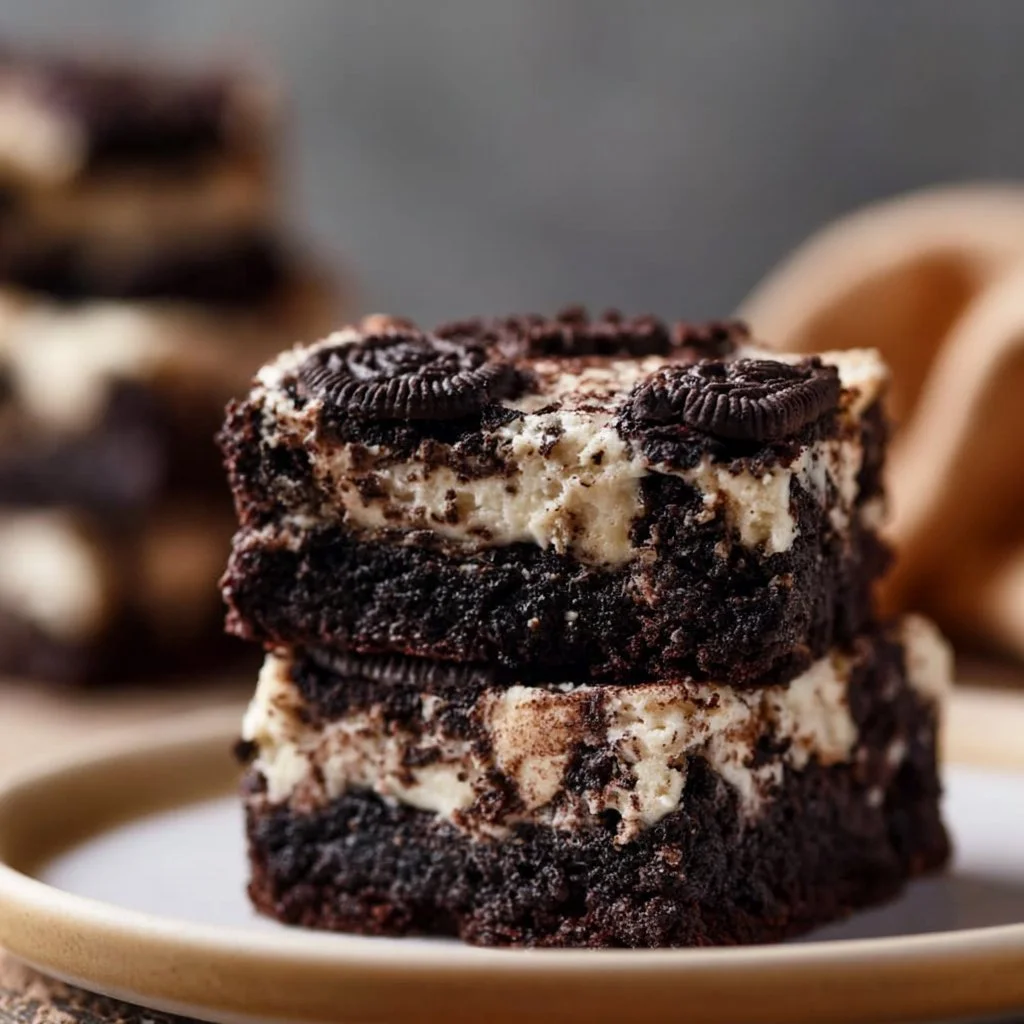
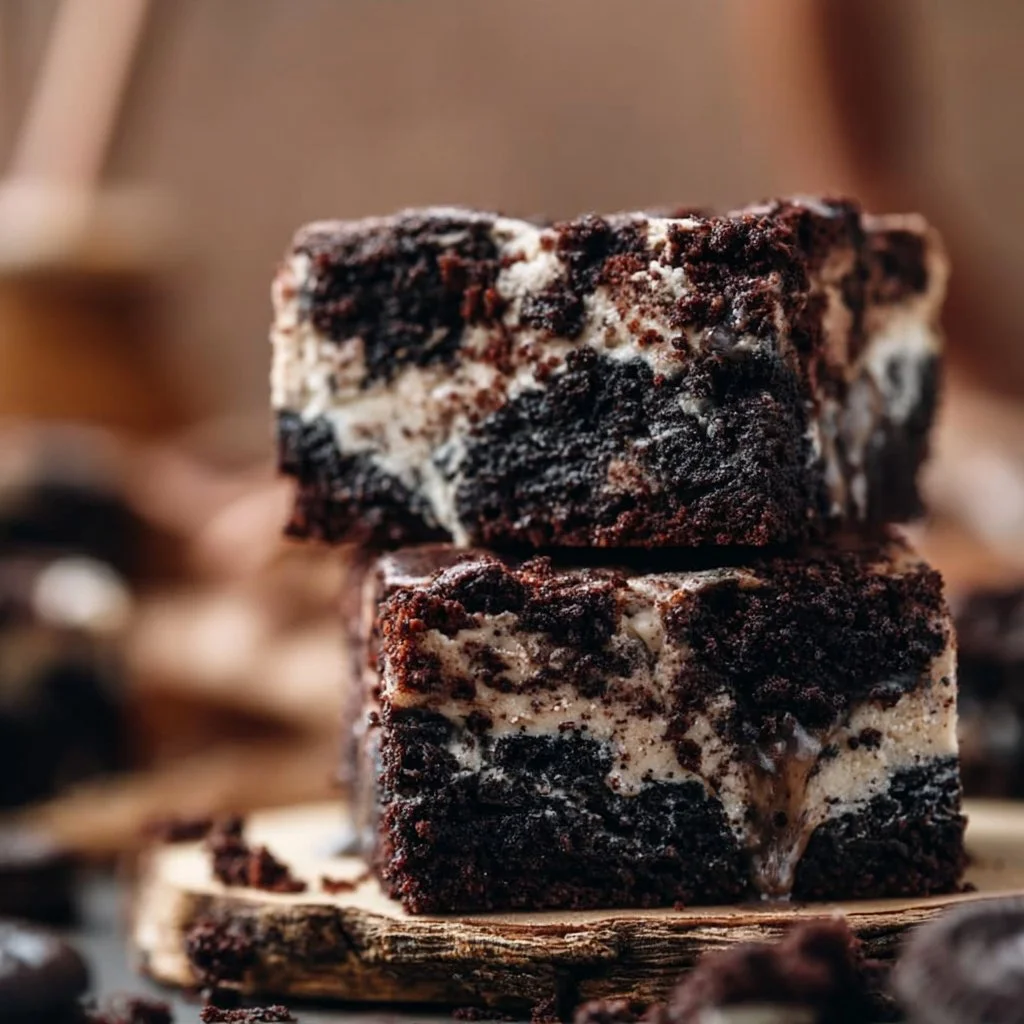
Imagine dense, fudgy brownies swirled with fluffy, creamy cheesecake and crunchy bits of Oreo. Sounds delicious, right? That’s the magic of Oreo Cheesecake Brownies! This divine creation is incredibly quick to whip up, making it perfect for unplanned dessert cravings or impressing last-minute guests. One bite, and you’ll be hooked on the irresistible combination of textures and flavors!
Why make this recipe
You’re going to love these brownies for a few compelling reasons:
- Easy cleanup: Who wants to deal with a mountain of dishes? Not you, right? You’ll only need one bowl for the cheesecake mixture and a pan for baking.
- Affordable: Just think about how little you need to spend to create a decadent dessert. + brownie mixes plus cream cheese and Oreos? Total win!
- Family-friendly: Everyone loves brownies, and adding Oreos makes them even more fun. Kids (and adults) can dive right into this treat.
What’s not to love? 🍫
Ingredients
You don’t need fancy stuff — just these basics!
- 1 box brownie mix, eggs and oil as required by brownie mix
- 1 package cream cheese (8 oz), softened
- 1/2 cup sugar
- 1 tsp vanilla extract
- 1 egg
- 10 Oreo cookies, crushed
Directions
- Preheat the oven to 350°F (175°C). Grease and line a baking pan with parchment paper.
- Prepare the brownie mix according to package instructions, then pour the batter into the prepared baking pan.
- In a separate bowl, beat the cream cheese until smooth. Add sugar, vanilla, and egg, then mix until fully combined. Stir in the crushed Oreo cookies.
- Spoon the cream cheese mixture over the brownie batter and swirl together gently.
- Bake in the preheated oven for 30-35 minutes, or until the cheesecake layer is set.
- Let cool before slicing into squares and serving.
How to make Oreo Cheesecake Brownies (Overview)
So, here’s the scoop! You first whip up the brownie mix and spread it in a prepared pan. While that bakes, mix the cream cheese with sugar, vanilla, and a little egg until it’s all smooth and dreamy. Fold in those crushed Oreos because honestly, they’re the star here. Once the brownie layer is cool, just blend it with the cheesecake mixture by swirling it together. Bake, cool, slice, and indulge. Simple, right? 🙌
Pro tip: Make sure your cream cheese is super soft; it’ll make your mixture creamy and lump-free!
How to serve Oreo Cheesecake Brownies
Want to take your Oreo Cheesecake Brownies to the next level? Try drizzling some chocolate sauce or whipped cream on top! It adds extra indulgence. You can also garnish with more crushed Oreos for that crunchy texture. Picture a plate of rich, fudgy squares, dark chocolate pools, and vibrant white cream—a feast for the eyes as well as the taste buds!
How to store Oreo Cheesecake Brownies
These brownies keep well in the fridge for about 5 days. Just pop them in an airtight container. If you want to save them for later, they also freeze well! Just wrap them tightly and they’ll last up to 3 months. When you’re ready to enjoy them again, defrost in the fridge overnight or microwave for a few seconds. Trust me; that warm brownie will hit the spot! 😋
Tips to make Oreo Cheesecake Brownies
- For an extra gooey texture, under-bake them by a couple of minutes—just keep an eye to ensure they’re not too soft.
- Swap out the Oreos with mini chocolate chips for a different flavor burst.
- Don’t forget to let them cool completely before cutting—nothing worse than a messy slice!
Variation
Feeling adventurous? Try adding a layer of peanut butter to the cream cheese mixture. Or, if you’re in the mood for something fruity, consider folding in some raspberries into the cheesecake layer. Easy ways to switch it up make dessert even more enticing!
FAQs
Can I use homemade brownie batter instead of a mix?
Absolutely! Homemade batter will work just fine. Just make sure it’s a similar texture to what you’d get from a box.
How do I store leftovers?
Keep them in an airtight container in the fridge for up to 5 days, or freeze for later!
Can I make these dairy-free?
Yes, substitute the cream cheese for a dairy-free alternative, and use a suitable brownie mix. You can still enjoy the deliciousness! 😄
📌 Pin this recipe for your next cozy dinner night!
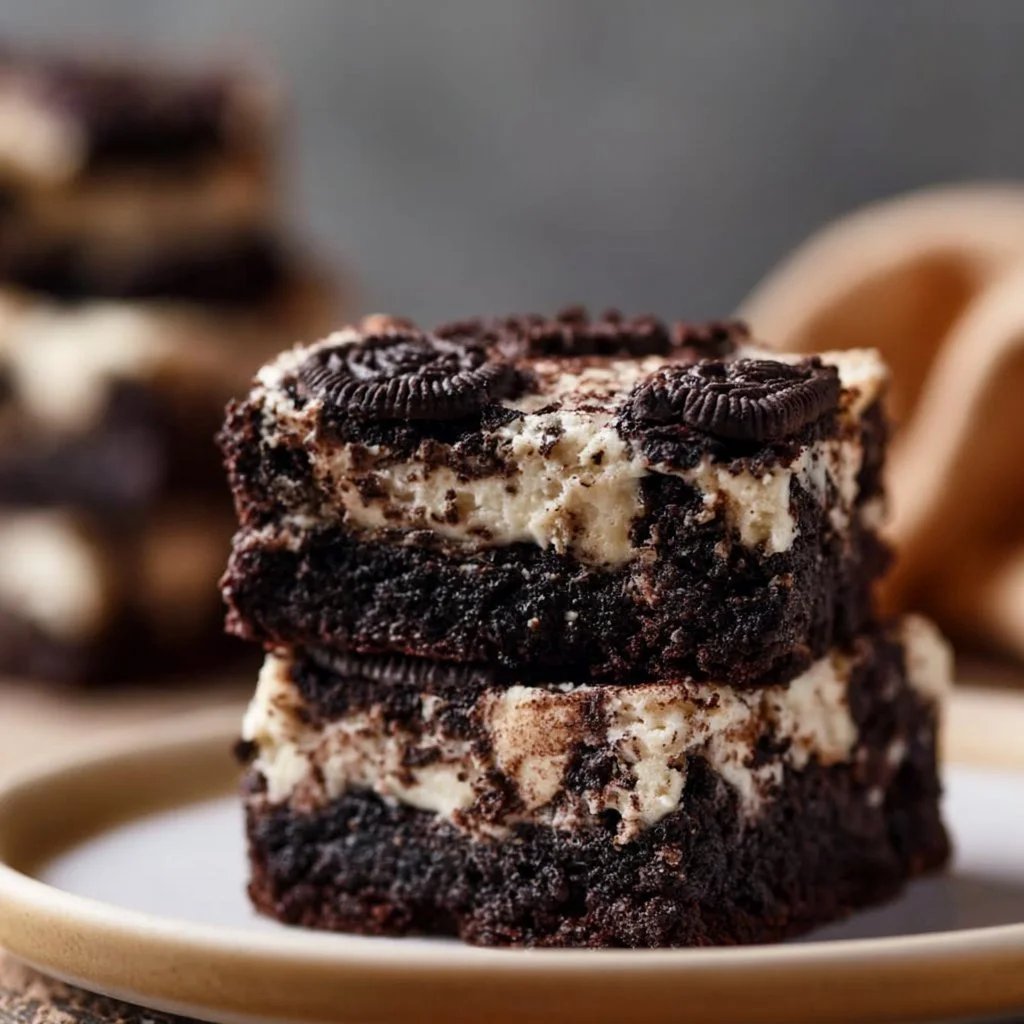
Oreo Cheesecake Brownies
Ingredients
Method
- Preheat the oven to 350°F (175°C). Grease and line a baking pan with parchment paper.
- Prepare the brownie mix according to package instructions, then pour the batter into the prepared baking pan.
- In a separate bowl, beat the cream cheese until smooth. Add sugar, vanilla, and egg, then mix until fully combined. Stir in the crushed Oreo cookies.
- Spoon the cream cheese mixture over the brownie batter and swirl together gently.
- Bake in the preheated oven for 30-35 minutes, or until the cheesecake layer is set.
- Let cool before slicing into squares and serving.
Notes
Printable Recipe Card
Want just the essential recipe details without scrolling through the article? Get our printable recipe card with just the ingredients and instructions.