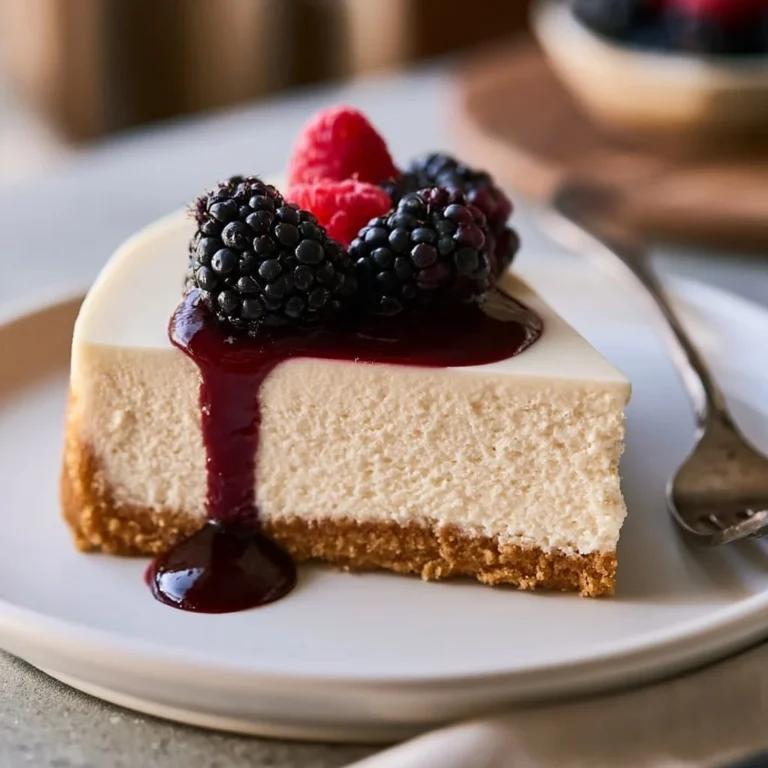
No-Bake Biscoff Cheesecake
Temptingly Creamy Bliss in Every Bite
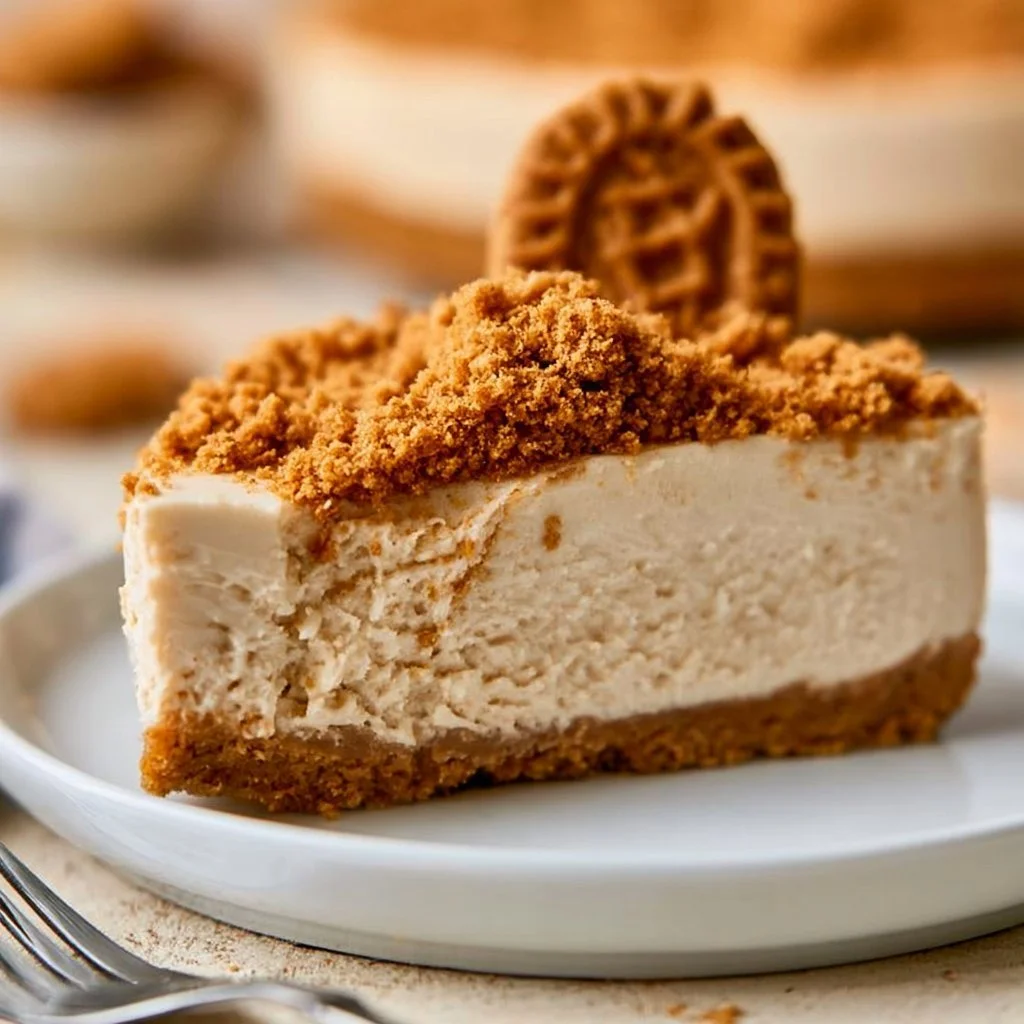
Imagine a dessert that’s not just a feast for the eyes but also an indulgent hug for your taste buds. The No-Bake Biscoff Cheesecake is here to steal the show! Crafted from buttery Biscoff biscuits and velvety cream cheese, this treat combines a crunchy base with a rich filling that melts in your mouth. And the best part? You don’t even need to turn on the oven!
Why Make This Recipe
Why should you whip up this dreamy cheesecake? Well, for starters, it involves minimal cleanup since you only need one pan. Plus, it’s a guaranteed hit for all ages—who can resist that crunchy caramel flavor of Biscoff? And let’s be honest, who doesn’t love a dessert that keeps you out of the kitchen? 😏
Ingredients
You don’t need fancy stuff — just these basics!
- 200g Biscoff biscuits
- 100g unsalted butter, melted
- 400g cream cheese, softened
- 100g powdered sugar
- 300ml heavy cream
- 1 teaspoon vanilla extract
- Biscoff spread for topping
Directions
- Crush the Biscoff biscuits into fine crumbs and mix with melted butter. Press this mixture into the base of a springform pan to form the biscuit base.
- In a bowl, beat the cream cheese and powdered sugar until smooth.
- In a separate bowl, whip the heavy cream to soft peaks and then fold it into the cream cheese mixture along with the vanilla extract.
- Pour the cheesecake filling over the biscuit base and smooth the top.
- Refrigerate for at least 4 hours or until set.
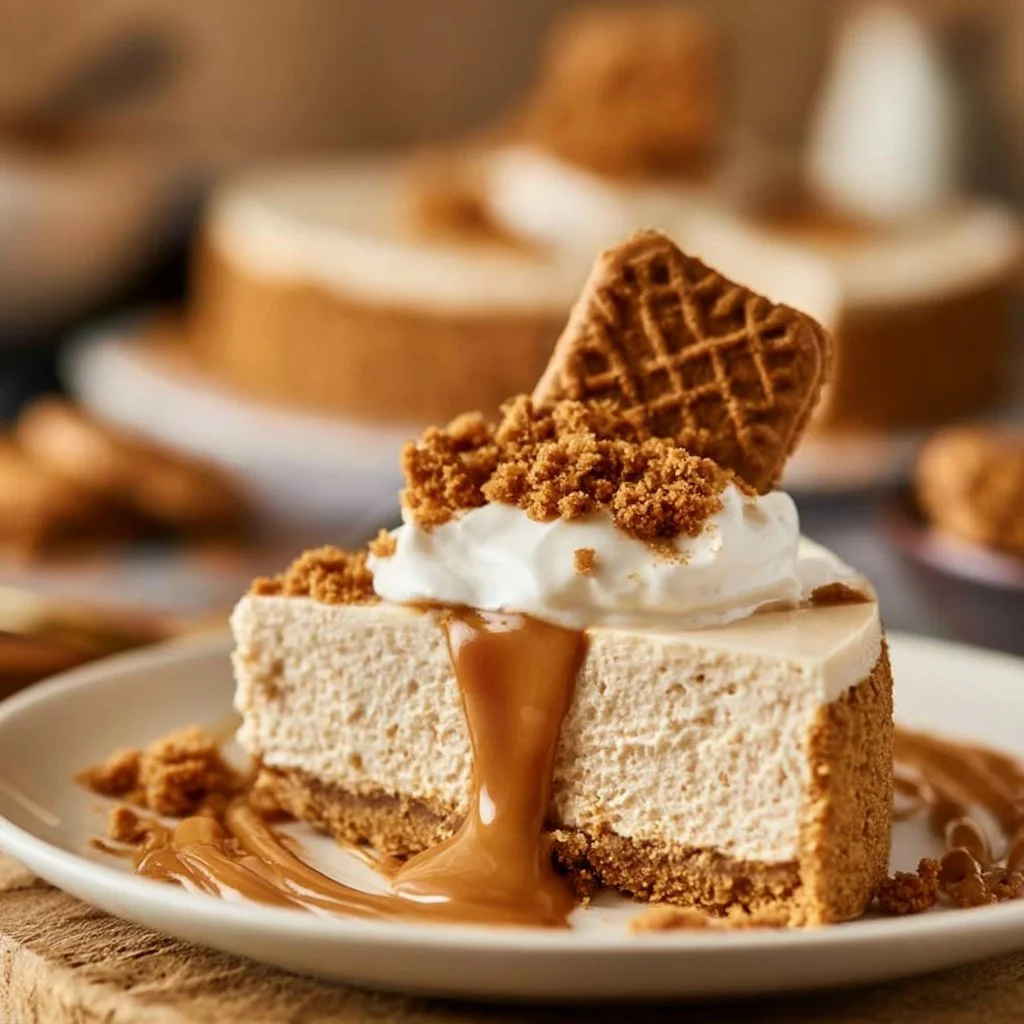
- Before serving, drizzle Biscoff spread on top of the cheesecake.
- Slice and enjoy your rich, creamy No-Bake Biscoff Cheesecake.
How to Make No-Bake Biscoff Cheesecake (Overview)
Ready to dive into cheesecake heaven? Here’s a lowdown of the process—it’s as easy as pie (or cake)!
- Crush those Biscoff biscuits until they resemble sand.
- Mix them with melted butter to form a base that’s crunchy and satisfying.
- Beat the cream cheese with sugar until it’s silky, then fold in the whipped cream for that airy texture.
- Pour it all together and let it chill—patience is key here for the best results!
- Drizzle with Biscoff, slice, and serve. Voilà!
Pro tip: Don’t rush the chilling time, or your cheesecake might be a runny mess (nobody wants that).
How to Serve No-Bake Biscoff Cheesecake
When it comes to serving this cheesecake, think of adding a touch of flair! Top it with extra Biscoff spread for a beautiful drizzle. You can also sprinkle some crunchy Biscoff crumbs on top—it’s like the cherry on your cheesecake sundae! The golden brown color paired with the creamy filling creates a stunning visual—your guests won’t be able to resist.
How to Store No-Bake Biscoff Cheesecake
This cheesecake can chill in the fridge for up to 5 days—that is if it lasts that long! If you want to keep it longer, you can even freeze it for about a month. Just wrap it nicely to prevent freezer burn. When you’re ready to enjoy that deliciousness again, let it thaw in the fridge overnight. Make-ahead tip: Prepare it a day in advance for the perfect texture!
Tips to Make No-Bake Biscoff Cheesecake
- Make sure your cream cheese is softened to room temperature—this ensures a smooth filling.
- If you want it a bit sweeter, you can adjust the sugar to your taste!
- Consider adding a splash of coffee to the filling for a mocha twist.
- If you’re out of Biscoff, any cookie can do—try Oreos for a fun flavor variation.
- For a fluffier cheesecake, whip your cream a bit longer for stiffer peaks.
Variation
Want to jazz it up? Try adding some chocolate chips or even a swirl of caramel for extra flavor. You could also experiment with a vegan version using coconut cream and dairy-free cookies!
FAQs
Can I make this dessert ahead of time?
Absolutely! It’s even better when made a day ahead, as the flavors meld beautifully.
Can I freeze the No-Bake Biscoff Cheesecake?
Yes, it freezes well! Just make sure to wrap it tightly and store it safely.
What can I use if I don’t have Biscoff biscuits?
You can use any cookie with a similar texture and flavor, like graham crackers or Oreos.
Now you’ve got everything you need to create a spectacular No-Bake Biscoff Cheesecake! So get ready to impress your friends and family with this easy, creamy delight. 😋
📌 Pin this recipe for your next cozy dinner night!
No-Bake Biscoff Cheesecake
Ingredients
Method
- Crush the Biscoff biscuits into fine crumbs and mix with melted butter. Press this mixture into the base of a springform pan to form the biscuit base.
- In a bowl, beat the cream cheese and powdered sugar until smooth.
- In a separate bowl, whip the heavy cream to soft peaks and then fold it into the cream cheese mixture along with the vanilla extract.
- Pour the cheesecake filling over the biscuit base and smooth the top.
- Refrigerate for at least 4 hours or until set.
- Before serving, drizzle Biscoff spread on top of the cheesecake.
- Slice and enjoy your rich, creamy No-Bake Biscoff Cheesecake.
Notes
Printable Recipe Card
Want just the essential recipe details without scrolling through the article? Get our printable recipe card with just the ingredients and instructions.