Mini Cheesecakes
It’s Cheesecake Bliss in a Bite!
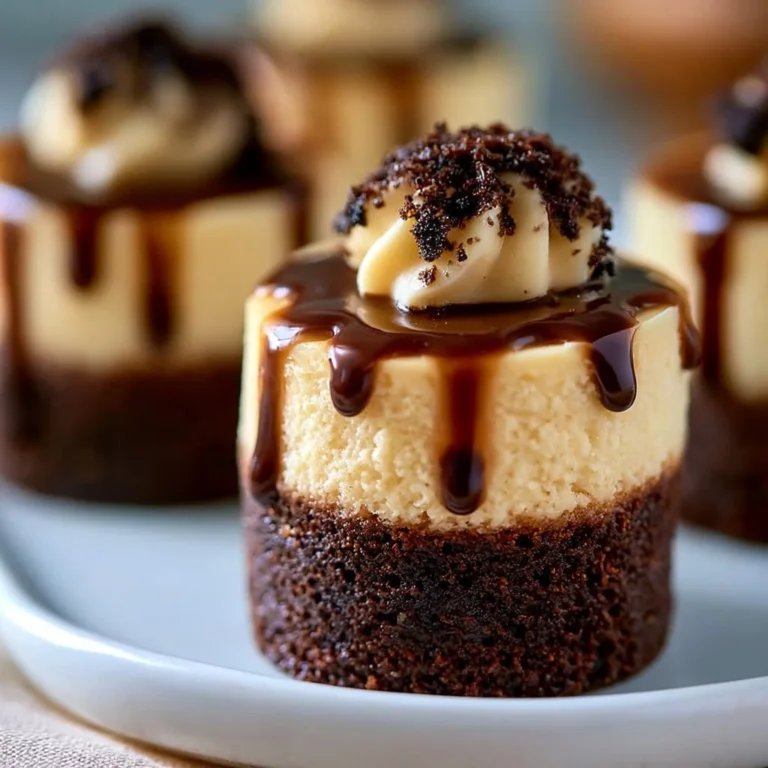
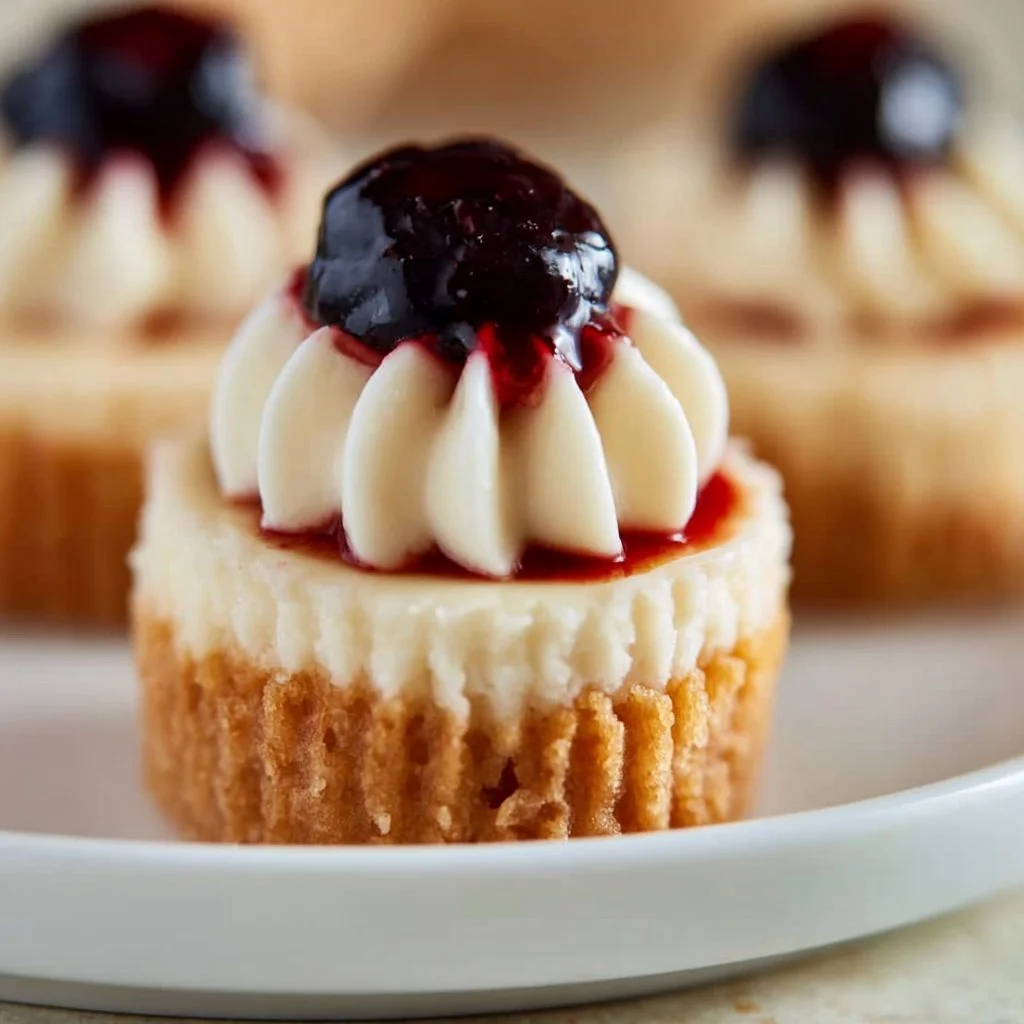
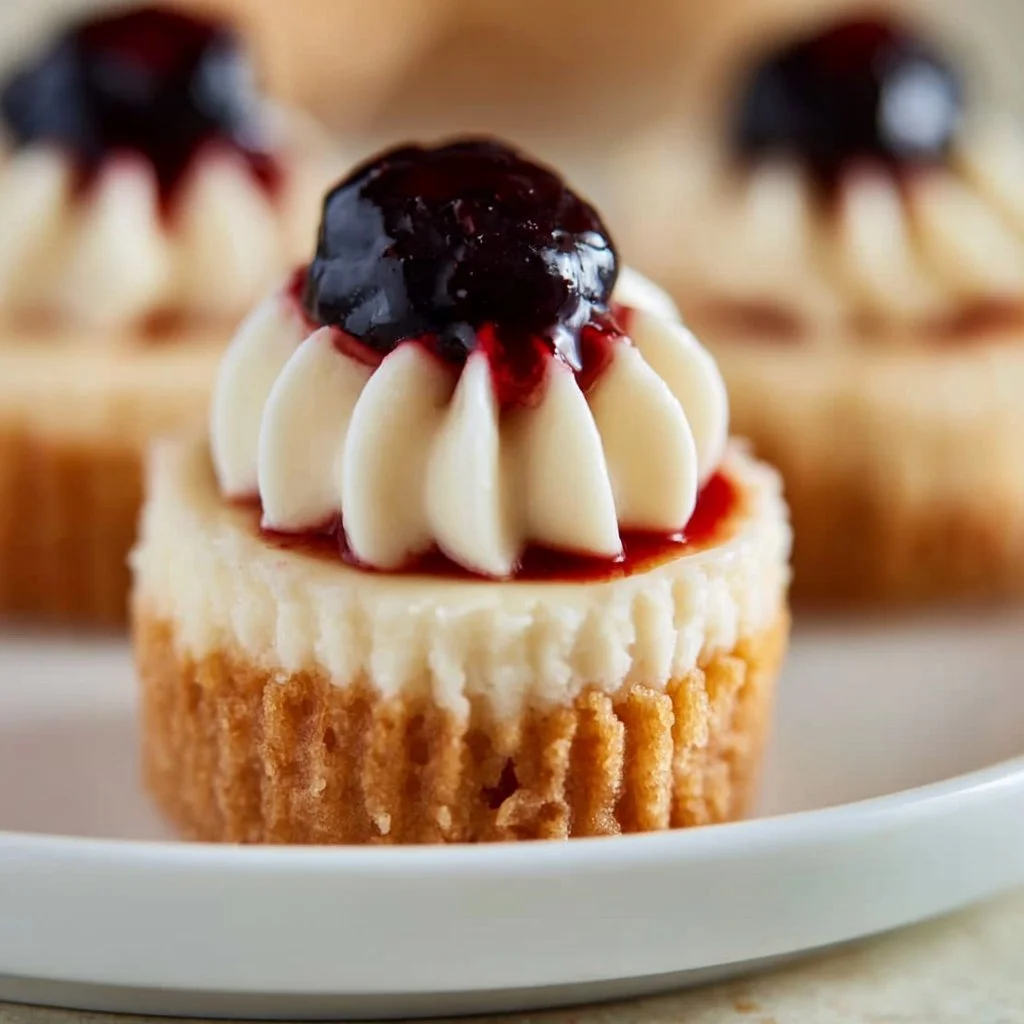
Picture this: a sweet, creamy cheesecake nestled in a buttery crust, perfect for satisfying that dessert craving. These Mini Cheesecakes are deceptively simple to whip up, yet they taste oh-so-indulgent! With their delightful portion sizes, they’re practically begging to be the star of your next gathering (or just a treat for yourself!).
Why Make This Recipe
Who doesn’t love a dessert that’s easy to make and even easier to eat? Here’s why you’ll love these mini delights:
- Quick Cleanup: No messy plates here! You bake them right in a cupcake pan, which means less time scrubbing pots and more time enjoying your treats.
- Affordable Ingredients: You’ll find everything you need right in your pantry or at the local store without breaking the bank.
- Family-Friendly Fun: Kids can help with mixing and topping, making it a delicious bonding activity!
Ingredients:
You don’t need fancy stuff — just these basics!
- 8 oz cream cheese, softened
- 1/2 cup sugar
- 1 teaspoon vanilla extract
- 1/2 cup sour cream
- 1 egg
- 1 cup graham cracker crumbs
- 1/4 cup melted butter
- Toppings (fruit, chocolate, caramel)
Directions:
Let’s get baking! Follow these simple steps to cheesecake heaven:
- Preheat your oven to 325°F (160°C).
- In a mixing bowl, combine the graham cracker crumbs and melted butter until well mixed.
- Press the mixture into the bottom of a cupcake pan lined with cupcake liners to form the crust.
- In another bowl, beat the cream cheese, sugar, and vanilla until smooth.
- Add in the sour cream and egg, mixing until just combined.
- Pour the cheesecake filling over the crusts in the cupcake pan.
- Bake for about 20 minutes or until set.
- Allow to cool, then refrigerate for at least 2 hours.
- Top with your choice of fruit, chocolate, or caramel before serving.
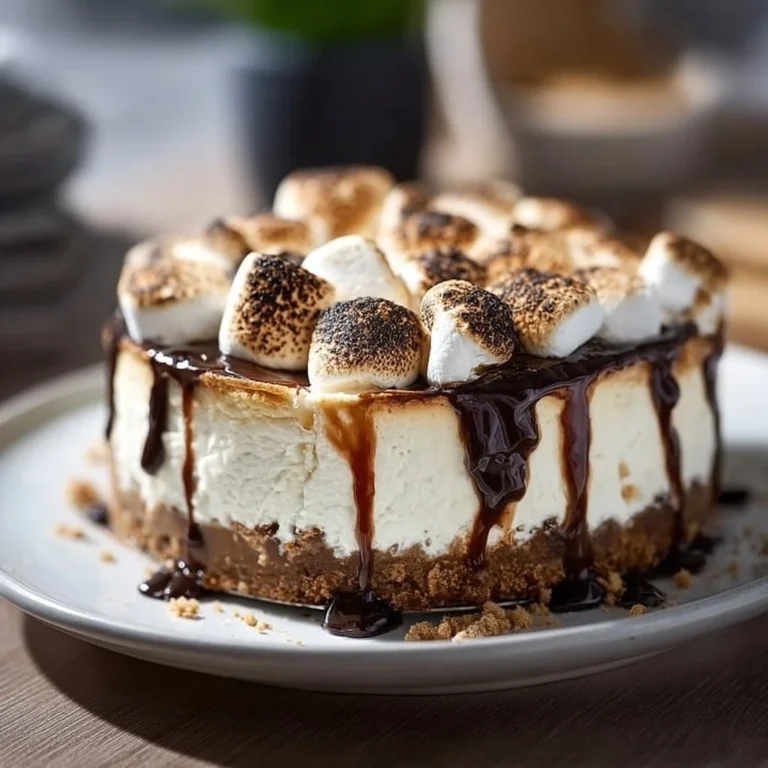
{image_2}
How to Make Mini Cheesecakes (Overview)
Making these mini cheesecakes is like a casual chat with a friend—no pressure! Here’s the lowdown on this delightful baking adventure:
- Start with the crust by mixing graham cracker crumbs and butter until crumbly. Press it tightly into those cupcake liners for the perfect base.
- Next, beat together the cream cheese, sugar, and vanilla, then fold in the sour cream and egg. It’s like a creamy dance party in your bowl!
- Pour that luscious filling over your crusts and pop them in the oven. Pro tip: You want them set but still a bit jiggy in the center.
- Once cooled, chill them out in the fridge, then unleash your creativity with toppings. Don’t rush this part—it’s where the magic happens!
How to Serve Mini Cheesecakes
Let’s elevate this dessert game! Serve your mini cheesecakes on a colorful plate, and don’t hold back on the toppings. You can:
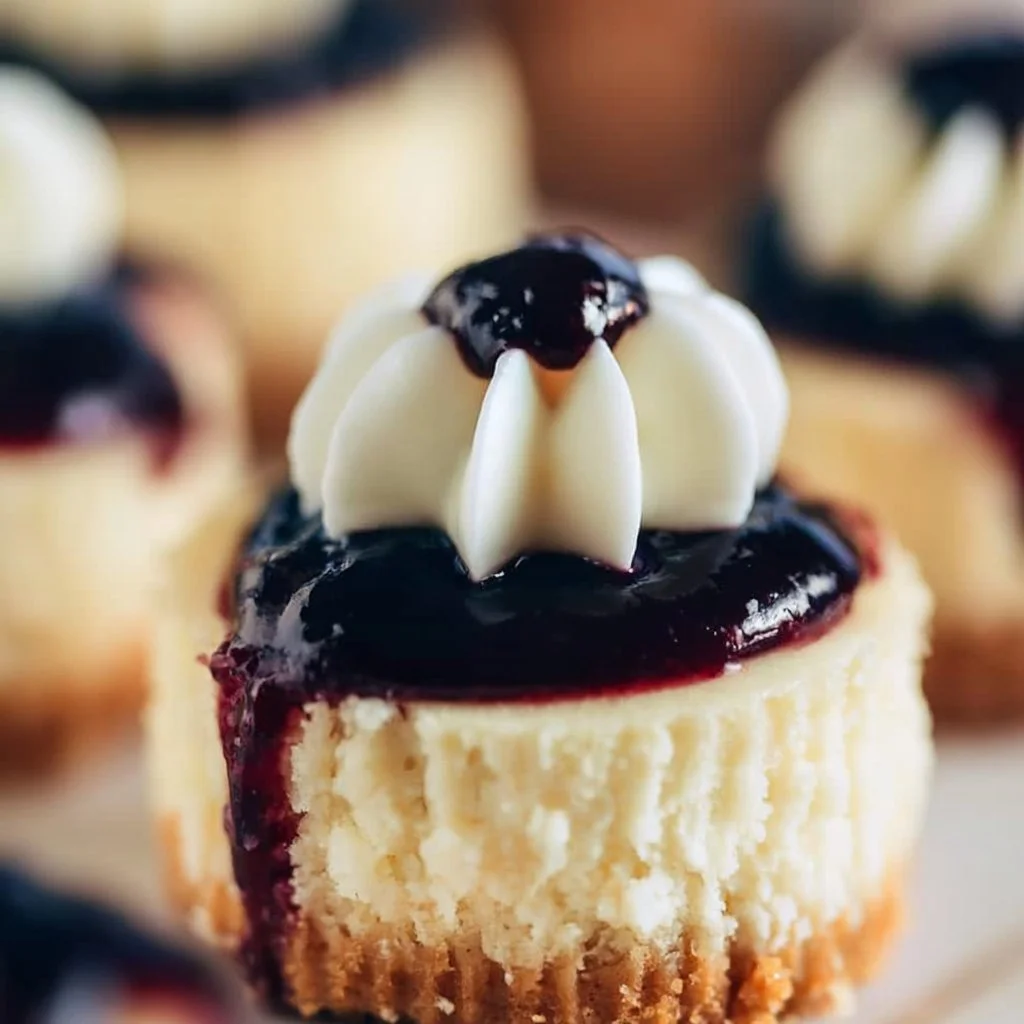
- Drizzle with chocolate sauce for a delightful contrast that looks fancy (and tastes heavenly!).
- Add fresh fruit, like strawberries or blueberries, for a splash of color and freshness.
- Serve with a side of whipped cream for an extra indulgent experience.
The colors, textures, and aromas will have everyone racing to your dessert table!
How to Store Mini Cheesecakes
These mini delights can hang out in the fridge for about 5 days. Just keep them covered to retain that creamy goodness. If you’re feeling adventurous, they can also chill in the freezer for up to 3 months. Just let them thaw in the fridge overnight before serving.
Tips to Make Mini Cheesecakes
Here are some insider tricks to ensure your mini cheesecakes turn out perfect:
- Room Temperature Ingredients: Allow your cream cheese and egg to come to room temp. It makes mixing a breeze!
- Don’t Overmix: When adding your egg, mix just until combined to avoid cracks.
- Chilling Time: Patience is key! Refrigerate them long enough to set so they’ll slice nicely without falling apart.
Variation
Feeling adventurous with your flavors? Here are some easy twists to try:
- Swap the vanilla for almond extract for a unique flavor profile.
- Use crushed Oreos instead of graham crackers for a chocolatey surprise!
- Experiment with a zest of lemon or lime in the filling for a refreshing citrus twist.
FAQs
-
Can I make these mini cheesecakes ahead of time?
Absolutely! They keep well in the fridge and are perfect for make-ahead desserts. -
Can I substitute cream cheese?
Yes! Try using a vegan cream cheese alternative for a plant-based option. -
What’s the best way to freeze these?
Just freeze them individually on a baking sheet, then transfer them to an airtight container. Simple and easy!
📌 Pin this recipe for your next cozy dinner night!
Mini Cheesecakes
Ingredients
Method
- Preheat your oven to 325°F (160°C).
- In a mixing bowl, combine the graham cracker crumbs and melted butter until well mixed.
- Press the mixture into the bottom of a cupcake pan lined with cupcake liners to form the crust.
- In another bowl, beat the cream cheese, sugar, and vanilla until smooth.
- Add in the sour cream and egg, mixing until just combined.
- Pour the cheesecake filling over the crusts in the cupcake pan.
- Bake for about 20 minutes or until set.
- Allow to cool, then refrigerate for at least 2 hours.
- Top with your choice of fruit, chocolate, or caramel before serving.
Notes
Printable Recipe Card
Want just the essential recipe details without scrolling through the article? Get our printable recipe card with just the ingredients and instructions.