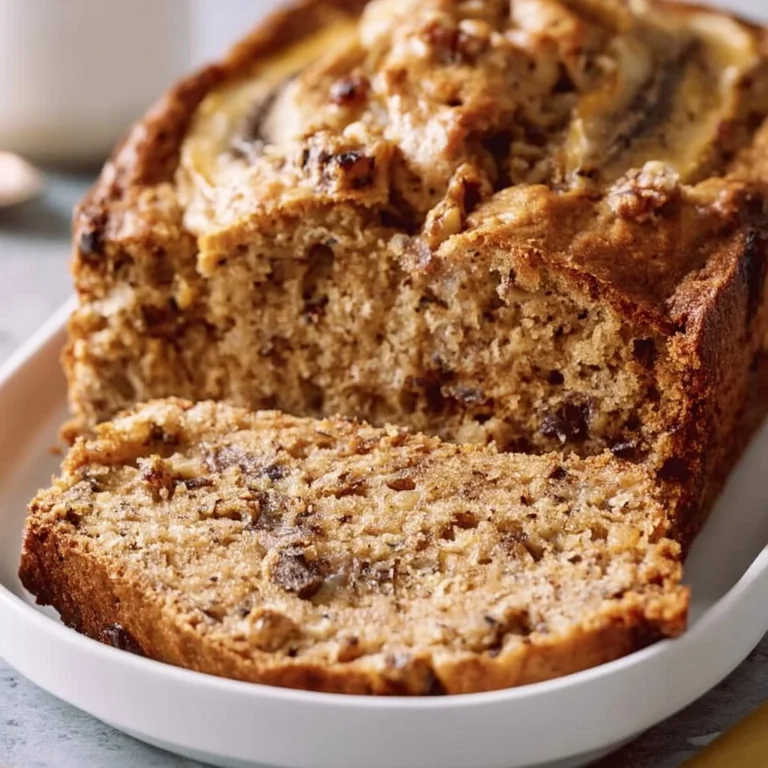
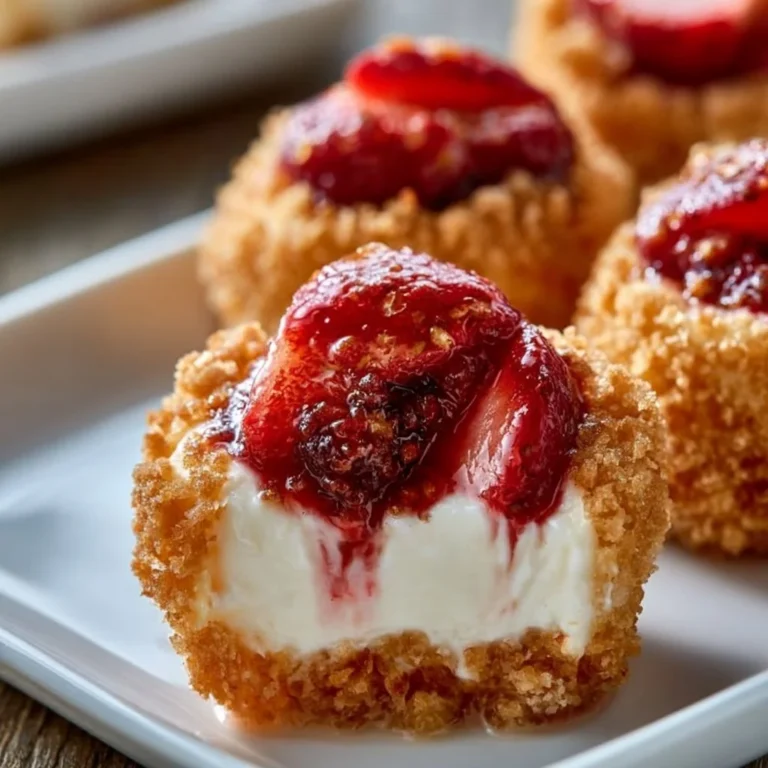
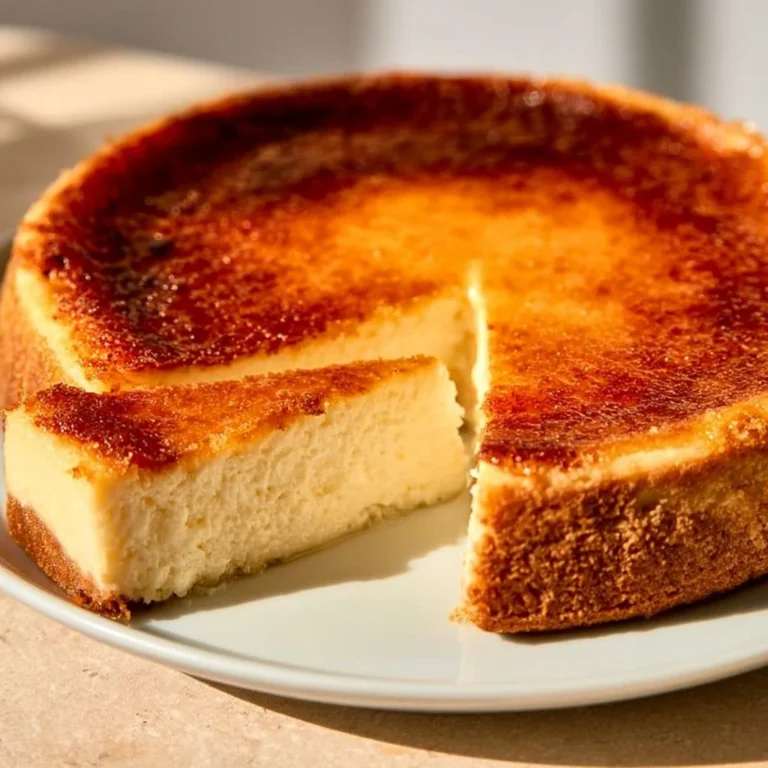
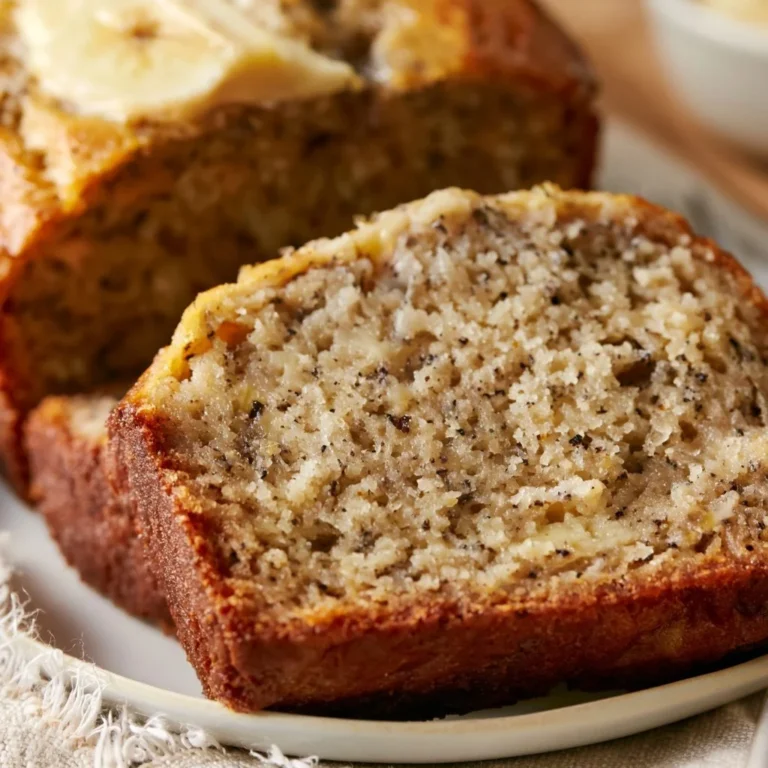
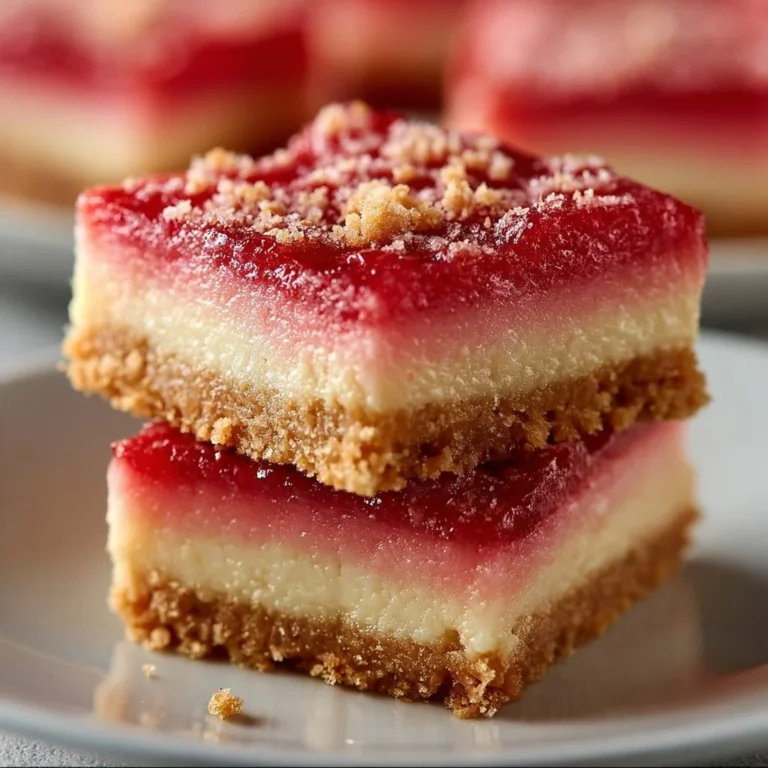
Homemade Cinnamon Rolls
Warm and Comforting Cinnamon Rolls
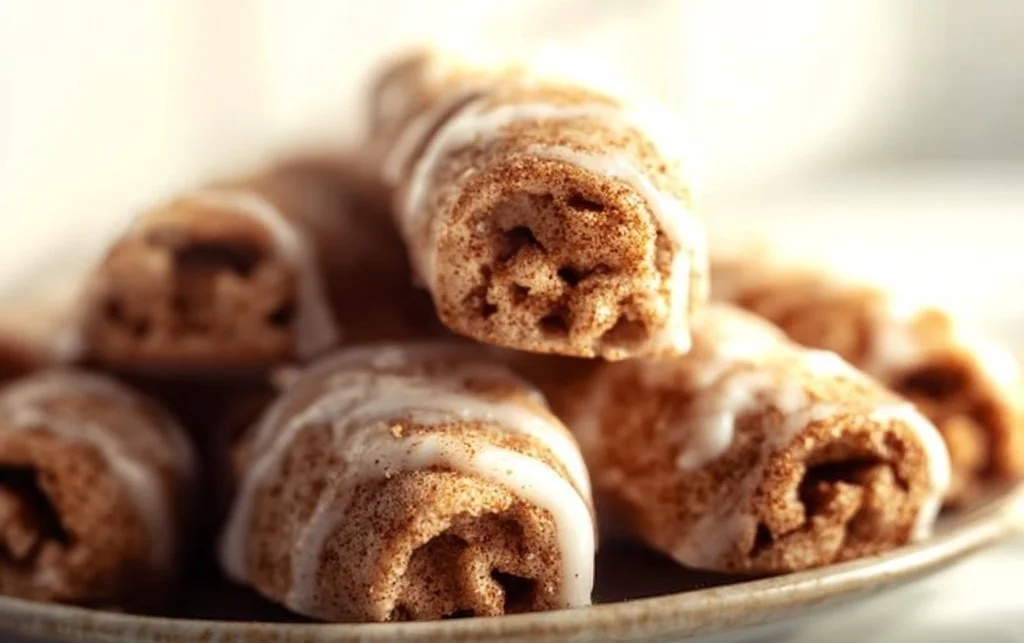
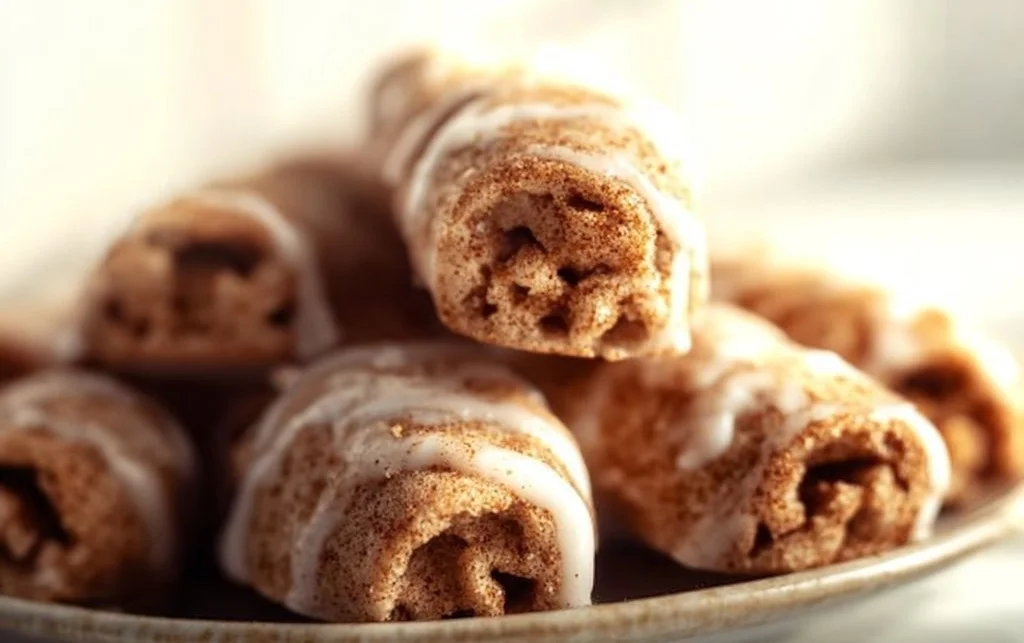
Ever walked into a room filled with the sweet aroma of cinnamon and sugar? It’s like a warm hug on a chilly day! There’s something special about Homemade Cinnamon Rolls that makes them an irresistible treat. They’re fluffy, soft, and topped with a drizzle of powdered sugar icing that makes your taste buds dance. And guess what? You can whip these up in no time!
Why Make This Recipe
Let’s be real, who doesn’t love a lil’ indulgence? Here’s why you’ll adore these cinnamon rolls:
- Quick and Easy: With just a handful of ingredients, you won’t have to spend all day in the kitchen.
- Family-Friendly: Everyone from toddlers to grandparents will dive right into these tasty treats.
- Perfect for Any Occasion: Whether it’s a lazy Sunday brunch or a holiday gathering, they fit right in, and trust me, you’ll look like a baking superstar! 🎉
Ingredients
You don’t need fancy stuff — just these basics!
- 2 cups gluten free all-purpose flour
- 1 tablespoon baking powder
- 1/2 teaspoon salt
- 1/4 cup sugar
- 1/2 teaspoon cinnamon
- 1/2 cup buttermilk (or dairy-free milk)
- 1/4 cup butter (or dairy-free butter), melted
- 1 egg
- Powdered sugar for icing
Directions
Ready to get baking? Follow these simple steps:
- Preheat your oven to 400°F (200°C).
- In a large bowl, whisk together the gluten-free flour, baking powder, salt, sugar, and cinnamon.
- In another bowl, mix the buttermilk, melted butter, and egg.
- Pour the wet ingredients into the dry ingredients and stir until just combined.
- Scoop out portions of the dough and form into small balls (about 1 inch in diameter).
- Place the balls on a baking sheet lined with parchment paper.
- Bake for 15-20 minutes or until lightly golden brown.
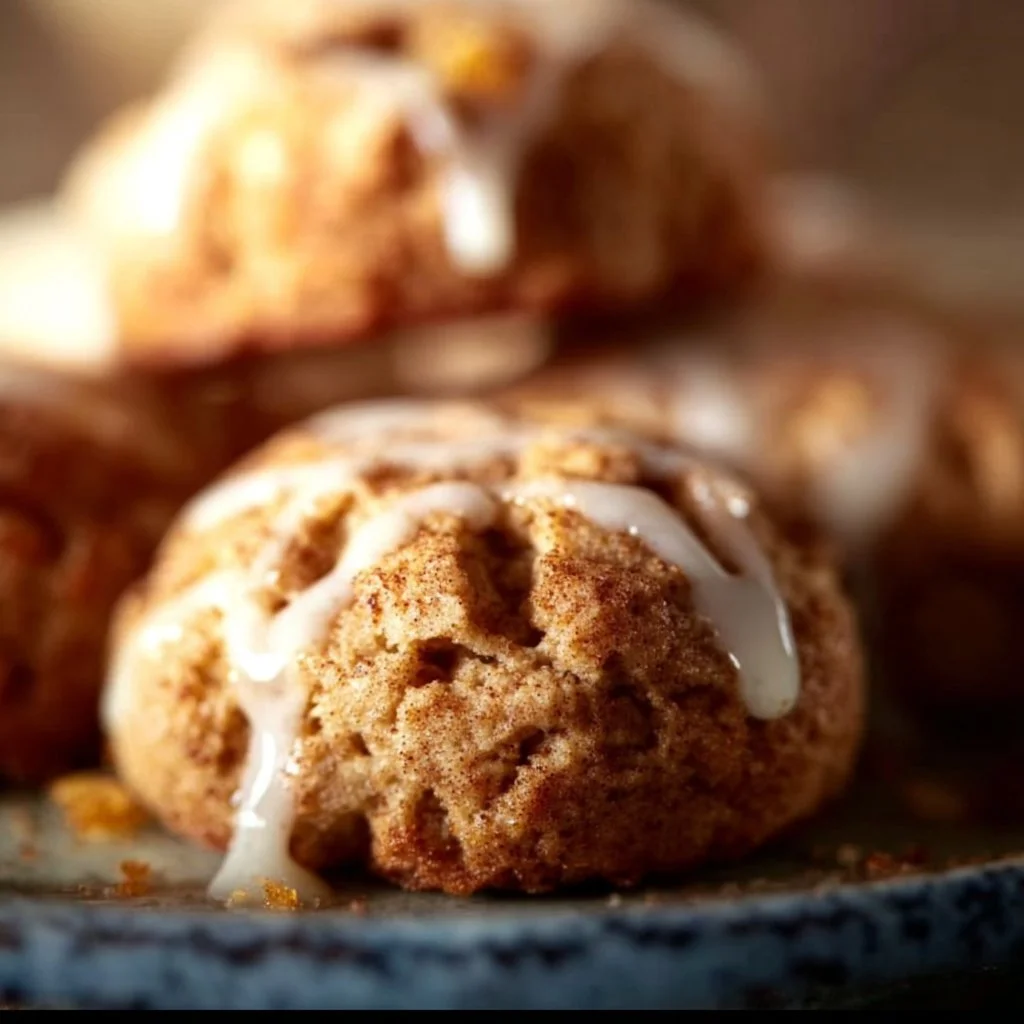
- Let cool slightly before drizzling with powdered sugar icing. To make the icing, mix powdered sugar with a little water or dairy-free milk until it reaches your desired consistency.
- Serve warm and enjoy!
How to Make Homemade Cinnamon Rolls (Overview)
Making these delightful cinnamon rolls is as easy as 1-2-3! First, mix your dry and wet ingredients separately. Then combine the two — don’t overdo it; lumps are welcome here! Shape your dough into little balls and bake until they’re golden brown. Pro Tip: Keep an eye on them in the oven because nobody likes burnt cinnamon rolls! 😉
How to Serve Homemade Cinnamon Rolls
Serve these delicious rolls warm and fresh out of the oven. Imagine fluffy, soft rolls paired with a hot cup of coffee or tea; the contrast of warmth and sweetness is heavenly. You can also sprinkle some extra cinnamon on top for a pop of color and flavor. Want to elevate the experience? Add fresh berries or a dollop of whipped cream for a touch of indulgence! 🍓
How to Store Homemade Cinnamon Rolls
These treats are best enjoyed fresh, but you can store them! Keep your rolls in an airtight container in the fridge for up to 3 days. For longer storage, freeze them — they keep well for about a month. When you’re ready to enjoy them, pop them in the microwave for a few seconds to bring back that fresh-out-of-the-oven goodness!
Tips to Make Homemade Cinnamon Rolls
- Don’t overmix: A few lumps in the dough is completely fine; it keeps them soft.
- Experiment with flavors: Try adding vanilla extract or nutmeg for some added depth.
- Brush with butter: Before baking, brush a little melted butter on top of the dough balls for a richer flavor.
- Don’t skip the icing: A little drizzle goes a long way in making these rolls simply fabulous!
- Make ’em festive: For holiday occasions, add festive sprinkles or chopped nuts on top!
Variation
Feeling adventurous? Try adding a splash of vanilla extract or some shredded coconut to your dough for a twist. You can also make these rolls vegan by using plant-based alternatives for the butter, milk, and egg. 🌱
FAQs
Can I use regular flour instead of gluten-free?
Absolutely! Just use 2 cups of all-purpose flour, and you’re good to go.
Can I make the dough ahead of time?
Yes! You can make the dough and chill it overnight. Just let it come to room temperature before baking.
How can I make these rolls more gooey?
Add a little brown sugar or a gooey caramel sauce on top before baking. Sweet and sticky perfection!
📌 Pin this recipe for your next cozy dinner night!
Homemade Cinnamon Rolls
Ingredients
Method
- Preheat your oven to 400°F (200°C).
- In a large bowl, whisk together the gluten-free flour, baking powder, salt, sugar, and cinnamon.
- In another bowl, mix the buttermilk, melted butter, and egg.
- Pour the wet ingredients into the dry ingredients and stir until just combined.
- Scoop out portions of the dough and form into small balls (about 1 inch in diameter).
- Place the balls on a baking sheet lined with parchment paper.
- Bake for 15-20 minutes or until lightly golden brown.
- Let cool slightly before drizzling with powdered sugar icing.
Notes
Printable Recipe Card
Want just the essential recipe details without scrolling through the article? Get our printable recipe card with just the ingredients and instructions.