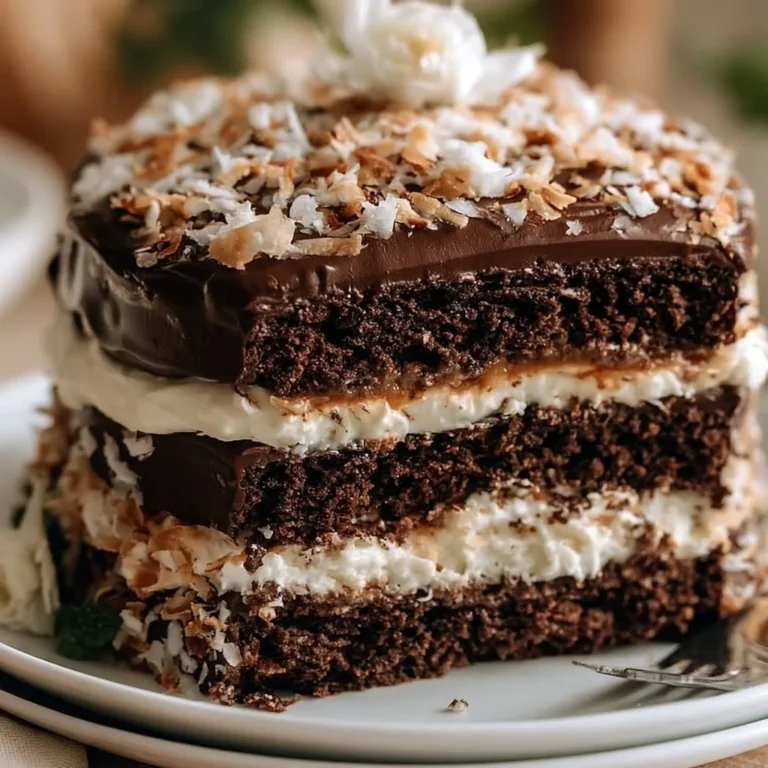
Brownie Refrigerator Cake
What’s Better Than Brownies? Brownie Refrigerator Cake!
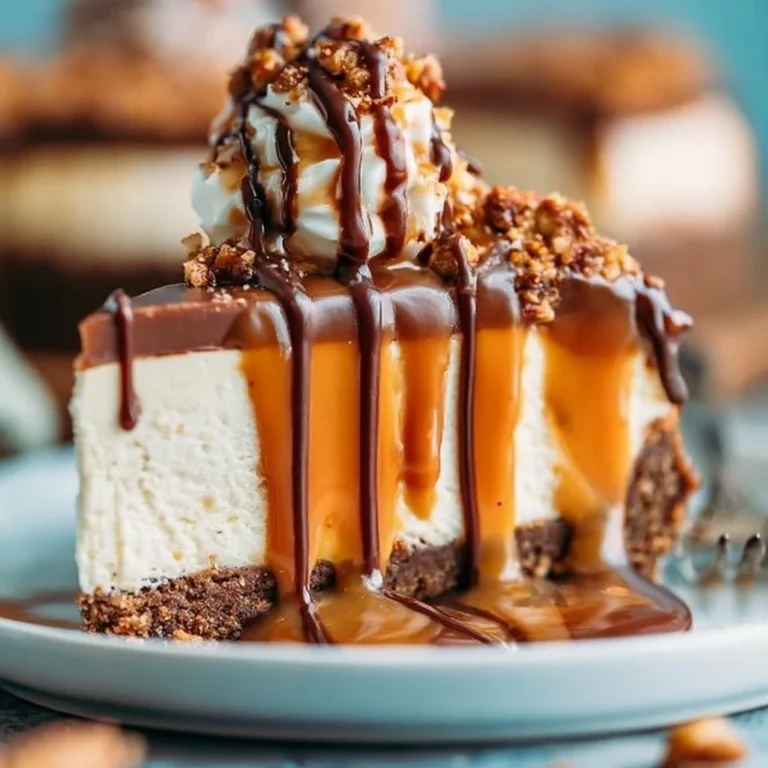
Is there anything more delightful than a layered chocolate dessert that practically melts in your mouth? Imagine rich, fudgy brownies topped with smooth cream cheese and a decadent chocolate mousse. Yep, that’s what you get with a Brownie Refrigerator Cake! This treat is not just a cake; it’s a magical creation that combines the best attributes of brownies and creamy layers into one fabulous dessert.
Why Make This Recipe?
First off, it’s super easy and quick, making you the hero of your next dinner party without the stress of a complicated dessert. Plus, think of the minimal cleanup involved—one pan and a few bowls? Score! It’s also family-friendly, so no one will be turning up their noses at dessert with this luscious layer of chocolate goodness. Seriously, who could resist dessert that looks this good? 🍫
Ingredients:
You don’t need fancy stuff — just these basics!
- 1 box brownie mix (plus ingredients listed on box)
- 16 oz cream cheese, softened
- 1 cup powdered sugar
- 2 cups heavy whipping cream, divided
- 1/2 cup cocoa powder
- 1/3 cup granulated sugar
- 1 teaspoon vanilla extract
- 1 cup chocolate chips
- Chocolate shavings for garnish
Directions:
Here’s how to whip up this irresistible treat in no time. Follow these steps:
-
Prepare brownies according to package directions in a 9×13 inch baking pan. Bake and allow to cool completely at room temperature, then refrigerate for 30 minutes until firm. This creates the perfect sturdy base for your layered cake.
-
Beat softened cream cheese with powdered sugar and vanilla extract until smooth and fluffy, about 3 minutes. Spread this mixture evenly over the cooled brownie base, creating a smooth layer with an offset spatula. Refrigerate for 20 minutes to set.
-
Whip 1 cup of heavy cream with cocoa powder and granulated sugar until stiff peaks form. Gently spread this chocolate mousse over the cream cheese layer, being careful not to disturb the layer beneath. Smooth the top and refrigerate for another 30 minutes.
-
Whip the remaining 1 cup of heavy cream with 2 tablespoons powdered sugar until stiff peaks form. Pipe or spread whipped cream decoratively over the chocolate mousse layer, creating beautiful rosettes or swirls.
-
Melt chocolate chips in 20-second intervals in the microwave, stirring between each interval until smooth. Drizzle melted chocolate over the whipped cream topping and sprinkle with chocolate shavings.
-
Refrigerate for at least 3 hours, or overnight before serving for best results.

How to Make Brownie Refrigerator Cake (Overview)
Making the Brownie Refrigerator Cake is as simple as pie—well, maybe more like brownies! Here’s the lowdown:
- Whip up your brownies and let them cool completely.
- While your brownies are cooling, mix your cream cheese and layer it like an expert.
- Next, whip up some chocolate mousse, because, duh, it’s the star of the show!
- Ready for whipped cream? Yes, please! Spread it over like a pro.
- Drizzle with melted chocolate and pop it in the fridge. It’s basically a waiting game now, and you can totally do that!
Pro tip: Don’t skip that chilling time! It’s crucial for the layers to set perfectly.
How to Serve Brownie Refrigerator Cake
When it comes to serving, get ready for some oohs and aahs! Cut it into squares and stand back as everyone dives in. You can even garnish with fresh berries or a dusting of cocoa powder for a pop of color and added texture. The sight of those chocolatey layers will make your guests’ mouths water, and the creamy aroma will fill the room, setting the perfect mood for a sweet end to any meal. 😋
How to Store Brownie Refrigerator Cake
You’ll want to keep this beauty as fresh as possible. Store it in the refrigerator, where it will last for about 3-5 days. If you need to keep it longer, you could consider freezing it, but honestly, it might be gone before it has a chance! If you’re planning on making it ahead of time, it stores like a champ in the fridge.
Tips to Make Brownie Refrigerator Cake
- Room temperature cream cheese is a game changer. It mixes smoothly—no lumps allowed!
- For an extra chocolate kick, try adding some chocolate chips to your brownie batter. 💥
- If you want a deeper flavor, swap half of the cream in the mousse with espresso powder. Hello, chocolate coffee heaven!
Variation
Feeling adventurous? You can easily switch up the flavors! Try using peanut butter instead of cream cheese for a nutty twist. Or go for a vegan version by using plant-based cream cheese and whipped coconut cream. The options are endless, and each bite will be a little adventure on its own!
FAQs
Can I use a different brownie mix?
Absolutely! Feel free to use your favorite brownie mix or even homemade brownies.
Is it okay to make this ahead of time?
Yes! In fact, it tastes even better after a night in the fridge, allowing the flavors to meld.
Can I freeze the Brownie Refrigerator Cake?
Yes, you can! Just make sure to wrap it tightly before freezing. It should keep well for up to a month.
📌 Pin this recipe for your next cozy dinner night!
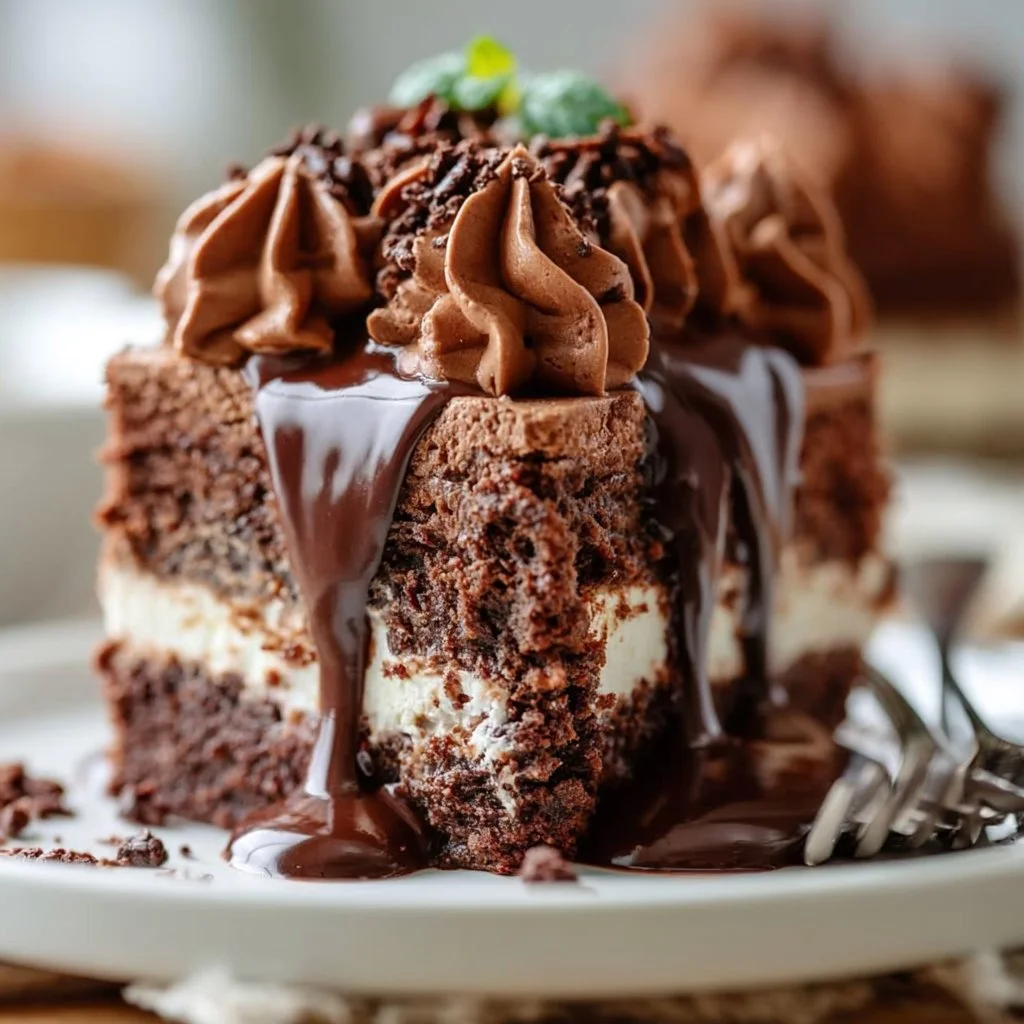
Brownie Refrigerator Cake
Ingredients
Method
- Prepare brownies according to package directions in a 9x13 inch baking pan. Bake and allow to cool completely at room temperature, then refrigerate for 30 minutes until firm.
- Beat softened cream cheese with powdered sugar and vanilla extract until smooth and fluffy, about 3 minutes. Spread this mixture evenly over the cooled brownie base and refrigerate for 20 minutes to set.
- Whip 1 cup of heavy cream with cocoa powder and granulated sugar until stiff peaks form. Gently spread this chocolate mousse over the cream cheese layer and refrigerate for another 30 minutes.
- Whip the remaining 1 cup of heavy cream with 2 tablespoons powdered sugar until stiff peaks form. Pipe or spread whipped cream decoratively over the chocolate mousse layer.
- Melt chocolate chips in 20-second intervals in the microwave, stirring between each interval until smooth. Drizzle melted chocolate over the whipped cream topping and sprinkle with chocolate shavings.
- Refrigerate for at least 3 hours, preferably overnight before serving.
Notes
Printable Recipe Card
Want just the essential recipe details without scrolling through the article? Get our printable recipe card with just the ingredients and instructions.