Easy Cheesecake Deviled Strawberries
Sweet, Creamy, and Oh-So-Easy!
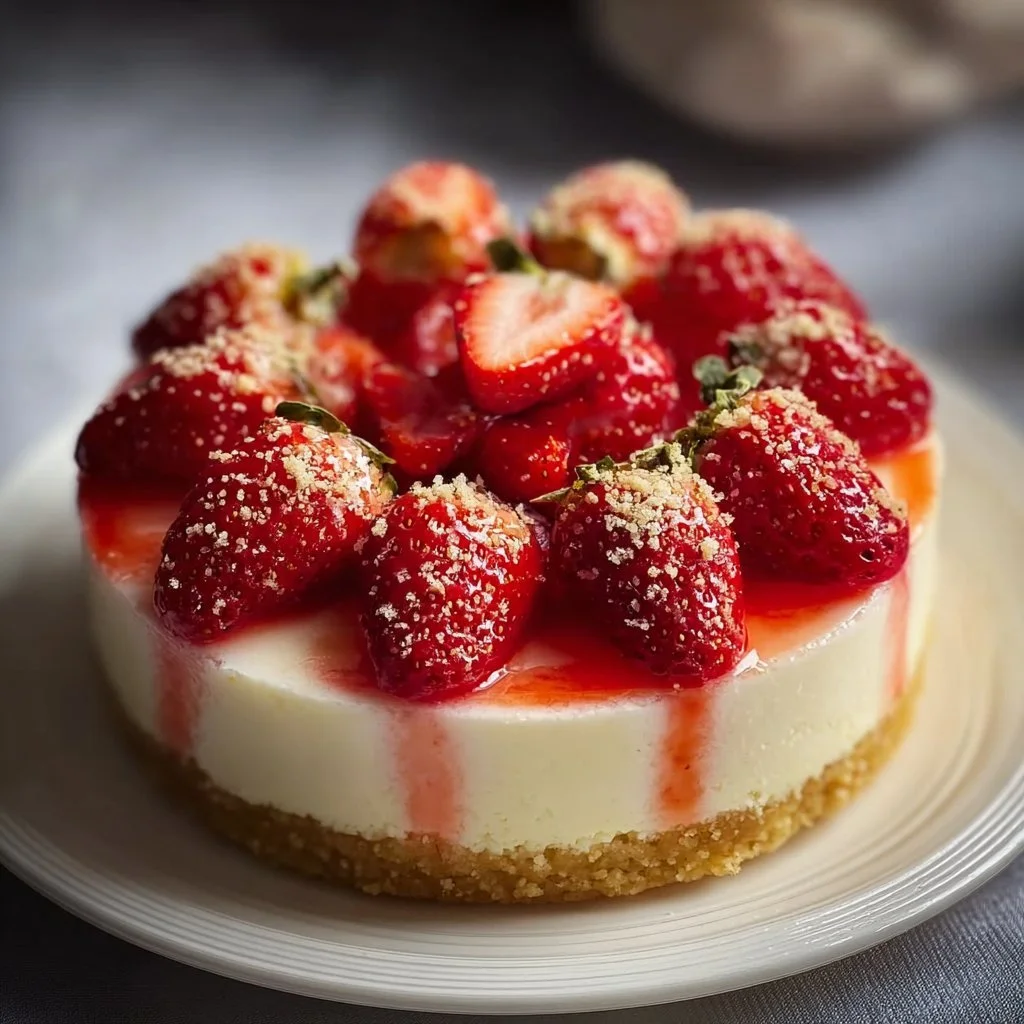
Ever bitten into a strawberry so juicy and sweet that it feels like summer in your mouth? Now, imagine that same delectable strawberry, hollowed out and filled with a creamy cheesecake mixture, then topped with crunchy graham cracker crumbs. These Easy Cheesecake Deviled Strawberries are not just a treat; they’re a small miracle of flavor and texture, perfect for any occasion!
These little gems are special because they’re not only quick to whip up but also require just a few simple ingredients. Plus, they’ll be the star of your dessert table without the fuss of traditional cheesecake baking. Seriously, your friends might just crown you the dessert queen or king!
Why Make This Recipe
Thinking about why you need these beauties in your life? Here are three reasons you’ll totally love them:
- No bake = no stress! Who has the time to let a cheesecake sit in the oven for hours?
- Cleanup is a breeze. It’s all done in one bowl and one platter. Just rinse and go!
- Family-friendly fun! Kids can help fill the strawberries and get creative with toppings. What’s better than dessert and bonding time? It’s a win-win!
Ingredients
You don’t need fancy stuff — just these basics! Gather up:
- Fresh strawberries
- Cream cheese
- Powdered sugar
- Vanilla extract
- Graham cracker crumbs
Directions
Ready to bring these Easy Cheesecake Deviled Strawberries to life? Let’s go!
- Wash and hull the strawberries and set aside.
- In a bowl, beat together cream cheese, powdered sugar, and vanilla extract until smooth.
- Use a piping bag or a small spoon to fill the hollowed strawberries with the cheesecake mixture.
- Sprinkle graham cracker crumbs on top of the filled strawberries.
- Refrigerate for about 30 minutes before serving. Enjoy!
How to Make Easy Cheesecake Deviled Strawberries (Overview)
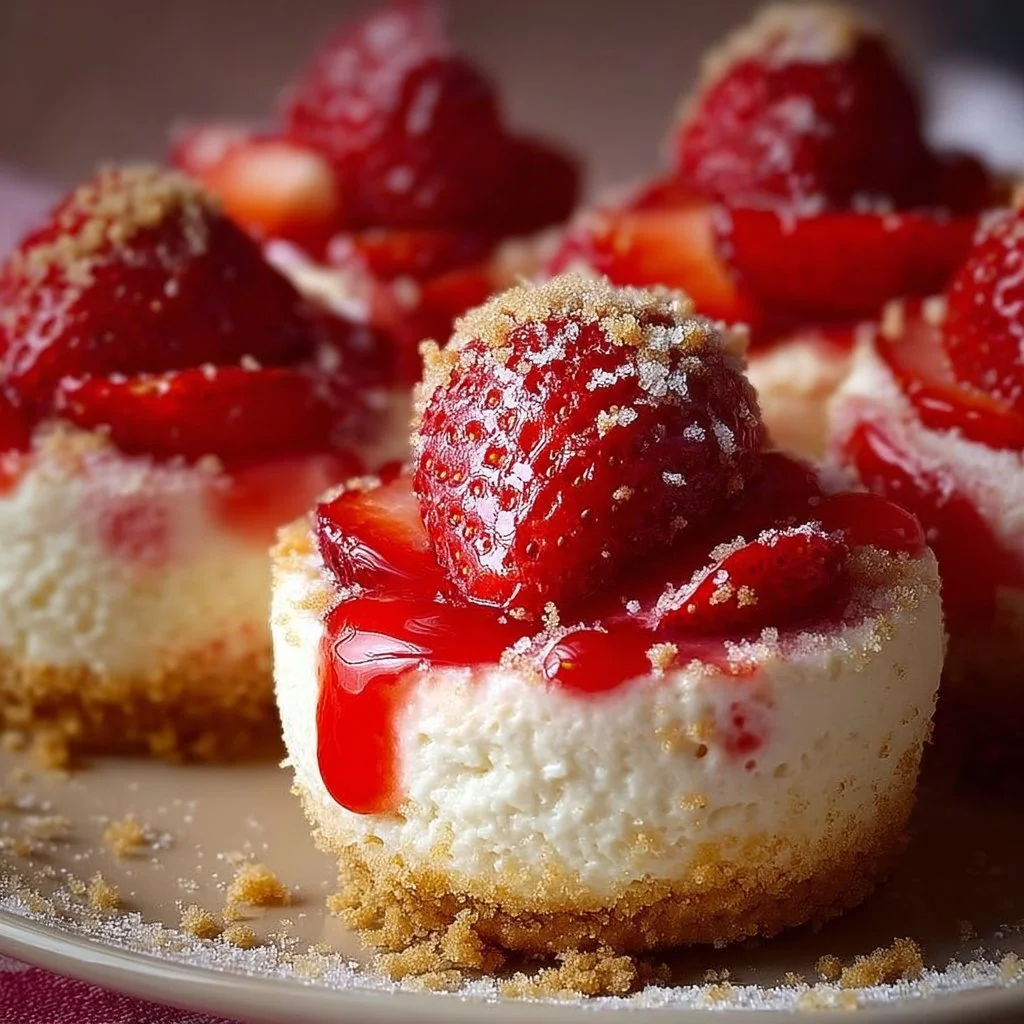
This process is as easy as pie (or should we say cheesecake?). First, you wash and prep the strawberries; think of it as giving them a spa day. Whip up that creamy filling to a smooth perfection—trust us, you’ll want to eat it with a spoon. Once filled, sprinkle those graham cracker crumbs like you’re giving the strawberries a delicious little hat. Let them chill for a bit to set, and voilà—you’re all set for the ultimate dessert experience! Pro tip: you can make the filling in advance and just fill the strawberries when you’re ready to serve.
How to Serve Easy Cheesecake Deviled Strawberries
When it comes to serving, these strawberries can steal the show on any platter. Arrange them on a beautiful dish for a pop of color at your next gathering. You could also serve them alongside a refreshing fruit salad or a dollop of whipped cream to elevate that creamy, dreamy experience. Just picture the vibrant red strawberries against the white cheesecake filling — it’s a feast for both the eyes and the taste buds! 🍓✨
How to Store Easy Cheesecake Deviled Strawberries
These delightful treats best reside in the fridge, where they’ll stay fresh for about 1-2 days. If you happen to have leftovers (which is rare!), just keep them in an airtight container. Note that if you freeze them, the texture might not be as fabulous when they thaw back out, so enjoy them fresh for the best experience!
Tips to Make Easy Cheesecake Deviled Strawberries
- If you want a lighter version, swap regular cream cheese for a low-fat cream cheese.
- Feeling adventurous? Try adding lemon zest or a drop of almond extract for a unique flavor twist.
- For an extra crunch, consider toasting some additional graham cracker crumbs before sprinkling them on top. It adds a lovely nutty flavor!
Variation
Want to switch it up? You can easily make these vegan by using dairy-free cream cheese and powdered sugar made from organic cane sugar. If you love chocolate, dip half of the filled strawberries in melted chocolate. Who wouldn’t want a Chocolate Cheesecake Deviled Strawberry, am I right? 🍫
FAQs
1. Can I use frozen strawberries?
Fresh strawberries work best for this recipe, but if you’re in a pinch, thawed frozen strawberries can work too—just be careful with watering!
2. How do I make these ahead of time?
Make the filling the night before and store it separately in the fridge. Fill the strawberries just before serving for that fresh taste.
3. Can I freeze these?
Ideally, enjoy them fresh! Freezing might alter their lovely texture, but if you must, individually freeze the filled strawberries and thaw in the fridge before serving.
📌 Pin this recipe for your next cozy dinner night!
Easy Cheesecake Deviled Strawberries
Ingredients
Method
- Wash and hull the strawberries and set aside.
- In a bowl, beat together cream cheese, powdered sugar, and vanilla extract until smooth.
- Use a piping bag or a small spoon to fill the hollowed strawberries with the cheesecake mixture.
- Sprinkle graham cracker crumbs on top of the filled strawberries.
- Refrigerate for about 30 minutes before serving.
Notes
Printable Recipe Card
Want just the essential recipe details without scrolling through the article? Get our printable recipe card with just the ingredients and instructions.