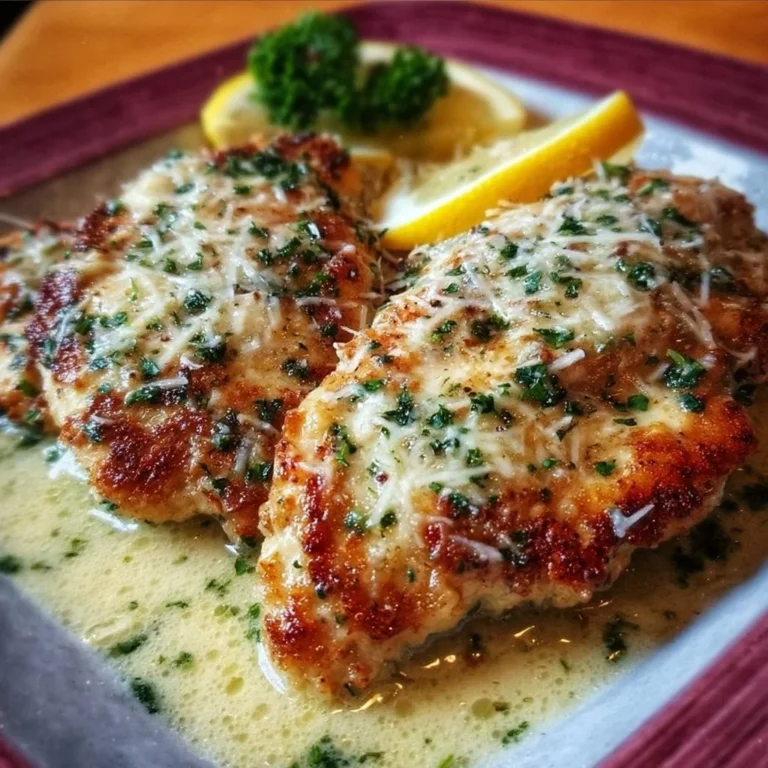
Mini Quiches
Ever had a bite-sized piece of heaven that just melts in your mouth?
These Mini Quiches are the answer! Perfect for brunch, snacks, or even a light dinner, these little treats pack a punch of flavor while being incredibly easy to whip up. Who doesn’t love a meal that feels fancy but takes hardly any time? Get ready to impress without breaking a sweat!
Why make this recipe
You’ll love these Mini Quiches for several reasons:
- Easy Cleanup: With only a few dishes to wash, you can savor every bite and skip the dreaded sink scrub.
- Family-Friendly: Customize them to suit picky eaters—everyone gets their preferred filling! 🥳
- Affordable: You don’t need to splurge on gourmet ingredients—a fridge raid can do the trick!
Ingredients:
You don’t need fancy stuff—just these basics!
- 1 pie crust (store-bought or homemade)
- 4 eggs
- 1 cup milk
- Salt and pepper to taste
- 1 cup shredded cheese (cheddar, mozzarella, or your choice)
- Various fillings (such as diced ham, cooked spinach, chopped bell peppers, or sautéed mushrooms)
Directions:
- Preheat the oven to 375°F (190°C).
- Roll out the pie crust and cut into rounds, then place in mini muffin tins.
- In a mixing bowl, whisk together eggs, milk, salt, and pepper.
- Divide the cheese and chosen fillings among the crusts.
- Pour the egg mixture over the fillings until almost full.
- Bake for 18-20 minutes or until the egg is set and the tops are golden.
- Let cool slightly before serving.

How to make Mini Quiches (Overview)
Making Mini Quiches is a breeze! Start by rolling out your pie crust and cutting it into rounds. Layer in your favorite fillings—think of this as a mini edible canvas ready for your masterpiece. Next, whip up that creamy egg mixture and pour it over your colorful fillings. Pop them in the oven, and let the magic happen!
Pro Tip: Make sure your muffin tins are well-greased to avoid a sticky situation. Trust me, nobody likes a quiche that’s stuck to the pan!
How to serve Mini Quiches
Serve these bite-sized wonders warm and fresh from the oven! They look gorgeous on any platter—golden tops, colorful veggie specks, and bubble of gooey cheese peeking through. Pair them with a light salad for crunch or a dollop of your favorite salsa for a zingy twist. The aroma alone will draw your guests in faster than you can say “mini quiche!” 😍
How to store Mini Quiches
Store leftover quiches in the fridge, where they’ll stay good for about 3-4 days. You can also freeze them for up to 2 months—that’s a lifesaver! For reheating, just pop them in the oven at 350°F (175°C) for about 10 minutes, and they’ll be as delicious as ever.
Tips to make Mini Quiches
- Mix and Match Fillings: Use whatever you have—think leftover veggies or meats.
- Cheesy Goodness: Don’t skimp on the cheese! It adds a delightful richness.
- Egg Mixture Consistency: Whisk your egg mixture vigorously to ensure a fluffy texture.
- Fresh Herbs: A sprinkle of fresh herbs gives your quiches that extra oomph! 🌿
- Don’t Overfill: Leave a bit of headroom so they don’t spill over in the oven.
Variation
Feeling adventurous? Swap out the eggs for silken tofu for a vegan version, or try adding herbs like basil or thyme for a burst of freshness. You can even experiment with different types of cheeses for a unique flavor twist!
FAQs
1. Can I use other types of crusts?
Absolutely! Try puff pastry or even tortillas for a fun twist.
2. Can I make them ahead of time?
Yes! Prep your mini quiches in advance, and bake them fresh when you’re ready to serve.
3. What’s the best way to reheat them?
The oven is your best bet! Microwaving can make them soggy, so stick with the oven for crispy results.
📌 Pin this recipe for your next cozy dinner night!

Mini Quiches
Ingredients
Method
- Preheat the oven to 375°F (190°C).
- Roll out the pie crust and cut into rounds, then place in mini muffin tins.
- In a mixing bowl, whisk together eggs, milk, salt, and pepper.
- Divide the cheese and chosen fillings among the crusts.
- Pour the egg mixture over the fillings until almost full.
- Bake for 18-20 minutes or until the egg is set and the tops are golden.
- Let cool slightly before serving.
Notes
Printable Recipe Card
Want just the essential recipe details without scrolling through the article? Get our printable recipe card with just the ingredients and instructions.