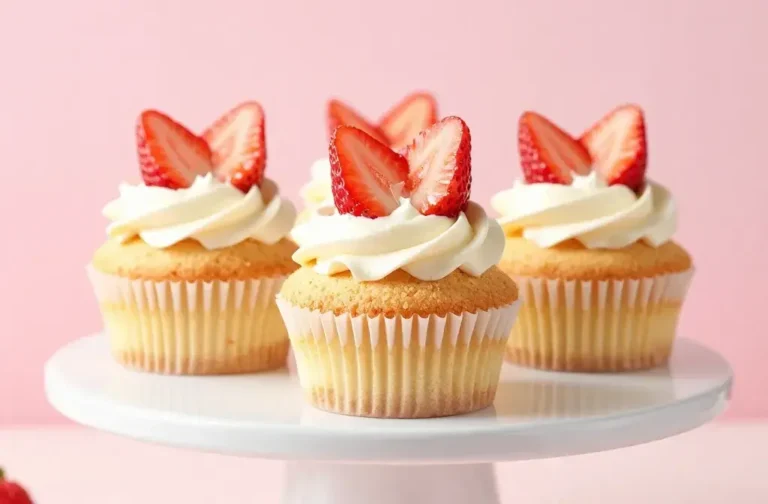
Pastel Ombre Easter Cupcakes: Springtime Delights
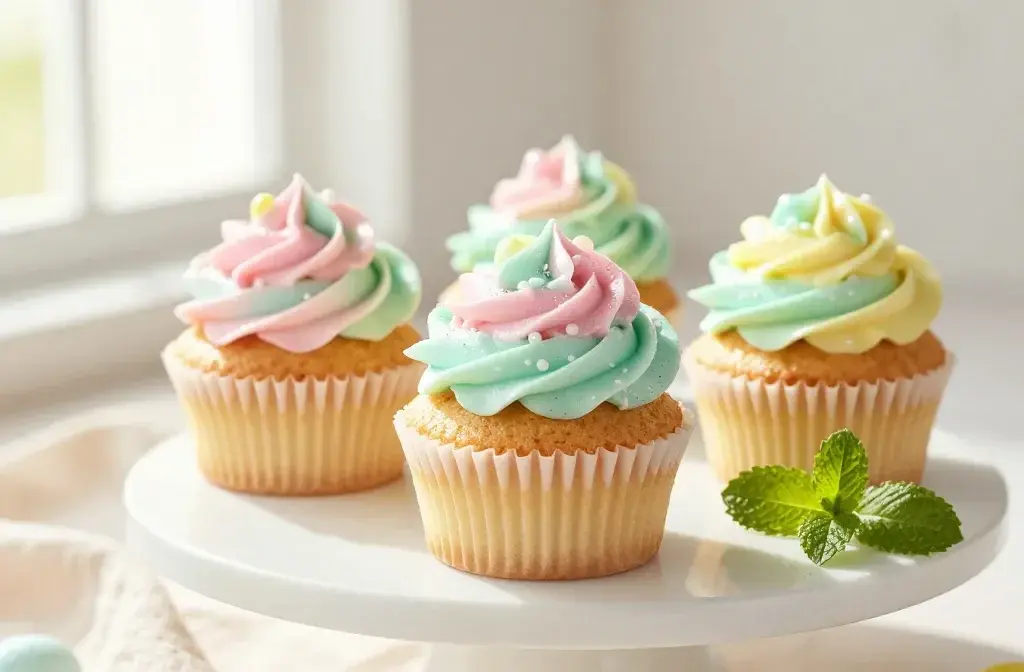
I can practically taste those pastel swirls already. If you’ve got a craving for cute, bite-sized Easter vibes, these Pastel Ombre Easter Cupcakes are your soulmate. They look like a springtime rainbow got dressed up in a polka-dot cardigan. Let’s dive in and bake something that’s almost too pretty to eat—almost.
Why Pastel Ombre? The Vibe You Didn’t Know You Needed
Pastel ombre isn’t just a pretty gradient thing; it’s a mood board for Easter—the soft pinks, baby blues, lemon yellows, and mint greens echo blooming flowers and sunny days. An ombre effect adds drama without shouting, so your cupcakes look fancy on camera and still taste like a cozy kitchen moment. FYI, ombre is basically a kindness spell for those frosting cravings: it distributes color without requiring a frosting technician’s degree.
Baselines: Cupcake + Frosting Basics
Before you color, you need a solid base that can hold all that color without turning into a buttercream soup.
Choosing the Cupcake Base
– Vanilla is your bestie: it shows off the colors and keeps things light.
– Yellow cake is a close second, especially if you want a sun-kissed look.
– Gluten-free or dairy-free options exist—just swap in your preferred swaps and keep the batter airy.
Frosting Fundamentals
– Buttercream is your canvas. Smooth, easy to tint, and holds shapes.
– For a lighter texture, whip it longer to introduce air and make it fluffier.
– If you’re dairy-averse, try a dairy-free butter alternative, but taste as you go—some substitutes behave differently when you’re layering colors.
Color Strategy: Building Your Ombre Palette
This is where the fun multiplies. You’re not painting a portrait; you’re layering whimsy.
Choosing Your Pastel Family
– Pick 3-4 shades that play nicely together: pink, lavender, mint, baby blue, and lemon.
– Go for contrast in intensity rather than hue—lighter tones at the top, deeper notes toward the bottom.
Getting the Gradients Right
– Make your frosting batches slightly different in thickness. The thicker colors should be for the lower layers.
– Tint colors gradually; you don’t need neon rainbow chaos to get the ombre effect.
– Add a touch of white to lighten to the pastel goal, especially for the topmost layer.
Step-by-Step: Assemble Your Ombre Cupcakes
A practical, no-nonsense guide so you don’t end up with purple frosting on your niece’s dress.
- Bake and cool the cupcakes completely. No one wants a melted gradient mid-photo.
- Tint your frosting in 3-4 pastel shades. Start with the lightest, end with the deepest.
- Fit piping bags with small tips (couplers help if you want to switch colors quickly).
- Layer from light to dark using a vertical swirl—or go horizontal in stacked rings for a retro vibe.
- Finish with a spritz of edible glitter or delicate sugar flowers for that extra ‘oomph’.
Technique Options: Swirl, Layer, or Dip
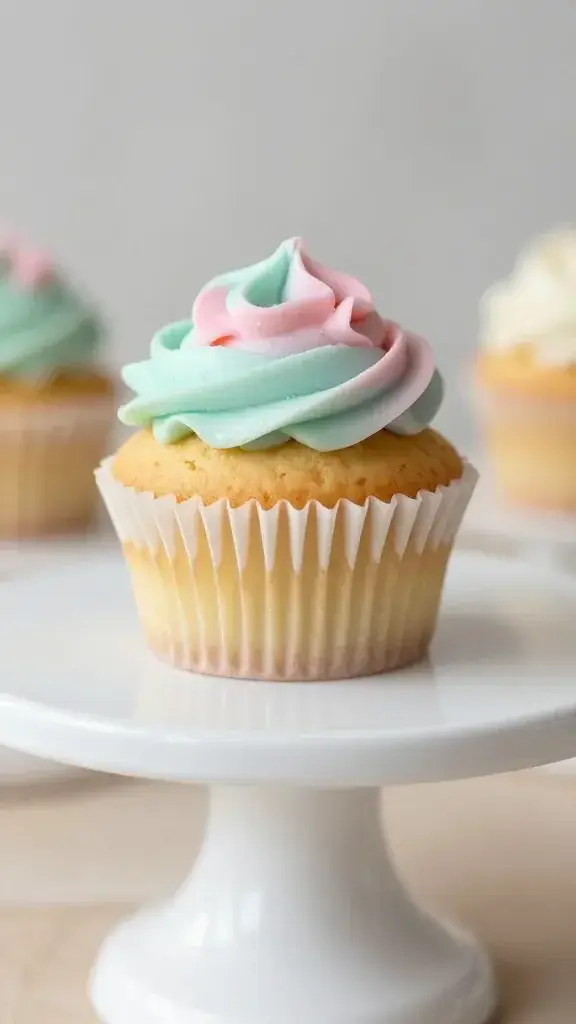
– Swirl: Load the lightest color at the center, then spiral darker colors around. It mimics a sunrise over a garden bed.
– Layer: Pipe concentric rings starting with the lightest on top and the darkest on the bottom. It’s dramatic and precise.
– Dip: A quick dunk in a shallow bowl of frosting shards gives a painterly effect when you’re rushed for time.
Decoration Ideas That Go Beyond Sprinkles
Cutest cupcakes don’t need to shout to be seen. Subtle touches make all the difference.
Floral Flourish
– Edible fondant daisies or edible gold leaf for a luxe Easter table.
– Tiny sugar pearls add a vintage cake-shop vibe.
– Fresh edible flowers (mint sprigs, violets) if you’re serving them the same day.
Tiny Easter Accents
– Mini chocolate eggs tucked into the frosting as little peeps.
– Candy carrots or bunny face toppers for a playful look.
– A flutter of pink edible glitter for a sunrise sparkle.
Flavor Pairings to Match the Vibe
Color is a mood, but flavor seals the deal. Here are combos that feel cohesive with pastel ombre.
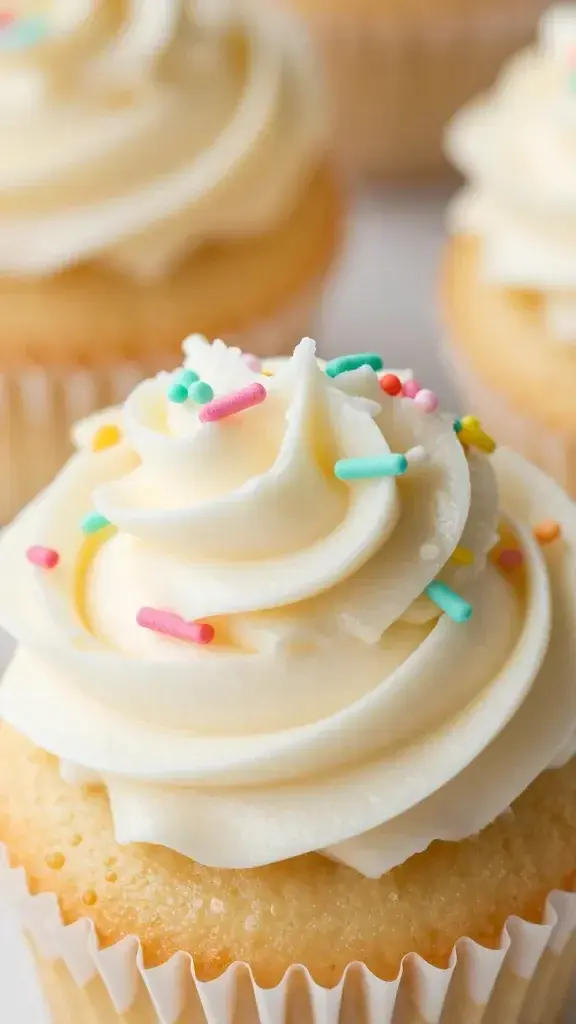
Classic Vanilla + Creamy Buttercream
– Why: It never fights with the colors and keeps the experience light.
– Tip: Frostings with a touch of lemon zest feel springier and brighten the palate.
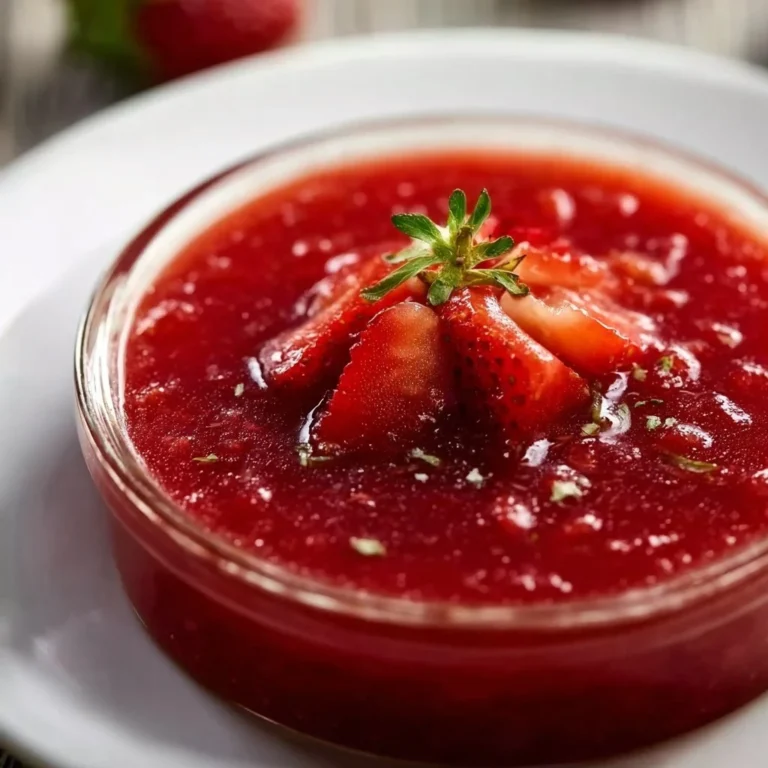
Lemon Zest + Raspberry Filling
– Why: The yellow-rose pairing reads sunshine with a pop of berry.
– Tip: A dab of fruit jam in the center adds a surprise that’s worth the extra bite.
Blueberry + Almond Buttercream
– Why: A gentle, nutty note pairs beautifully with pastel blues and purples.
– Tip: Don’t overmash the blueberries; a few visible specks give character.
Practical Hacks: Troubleshooting with a Smile
Every baker hits a snag. Here are quick fixes so you don’t spiral into frosting chaos.
Colors Not Quite Right?
– Stir in tiny amounts of white to soften vibrancy gradually.
– If you’re seeing odd undertones, a tiny splash of milk can mellow the tint (just a pinch at a time).
Frosting Too Runny or Too Stiff?
– Runny: Chill frosting for 10-15 minutes and re-whip.
– Stiff: Add a teaspoon of cream or milk at a time until it’s plump again.
Preventing Cupcakes from Slumping
– Make sure the cupcakes are completely cooled before frosting.
– Frost in a cool room; heat makes buttercream slide. FYI, a breezy day is not your friend.
FAQ: Your Ombre Cupcake Curiosities Answered
What’s the easiest way to get a smooth ombre look?
Pipe a thin line of light frosting across the cupcake, then gradually layer darker shades around the center in a circular motion. A steady hand and a coupler help. Don’t overthink it—soft edges look intentional and chic.
Can I make these ahead of time?
Yes, bake the cupcakes a day ahead and frost the day you plan to serve them. Store unfrosted cupcakes in an airtight container, and frost when ready. If you must frost ahead, keep them in a cooler area to maintain shape.
What if I don’t have pastel colors?
No problem. You can tint using primary colors mixed with white to achieve soft, pastel hues. Start with small amounts and add gradually—pastels are all about gentle gradients, not neon chaos.
Any tips for photographing these beauties?
Natural light is your best friend. Set them near a window, and avoid harsh sun that bleaches color. Snap from a slightly above angle to show the gradient, and keep backgrounds simple so the cupcakes shine.
What if I don’t own piping bags?
Use a zip-top bag and snip a tiny corner. It works just fine for beginners. If you want a fancier look, invest in a basic piping set later—it’s a small upgrade that pays off when you want to go extra.
Bringing It All Together: A Festive Easter Table Moment
Pastel Ombre Easter Cupcakes aren’t just dessert; they’re centerpiece potential. Set a few on a tiered stand with fresh peonies, pastel napkins, and a sprinkling of tiny candy eggs. The table will practically whisper, “Spring has arrived, with frosting.” And if you’re feeling extra, pair them with a lemon-verbena tea or a chilled sparkling rosé for the adults.
Conclusion: Your Easter Cupcake Moment
You’ve got the colors, the technique, and enough tips to keep you confident in the kitchen. These Pastel Ombre Easter Cupcakes are more than dessert—they’re a tiny celebration in frosting form. So bake with joy, snap a few pics for the ‘gram, and don’t worry about perfection. IMO, the best treats are the ones that make people smile as they bite in. Ready to start mixing, coloring, and swirling? Let’s do this.