How to Wrap Mini Sandwiches for a Picnic and Amaze Friends
The moment you spot a park bench, a blanket, and a cooler full of cold drinks, you know the perfect picnic plan is underway. But the real secret sauce? Mini sandwiches that stay neat, bite-sized, and totally stashable. You don’t need a fancy lunchbox—just a little prep and some smart wrapping. Let’s make your picnic epic, one tiny sandwich at a time.
Why mini sandwiches sing at a picnic
Tiny bites, big impact. They’re easy to share, easy to eat while chasing a frisbee, and easy to make ahead. Plus, they travel well without getting soggy if you choose the right fillings and wraps. FYI, the best part is that you can customize them for everyone’s tastes without turning your kitchen into a test lab. Sound like a win? It is.
What you’ll need before you start
- Soft bread or alternatives (mini baguettes, slider buns, or tortillas)
- Proteins and fillings that hold up: turkey, ham, chicken salad, cream cheese, hummus
- Cheeses that don’t melt into a puddle in transit
- Fresh veggies sliced thin for crunch
- Condiments in minis: mayo, mustard, pesto, vinaigrette
- Wrapping supplies: parchment paper, wax paper, or reusable beeswax wraps
- Labeling supplies if you’re sharing with a crowd
Choosing the right wrap for the job

Wraps aren’t just a fancy word for “bread.” They’re a tool to keep things neat and tasty. Do you want bite-sized rounds, little squares, or handheld pockets?
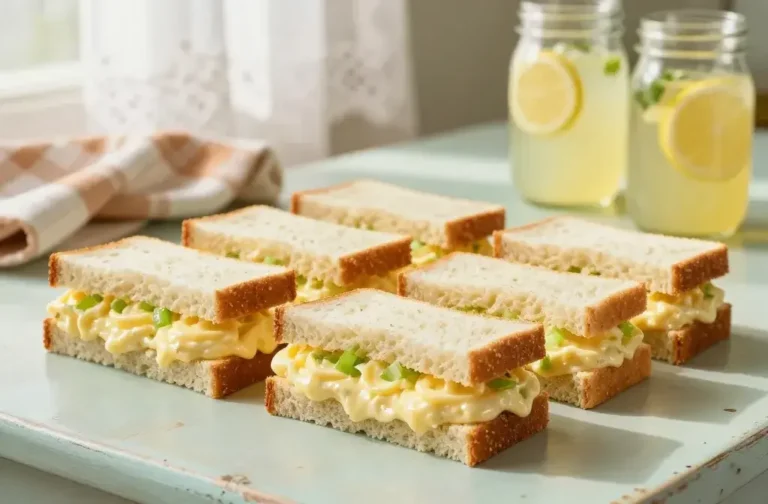
- Bread slices work wonders for classic mini hinged sandwiches. Cut crusts, then cut into quarters for extra portability.
- Slider buns add a touch of indulgence and stay sturdy with sturdier fillings like roast beef and cheddar.
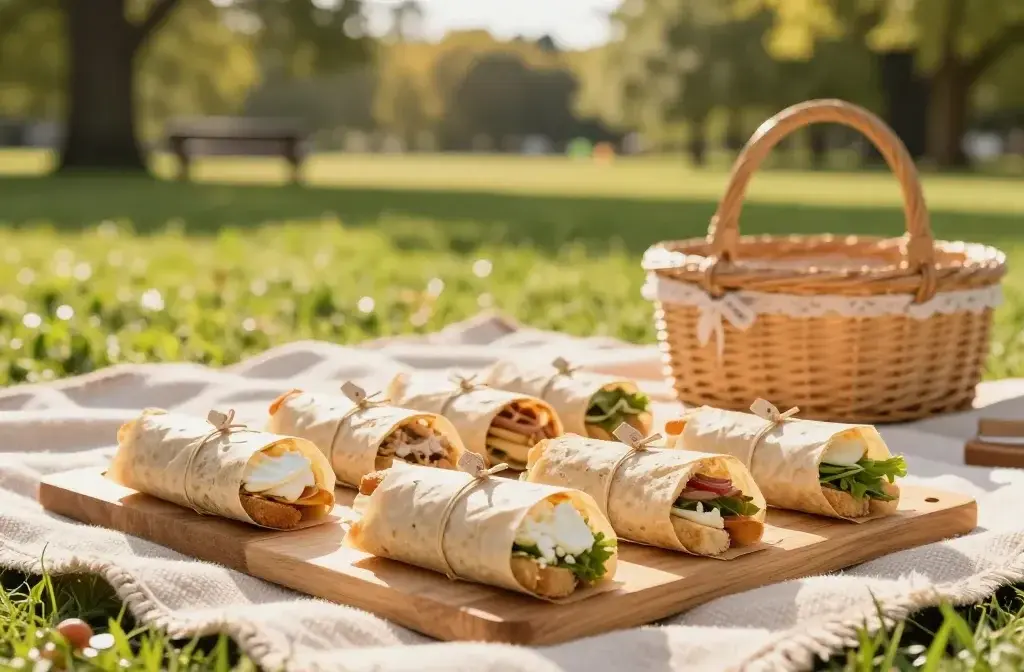
- Tortillas or lavash roll-ups make clean, compact bundles that never squish the ingredients.
Pro tip: pick a consistent base
Using one type of wrap per batch keeps flavors predictable and assembly quick. Save your experimental fillings for later, not for the first bite at the park, okay?
Smart fillings that survive the journey
The trick is staying flavorful without turning everything into a soggy mess. Think balance: protein, a little crunch, moisture that won’t ruin the texture.
Proteins that travel well
- Roast chicken, turkey, or ham in thin slices
- Smoked salmon in small ribbons (with cucumber to keep it fresh)
- Egg salad or tuna salad in modest amounts
- Hummus or bean spreads for veggie-forward options
Cheeses that keep their shape
- Cheddar, Swiss, provolone for sturdy slices
- Crumbled feta or goat cheese sparingly for a tangy punch
Veggie crunch without the sog
- Crisp lettuce, arugula, cucumber ribbons
- Carrot sticks or bell pepper slices for color
- Tomato washy if you’ll add moisture-absorbing elements like avocado or mayo later
How to assemble like a pro (without turning into a mess)
Assembly matters as much as ingredients. A clean workflow equals happy picnics.
Step-by-step plan
- Lay out your wraps or bread on a flat surface.
- Spread a thin layer of your moisture-prone condiments only on the bread side, not the filling side. This helps avoid sog. FYI, go light on mayo if it’s a hot day.
- Add your proteins in a single layer, then cheese slices.
- Top with veggies, keeping heavier items toward the center to prevent bulges.
- Roll or fold tightly, then slice into bite-sized triangles or rounds.
- Wrap each mini in parchment or place them seam-side down on a tray to keep them neat.
Cutting and presentation tips
- Chill fillings that tend to release moisture before assembly, then slice after to minimize mess.
- Use a sharp, sturdy knife for clean edges. A dirty edge makes your bite look sad.
- Label varieties if you’re sharing with friends who have preferences or allergies.
Make-ahead magic: keeping them fresh

Pics are cooler when you don’t have to cook on the spot. The key is staying fresh without drying out or wilting everything.
Storage do’s and don’ts
- Do wrap tightly in parchment and place in an airtight container for the fridge or cooler.
- Don’t stack soggy fillings directly on top of each other. Airflow is your friend.
- Do include a small bag of paper towels to wick moisture in the container.
Snack-friendly tricks
- Make a mix of backgrounds: some vegetarian wraps with hummus and cucumber, some meaty wraps with turkey and cheddar.
- Pack a few “confetti” wraps with bright vegetables to keep things visually appealing.
Creative twists that wow without complicating
Want to spice things up without overthinking it? Try these playful twists that still wrap neatly.
Herby pesto lightning
Swap mayo for a thin layer of pesto, add mozzarella and tomato, and you’ve got a Caprese mini that won’t slosh. Bonus: basil perfume is picnic magic.
Smoked salmon and cucumber crunch
A dab of cream cheese, cucumber ribbons, and smoked salmon on a tortilla—rolling makes it portable and fancy without the fuss.
A little heat
Chipotle mayo or a spicy mustard can wake up a simple ham and cheese lineup. If you’re feeding kids, keep heat minimal and label “adult” options separately.
Helpful hacks for tricky picnics
Picnic life is all about improvisation and avoiding melty disasters in the wild. Here are quick hacks you’ll use again and again.
- Keep cold: freeze a water bottle or two to chill the cooler and double as ice packs.
- Flat packing: place sandwiches cut-side up on a tray with a sheet of parchment to prevent sticking.
- Freshen up on-site: bring a small lemon wedge or a splash of vinaigrette in a tiny bottle to brighten fillings before serving.
FAQ
Can I make these a day ahead?
Yes, but plan for the wraps to be lightly chilled and kept sealed. Assemble fillings that won’t release too much moisture. If you’re worried about sog, assemble mid-prep and keep components separate until serving.
What if someone has dietary restrictions?
You’re in luck: mini sandwiches scale nicely. Have a veggie-forward wrap with hummus, a dairy-free option with avocado and sprouts, and a lean protein option for meat lovers. Label clearly so everyone enjoys without odd combos.
How do I prevent soggy bread?
Spread condiments on the bread sides that won’t touch fillings directly, or skip mayo altogether in hot weather. Use moisture-absorbing veggies like lettuce to create a barrier. FYI, roll-ups help reduce soggy risk because moisture stays off the bread.
Best way to transport?
Keep them in a shallow, lidded container to avoid crushes. If you’ve got a cooler, line the bottom with parchment, then nestle the sandwiches so they don’t squish. Want extra freshness? Pack a small ice pack outside the container to keep everything cool.
How many can I make for a crowd?
One bite-sized sandwich per person per hour is a rough guideline, but aim for variety. If you’re feeding 8, plan for 24–32 mini sandwiches with a couple of veggie-only options. You can never go wrong with too many fingers hovering over snacks.
Conclusion
Wrapping mini sandwiches for a picnic is less about recipe perfection and more about smart packing and practical fillings. Keep things bite-sized, non-soggy, and easy to grab. With a little prep, you’ll have a spread that travels, plays well with friends, and turns every park bench into a classy lunch spot. IMO, nothing beats a sunny day, a crisp bite, and a good joke shared with your crew. Ready to wrap up your perfect picnic?