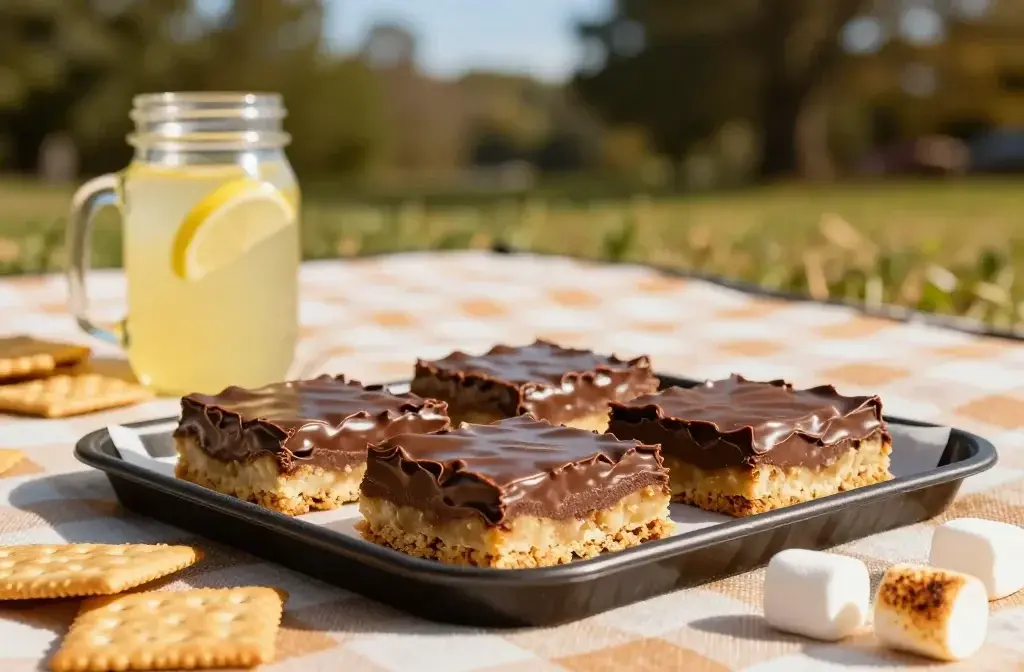
S’Mores Dessert Bars for a Picnic: Picnic-Perfect Bars
I heard you’re planning a picnic victory lap and need a dessert that travels as well as you do. S’mores Dessert Bars are the answer: gooey, crispy, and portable, all in one tidy square. No sticks required, no campfire needed—just a blanket, a bite of sunshine, and ASAP smiles.
Why S’mores Dessert Bars Are the Picnic MVP
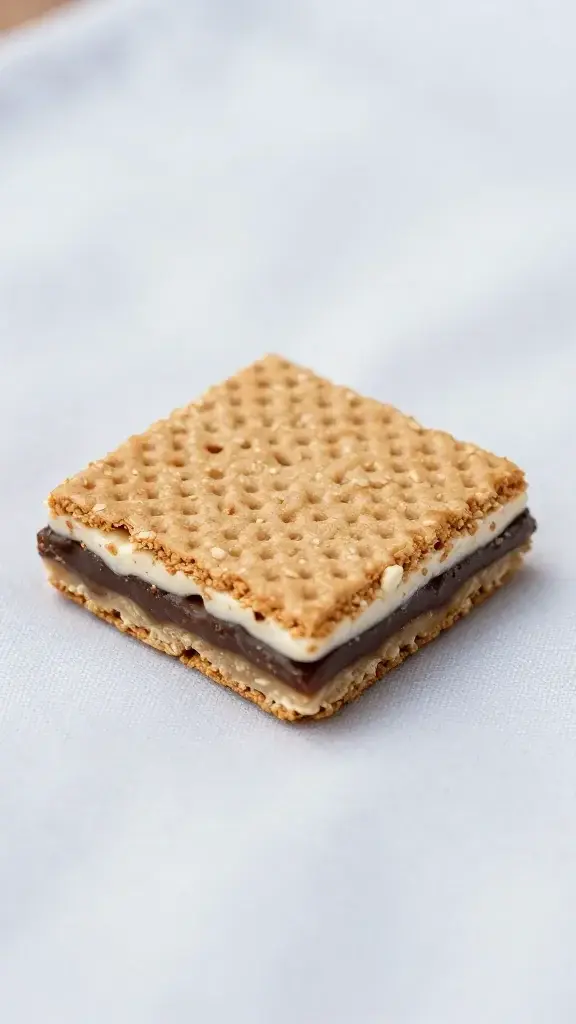
They combine nostalgia with practicality. You get graham crunch, chocolate richness, and marshmallow fluff in bar form—zero sticky hands, plenty of bite-sized joy. Plus, they travel well, slice cleanly, and look fancily indulgent on a picnic table. FYI, you don’t need a fire to make the magic happen.
Base Layers: The Grahams That Ground the Bar
A good crust is everything. You want a sturdy foundation that doesn’t crumble when the sun hits the dessert table.
Classic Graham Cracker Crust vs. Oatmeal Swirl
– Classic crust: crush graham crackers, mix with a bit of melted butter and a pinch of sugar, then press into a pan. It stays neat and holds the bar together like a dependable friend.
– Oatmeal swirl: swap in a half-and-half mix of crushed grahams and oats for extra chew. It adds texture and a hint of toasty flavor.
Tips for a Foolproof Crust
– Don’t skimp on butter; it’s the glue that keeps the crust from floating away on a breeze.
– Bake the crust a few minutes before you pour in the filling to set it nicely.
– Use parchment or foil to lift the whole slab out for easy slicing at the park.
Chocolatey Heart: The Good Stuff That Feels Like a Campfire Hug
Chocolate is the reason we suffer through the heat and still beg for seconds. Make it glossy, melty, and satisfyingly rich.
Choosing Your Chocolate Moment
– Classic choice: a smooth layer of milk or semi-sweet chocolate chips melted into the batter.
– Spice it up: add a whisper of sea salt or a splash of espresso for depth.
– Dairy-free option: use dark chocolate chunks and a dairy-free butter substitute.
Flow and Fold: Getting the Layers Right
– Keep the chocolate layer thin but dreamy; you want a glossy top, not a lava flow.
– If you drizzle extra melted chocolate on top after baking, it looks like you planned a chef’s kiss moment.
Marshmallow Magic: The Fluffy Finish Line
Marshmallow is the sunny friend who never leaves early. It softens every bite and gives that classic s’mores vibe without needing a fire pit.
Marshmallow Techniques
– Marshmallow fluff vs. mini marshmallows: fluff gives a lighter, even melt; mini marshmallows melt into pockets of goo.
– Toasted finish: optional quick broil for a few seconds to toast the top, but keep a careful eye so you don’t melt the entire bar.
Texture Talk: Chewy, Gooey, or Both?
– For chewy bars: bake until the center just sets, then chill to finish firming up.
– For gooey centers: pull from the oven while the middle still jiggles a tad and let it rest. FYI, patience rewards you with a luscious bite.
Practical Picnic Assembly: Transport, Slice, Serve
A great dessert bar makes life easier at a picnic, not harder.
Storage and Transport
– Cool completely before slicing to prevent squishing.
– Wrap individual bars in parchment or plastic wrap for easy grab-and-go.
– Keep them in a sturdy container to avoid squashing in transit.
Serving Tidbits
– Pre-slice for effortless plating; no knives required at the table.
– Pair with coffee, vanilla ice cream, or berries for bright contrast.
– If you’re feeling fancy, dust with a pinch of flaky salt to heighten the chocolate notes.
Flavor Variations You Can Try on a whim
If you’re the “I want options” type, these swaps keep the vibe while letting you show off personality.
Crunchy Peanut Butter Swirl
– Add a thin layer of peanut butter to the crust, swirl some into the batter, and top with peanut butter chips.
– Serve with a side of sliced bananas for a dessert-sundae feel.
Salted Caramel Sunset
– Drizzle caramel over the chocolate layer before the marshmallow goes on.
– Finish with a light shower of flaky sea salt for that sweet-salt spark.
Mocha Dream
– Infuse a teaspoon of espresso powder into the chocolate layer.
– Pair with chocolate-covered espresso beans sprinkled on top for a caffeinated kiss.
FAQ: Quick Answers for Your Picnic Prep
Can I make these in advance?
Yes. Bake, cool, slice, and wrap. They keep well for up to 3 days at room temperature in a cool, dry place, or freeze for longer storage. If you’re taking them on a hot day, consider refrigerating for a few hours before packing to help them hold their shape.
What size pan is best?
A 9×13-inch pan works great for feeding a crowd. If you’re picnicking solo or with a couple of pals, a smaller 8×8-inch or 9×9-inch pan is plenty.
Do I need to chill the bars before slicing?
Chilling helps with clean edges, especially if you’ve added a gooey marshmallow layer. A quick chill in the fridge for 1–2 hours does wonders.
Can I make dairy-free or gluten-free versions?
Absolutely. Use dairy-free butter, dairy-free chocolate, and marshmallows that are vegan if you need dairy-free. For gluten-free, swap in gluten-free graham crackers or a certified gluten-free crust base.
How long do they stay soft after cutting?
At room temp, they stay delightfully soft for about a day or two. If it’s hot, keep them in a cooler or fridge to preserve texture and flavor. IMO, they’re best when slightly warm.
Conclusion
S’mores Dessert Bars nail the picnic brief: easy to transport, simple to slice, and absolutely crowd-pleasing. They walk a fine line between campfire nostalgia and modern convenience, so you can feel like a genius without trying too hard. So grab a blanket, stock up on marshmallows, and bake up a tray that says, “Yes, you deserve dessert that travels well.” This is your sign to go full s’mores glory, my friend.