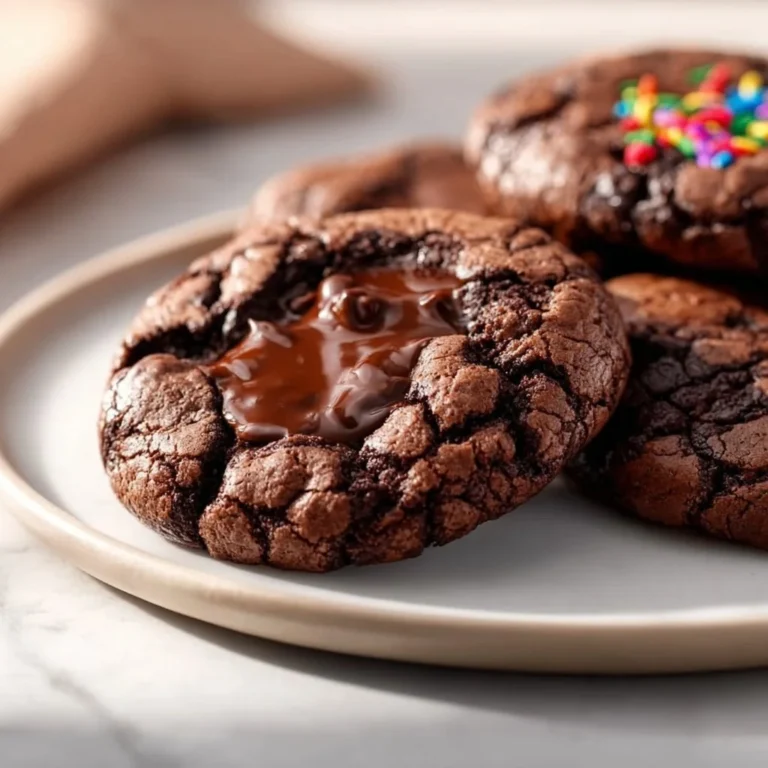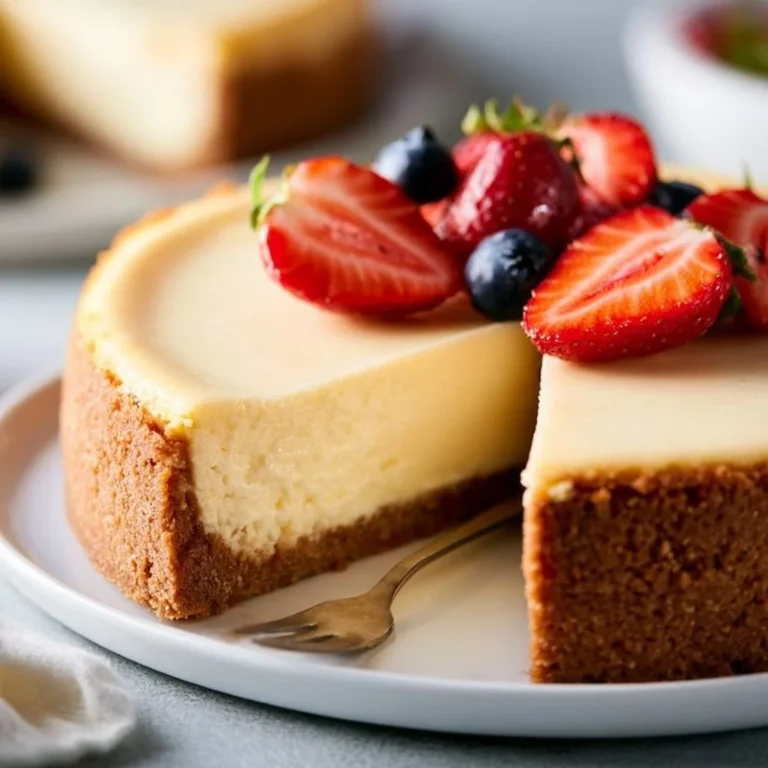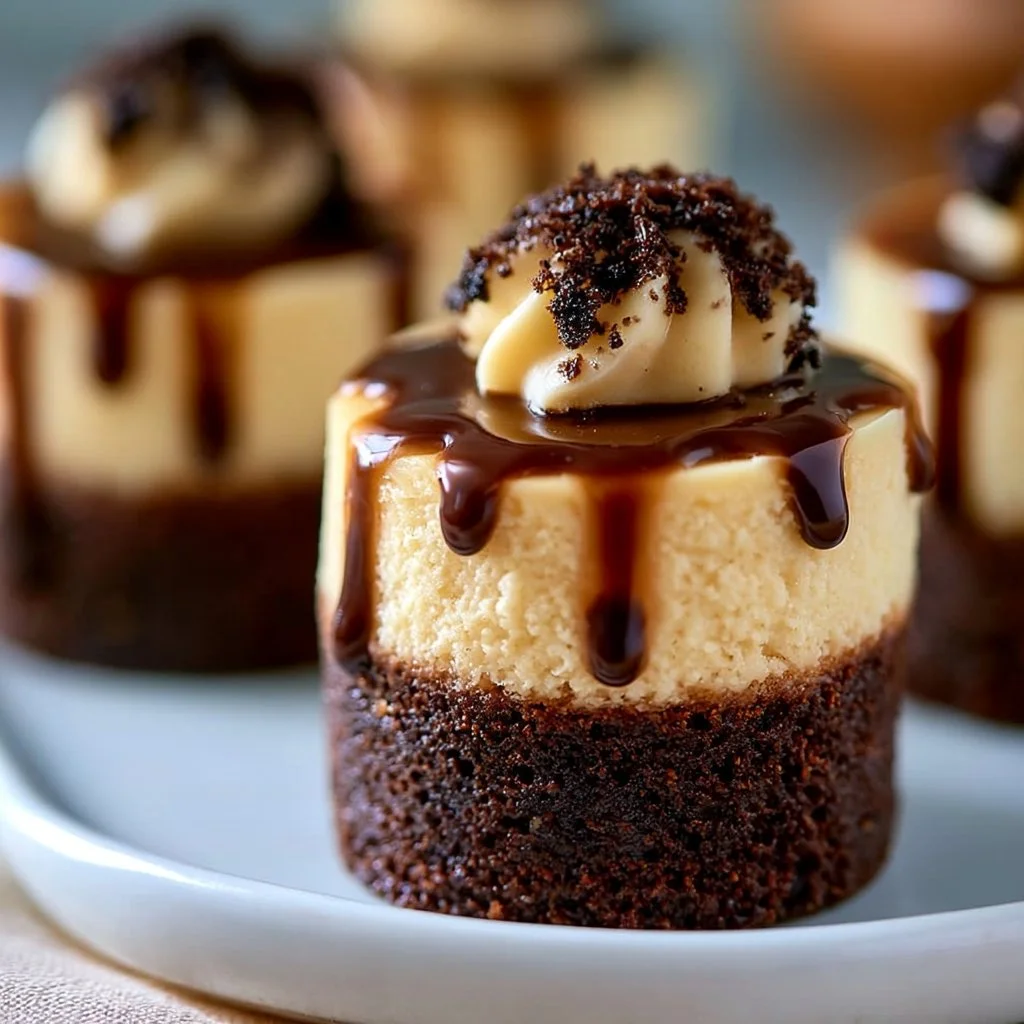
Indulgent Brownie Bottom Mini Cheesecakes
A Sweet Affair to Remember
Ever tasted a dessert that feels like a warm hug? Indulgent Brownie Bottom Mini Cheesecakes deliver that cozy vibe in every single bite. With their luscious cream cheese layer nested atop a rich brownie base, these mini gems combine the best of both worlds: creamy and chocolaty bliss. Fancy, right? But guess what? They’re surprisingly simple to whip up!
Why Make This Recipe
Why not indulge yourself with a touch of decadence? Here are a few reasons you’ll be racing to the kitchen:
- Quick and Easy Cleanup: Say goodbye to complicated dishes. You just need a muffin tin—who can argue with that?
- Family Approved: Kids (and adults) will devour these mini masterpieces like there’s no tomorrow, making them the ultimate family-friendly treat.
- Perfect for Any Occasion: Whether it’s a birthday, potluck, or just because it’s Wednesday, these cheesecakes are ready to shine.
Ingredients
You don’t need fancy stuff — just these basics!
- ½ cup unsalted butter, melted
- 1 cup granulated sugar
- 2 large eggs
- 1 teaspoon vanilla extract
- ⅓ cup unsweetened cocoa powder
- ½ cup all-purpose flour
- ¼ teaspoon salt
- 16 ounces cream cheese, softened
- ½ cup powdered sugar
- 1 teaspoon vanilla extract
- 2 tablespoons heavy cream
- 1 large egg
- ½ cup semi-sweet chocolate chips
- 2 tablespoons heavy cream
- Additional chocolate chips for topping (optional)
Directions
Ready to dive into this delicious dessert? Follow these simple steps:
- Preheat your oven to 325°F (160°C) and line a muffin tin with paper liners.
- In a mixing bowl, combine the melted butter and granulated sugar until mixed.
- Add the eggs and vanilla extract to the mixture. Mix until well combined.
- Sift in the cocoa powder, flour, and salt. Mix until just combined.
- Pour the brownie batter evenly into the lined muffin tin, filling each cup halfway.
- For the cheesecake mixture, blend cream cheese, powdered sugar, vanilla extract, heavy cream, and one egg until smooth.
- Spoon the cheesecake batter over the brownie base in each cup.
- Bake for 20-25 minutes until the tops are set but still slightly jiggly.
- Let cool, then chill in the refrigerator for at least 2 hours.

How to Make Indulgent Brownie Bottom Mini Cheesecakes (Overview)
Let’s break it down, friends! First, you’ll create the brownie base—simple, right? Just mix, sift, and pour into your muffin tins. Next up, whip together that sumptuous cheesecake filling until it’s as smooth as your favorite jam. Pour it over the brownies and let your oven do the magic. Pro tip: Don’t skip the chilling time; it’s crucial for that creamy texture!
How to Serve Indulgent Brownie Bottom Mini Cheesecakes
Bring a little flair to the table by garnishing with some extra chocolate chips or a drizzle of caramel sauce. Picture this: dark chocolate against the creamy white cheesecake, dotted with glossy chocolate chips. The aroma is pure bliss, and the contrasting textures of the brownie and cheesecake bring a delightful crunch. Everyone will be begging for seconds! 😍
How to Store Indulgent Brownie Bottom Mini Cheesecakes
These little beauties will keep well in the fridge for up to 5 days. Wanna make them ahead? Absolutely! Just remember to layer them carefully in an airtight container. Craving one later? Enjoy them cold, or take a few seconds in the microwave to warm them slightly—heavenly!
Tips to Make Indulgent Brownie Bottom Mini Cheesecakes
- Room Temperature Ingredients: Ensure your cream cheese is at room temperature for the smoothest filling. No one wants lumpy cheesecake, right?
- Don’t Overmix: When combining ingredients, mix just until combined for a lighter texture.
- Experiment with Toppings: Think fresh fruit or even a sprinkle of sea salt—let your creativity run wild!
Variation
Feeling adventurous? Try swapping vanilla extract for almond extract for a unique twist! You can also make these vegan by using plant-based cream cheese and your favorite egg substitute. The possibilities are endless!
FAQs
Can I make these mini cheesecakes gluten-free?
Absolutely! Just substitute the all-purpose flour with a gluten-free blend.
How can I make them ahead of time?
You can absolutely make these a day or two in advance. Just store them in the fridge until you’re ready to serve.
Can I freeze them?
Yes! They freeze nicely for up to 3 months. Just thaw them in the fridge overnight before enjoying.
📌 Pin this recipe for your next cozy dinner night!
Printable Recipe Card
Want just the essential recipe details without scrolling through the article? Get our printable recipe card with just the ingredients and instructions.