Fruit Cheese Dessert Board
Ever had a dessert that looks like a work of art?
Imagine a stunning board filled with luscious fruits, creamy cheeses, and a sprinkle of sweetness, all ready to impress your guests (or yourself!). This Fruit Cheese Dessert Board isn’t just visually appealing; it’s the perfect blend of flavors that can elevate any gathering. Quick to assemble and brimming with freshness, it’s destined to become your go-to for special occasions or just a cozy night in.
Why make this recipe
Why should you whip up this easy dessert? First off, it’s super easy to clean up — you just put everything on a board and watch your guests dig in! Plus, it’s wallet-friendly with ingredients that you can mix and match depending on what’s in your kitchen. Let’s face it: who doesn’t like a fun, shareable dessert that makes you look like a gourmet genius? 😉
Ingredients
You don’t need fancy stuff — just these basics!
- Assorted fresh fruits (e.g., strawberries, grapes, apple slices, kiwi)
- Creamy cheeses (e.g., brie, goat cheese, cream cheese)
- Nuts (e.g., almonds, walnuts)
- Dried fruits (e.g., apricots, raisins)
- Sweet treats (e.g., chocolate, honey, crackers)
- Fresh herbs for garnish (e.g., mint)
Directions
- Select a large serving board or platter.
- Arrange the fresh fruits in clusters around the board.
- Place the assorted cheeses in different sections of the board.
- Add small bowls for nuts and dried fruits to create variety.
- Fill in the gaps with sweet treats and crackers.
- Drizzle honey over the cheese or fruits if desired.
- Garnish with fresh herbs for a pop of color.
- Serve immediately and enjoy!

How to make Fruit Cheese Dessert Board (Overview)
Crafting this fruity masterpiece is as easy as 1-2-3! Start by choosing your favorite board — it’s like picking a canvas for your art. Next, arrange your fruits and cheeses in a way that pleases the eye and makes everyone say “wow!” Finally, fill in the board with those sweet nibbles for a balanced treat. Pro tip: Mix textures! A crunchy nut here, a creamy cheese there — it’ll keep everyone’s taste buds dancing.
How to serve Fruit Cheese Dessert Board
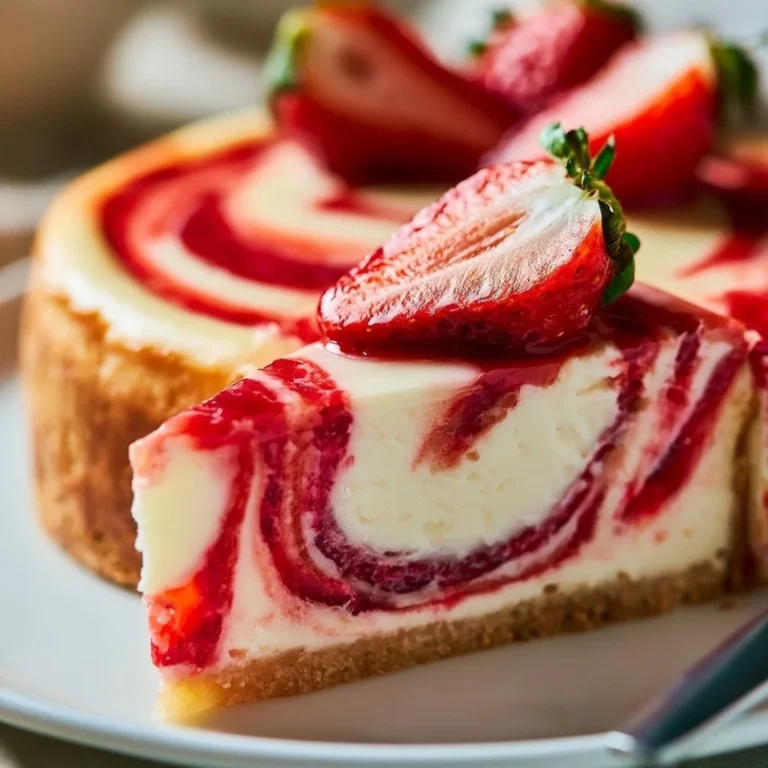
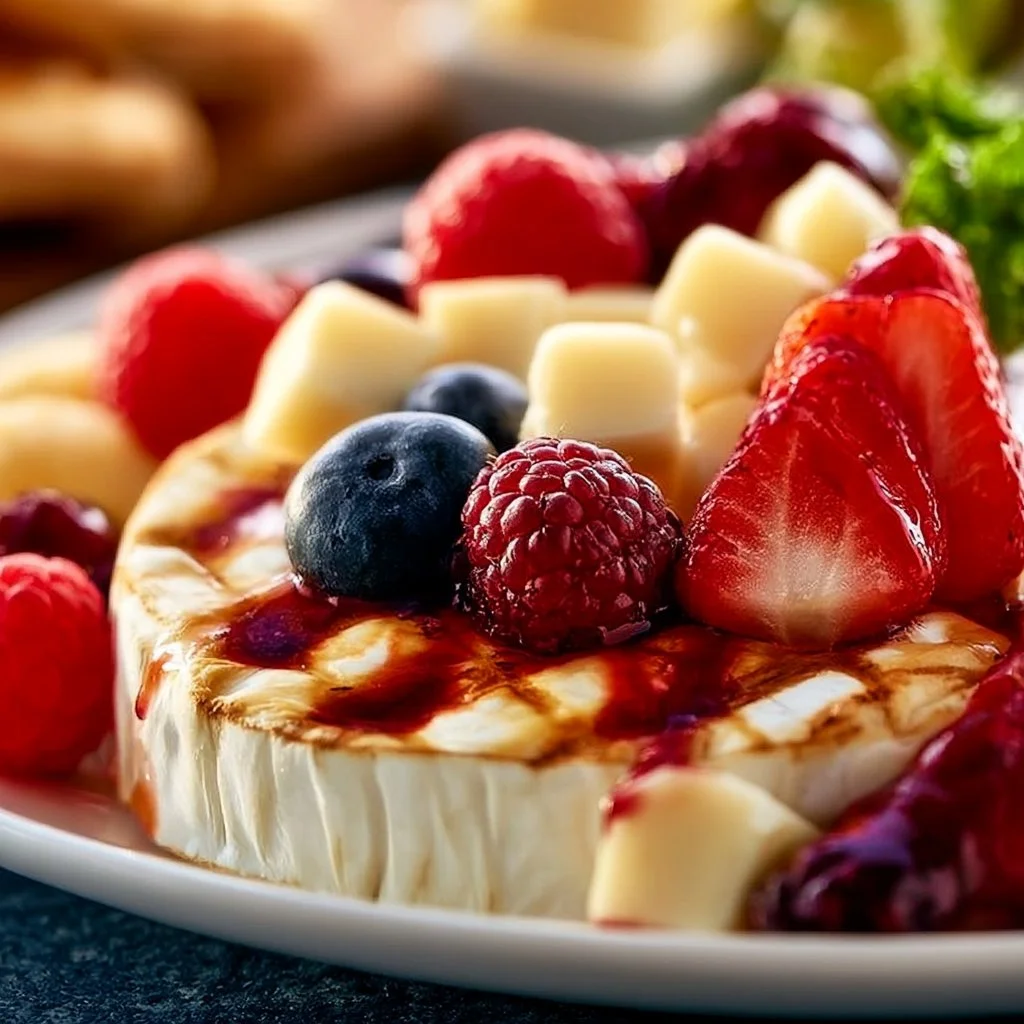
Think of serving this board as a mini celebration on a platter! Try pairing sweet and salty flavors together; the creaminess of brie next to the tartness of strawberries? Perfection! The colors of the fruits pop against the white cheese, while herbs add freshness and aroma. Lay out some extra napkins — it might get a bit messy, but it’s all part of the fun!
How to store Fruit Cheese Dessert Board
If you somehow have leftovers (which is rare), you can store them! Tightly cover the board and pop it in the fridge. It should stay fresh for about 2-3 days. Make-ahead tip: prep the fruits and cheeses the day before, and assemble right before serving to keep everything vibrant and crispy!
Tips to make Fruit Cheese Dessert Board
- Choose seasonal fruits for the best flavor and freshness.
- Swap in your favorite cheeses — goat cheese brings a tangy kick!
- If you’re feeling fancy, consider toasting your nuts. It enhances their flavor dramatically.
- Keep your fruits from browning by adding a little lemon juice to the apples or bananas.
- Experiment with different kinds of crackers or breads for extra flavor combinations!
Variation
Want to switch things up? Try going vegan by using plant-based cheeses and swapping honey with agave. Feeling adventurous? Add a unique flavor twist by incorporating chocolate-covered fruits or spiced nuts for an unexpected zing.
FAQs
Can I make this board ahead of time?
Yes, prep the fruits and cheeses the day before, then assemble right before serving for the freshest results!
What if I don’t like certain cheeses?
No problem! Just swap them out with your favorites—there are no rules here!
How do I keep the fruits from browning?
A quick splash of lemon juice on the fruits can help prevent browning, especially for apples and bananas.
📌 Pin this recipe for your next cozy dinner night!
Fruit Cheese Dessert Board
Ingredients
Method
- Select a large serving board or platter.
- Arrange the fresh fruits in clusters around the board.
- Place the assorted cheeses in different sections of the board.
- Add small bowls for nuts and dried fruits to create variety.
- Fill in the gaps with sweet treats and crackers.
- Drizzle honey over the cheese or fruits if desired.
- Garnish with fresh herbs for a pop of color.
- Serve immediately and enjoy!
Notes
Printable Recipe Card
Want just the essential recipe details without scrolling through the article? Get our printable recipe card with just the ingredients and instructions.